
Buy American!
For Specific Grill Repair, Click on Your Model:
Weber Summit Silver Conversion
Making a SLG2006C Burner Bracket
Weber Summit Silver Conversion (from Natural Gas to LP)
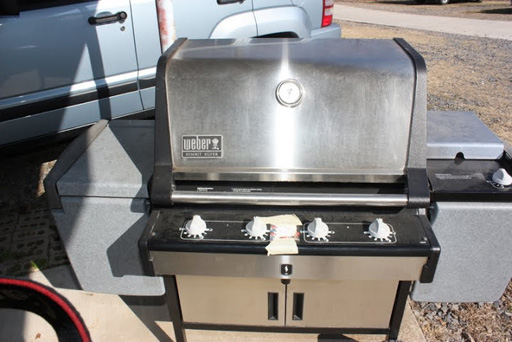
Img 2401 - This is a Weber Summit Silver Model # 5320001 that was dropped off at our warehouse in late February. The owners asked me to convert it to LP Gas from Natural gas. The problem with Weber Grills, and Ducane Grills for that matter, is that the LP and Natural valves are different.
When converting to LP by just changing the orifices, you will find that the low heat setting is still high. You can compensate for that by either using fewer burners or by adjusting the flame between the off and high setting. This will take some practice. Weber doesn't sell just the valves. But you might find a dealer who will sell the LP valve assembly, and it will cost more. IT IS NOT a factory recommended alternative! My customer, in this case, decided to try an orifice change out to see if they could adjust to it (the orifices only cost $2.86 each, so it is much cheaper). Here it goes!!!

Img 2403 - The spec plate (CSA tag) should be on the back of the grill.

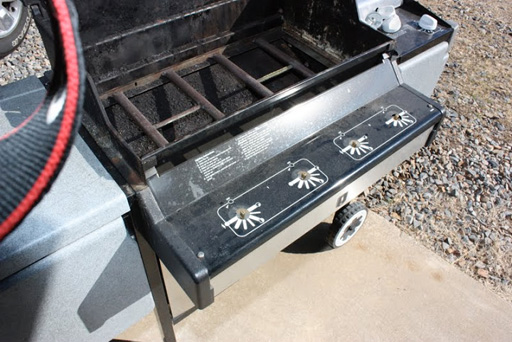
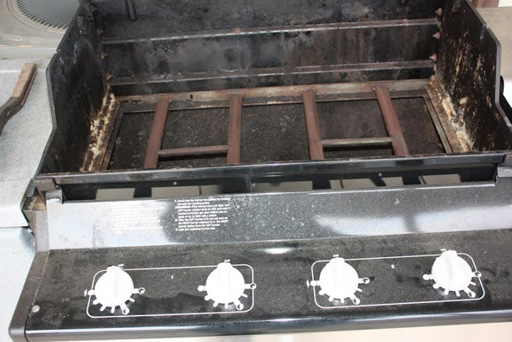
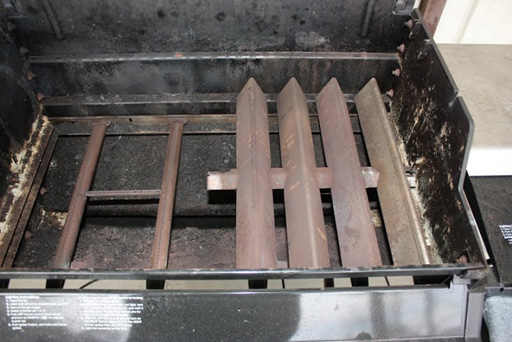
Img 2405 - I have to get to the valves to get to the orifices. Start by removing the grids and flame tamers.

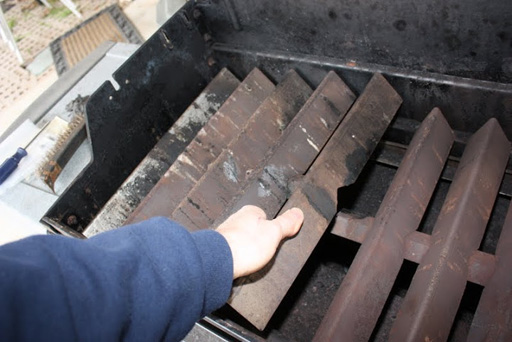
Img 2406 - The heat plates are made to go in one way. So either remember the pattern or try the different positions when you put it back together.
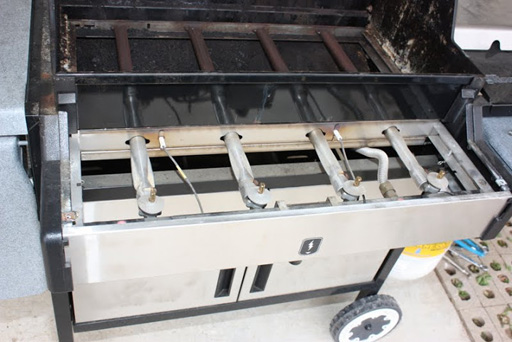
Img 2407 - The knobs pull off easy but the control panel must be loosened to get the burners out and get to the orifices at the opposite end of the valves going into the burners.
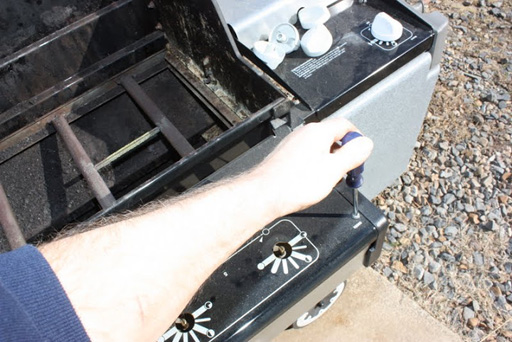
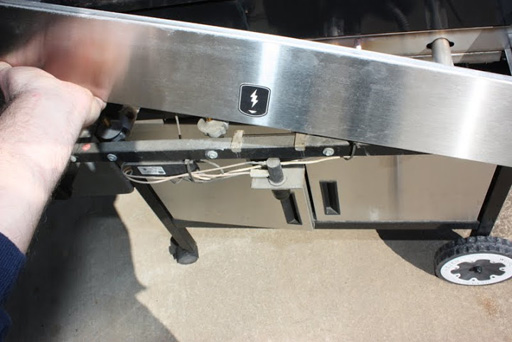
Img 2408 - Here I pulled the screws on each side of the front control panel.
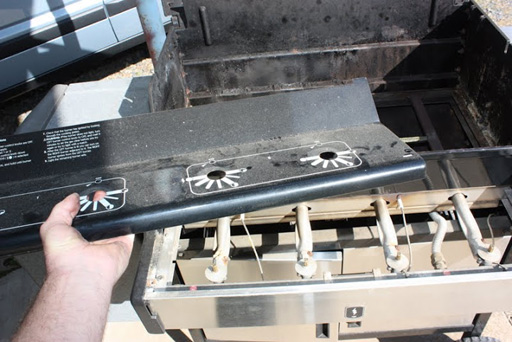
Img 2409 - The control panel lifts off and is not attached to the valve assembly.
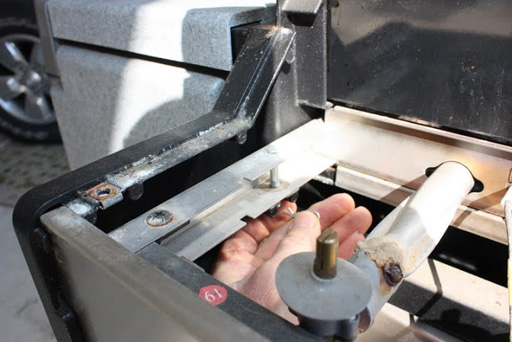
Img 2410 - There is a cotter pin holding the valve "drawer" in place.
Img 2411 - This front piece just lifts out. But it's in the way.
Img 2412 - Pulling the pin that holds the valve assembly drawer in place. We only need to pull it away slightly to get to the orifices.

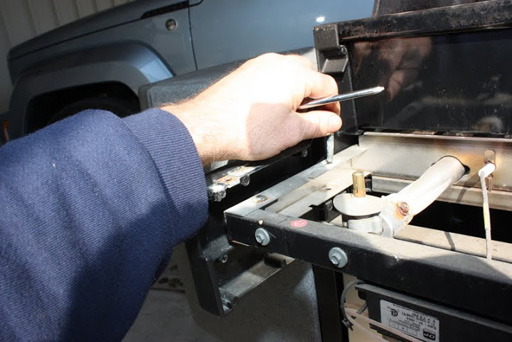
Img 2413 - This happens along the way sometimes. These screws have to be removed to get to the orifices.
Img 2414 - I'm pulling the burners and crossover burners as they need to be cleaned and inspected. We show a burner set for this model at this link-
http://www.clagrills.com/allgrillparts/weber/weber-model-5320001.htm
We don't have any other parts.
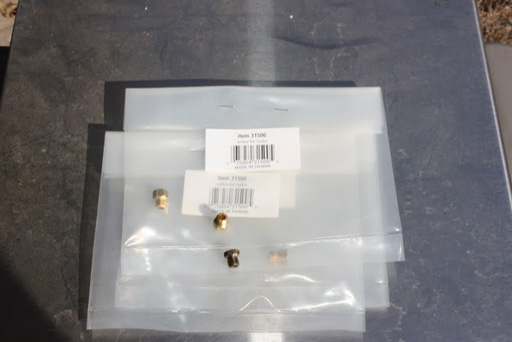
Img 2416 - Our 31500 orifice fits all the burner valves on this model. You can order them at this link-
http://www.clagrills.com/allgrillparts/weber/weber-all-valves.htm
Img 2418 - I used a #60 for all the main burner valve orifices, 11,175 BTU. That is as close as I can get to with numbered drill bits.

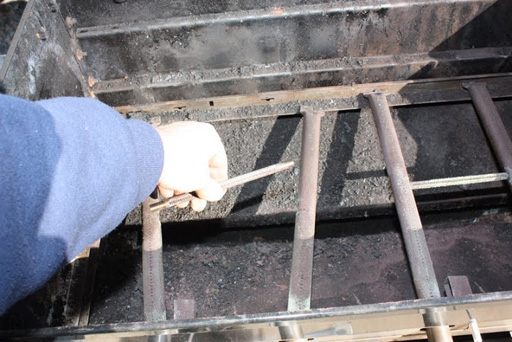
Img 2419 - Normally I'm not allowed to handle sharp tools like this, but I used a utility knife to clean out the rusted gas ports of the burner. You want them to be clean to get the best heat distribution and extend the life of the burners.

Img 2421 - Here is a cleaned burner next to a rusty one.

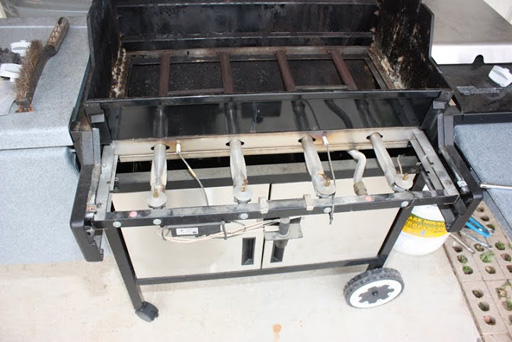
Img 2422 - Here are the burners back in. The cross over tubes go into the burners. But these have a few burned through places. It should work. I left the burners in and got the valve assembly back into place. But I left the panel off till I tested.
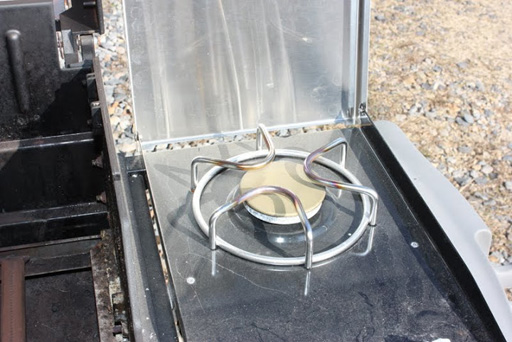
Img 2423 - The side burner is next but I had no idea of where the orifice was.
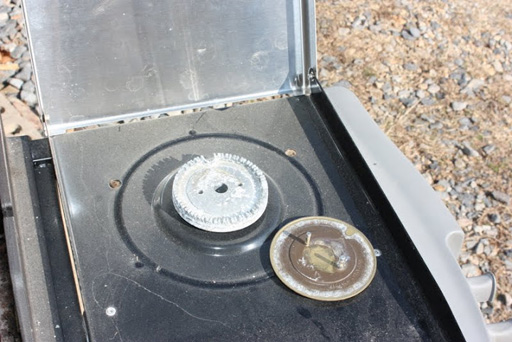
Img 2424 - After checking under the shelf I took the grate and burner top off.
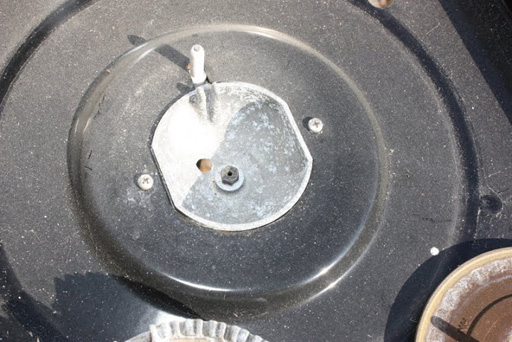
Img 2425 - Under that last part showing, which lifts out, is the orifice! Unusual to find it here!
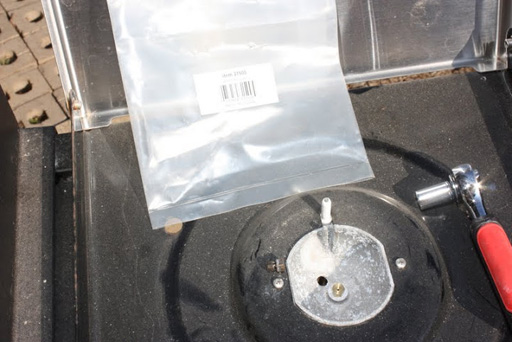
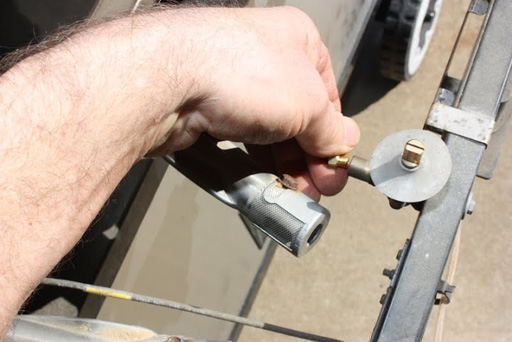
Img 2427 - You need a 7mm wrench to loosen it. It just needs to be finger tightened. I drilled the orifice with a #58, which is close to the 12000 BTU stated on the spec plate.
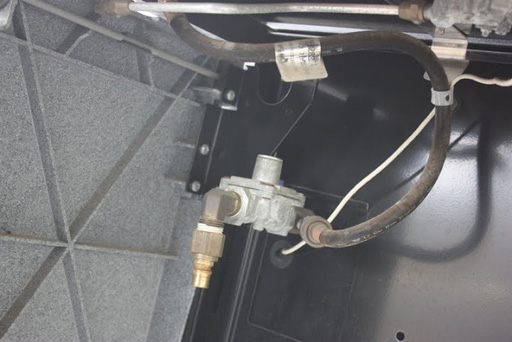
Img 2428 - Next we have to change the old Natural gas regulator and install a LP hose and regulator.

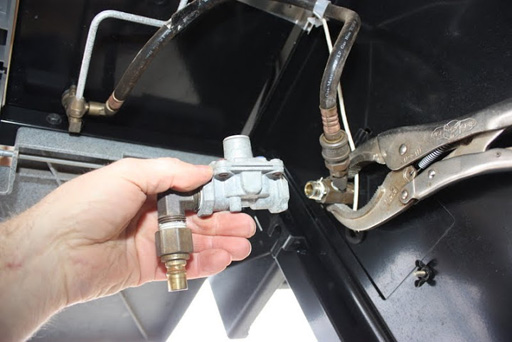
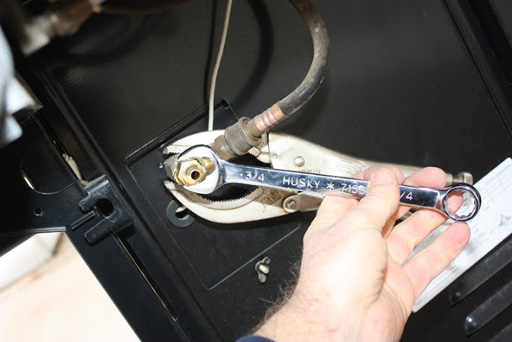
Img 2429 - I was able to get the aluminum regulator off with long nosed vise grips and channel locks. We don't need the old quick connect as we're using a standard 3/8 flared female fitting on our LP hose regulator. This is commonly found in most hardware stores.
Img 2430 - This was a little difficult to get. It wrenches off but left me with, I think, a 1/2 male NPT standard thread. Which was about 5/8 inch, actually.
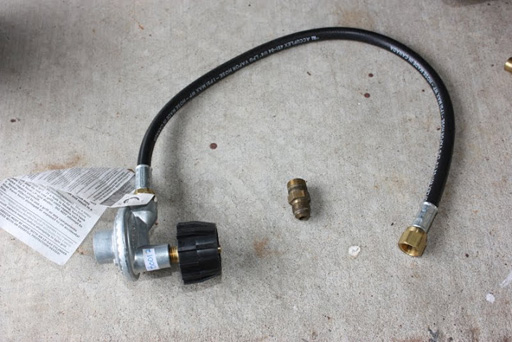
Img 2433 - Using a 3/8 female NPT to a 3/8 male flared fitting to connect to out standard LP hose regulator, #80012, found at this link-
http://www.clagrills.com/allgrillparts/weber/weber-all-hoses-regulators.htm
Img 2435 - I put pipe dope on the male threads. But you can use Teflon tape. I like stick pipe dope.

Img 2436 - I put the side burner back together in reverse of taking it out. And, then checked the main burners. I did secure the valve assembly drawer back to the grill.

Img 2437 - I hooked up an LP tank and tested the connections for leaks! Then I tested the flame.

Img 2438 - As I suspected the flame was still high on the low setting. But I played with it between high and off to get a lower flame. You have to be careful here! If you turn it too low the flame will snuff out, leaving the gas on but with no flame! If you're not comfortable with this option, either use fewer burners to get the lower flame or get a new grill for LP!
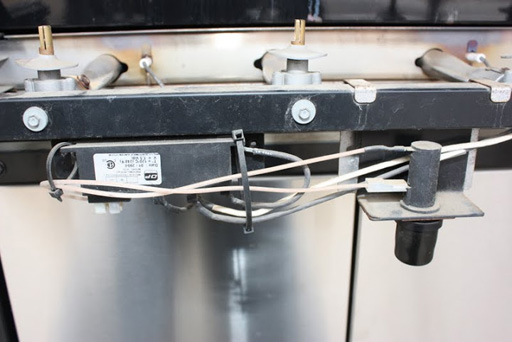
Img 2440 - I took a quick look at the igniter system. We don't have the exact match but you might be able to improvise one of ours at this link- Let me know if you want to try one.
http://www.clagrills.com/allgrillparts/all-igniters.htm

Img 2442 - Here is another shot of the igniter. Let me k now if you want to try an electrode as well. I should have removed one to check it.
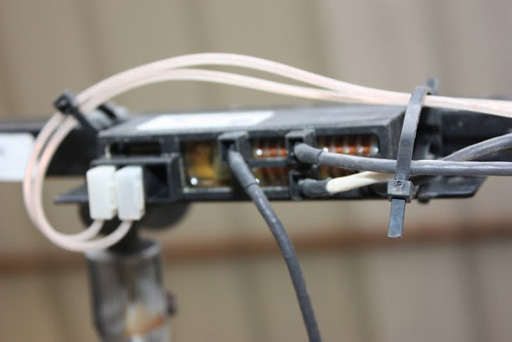
Img 2443 - This is one more of the igniter wiring connectors. The two white ones are from the button switch and the other 3 go to the two main electrodes and one to the side burner.
Img 2444 - That front panel just slides in. You may have to try it several ways to get it right.
Img 2445 - Got the control panel and knobs installed.
Img 2446 - The heat plates only fit OK in one combination. Keep trying till they seem right. This is correct for the right one.
Img 2448 - Here is the left side, the correct way.
Img 2405 - Heat plates and grids in. Tested and ready. But I had to advise the owners to test carefully before using. After transporting a grill you should always pull the heat plates and grids to check the burners and test carefully before using. Get to know your grill or find a proper technician to help!
Img 2441 - Tested and ready to be put back together.