
Buy American!
For Specific Grill Repair, Click on Your Model:
Weber Summit Silver Conversion
Making a SLG2006C Burner Bracket
Brinkmann 810-7440-S
This is a Brinkmann 810-7440-S grill. A friend received this grill in “used” condition and asked me to help! I changed the burners and flame tamers as well as converted the grill to Natural gas from LP. It’s not a bad grill. It has lots of metal. But the factory made the top and side shelves from stainless and used carbon steel on the lower half of the grill. It is a shame because if they had used stainless in the bottom with the burners, the grill would last longer. You might see the rust holes in areas of the pictures. But this grill still has several years of life left, with a rebuild. The CLA page link showing our parts is:
http://www.clagrills.com/allgrillparts/brinkmann/brinkmann-model-810-7440-s.htm
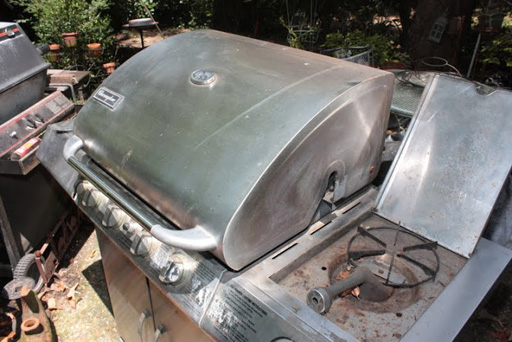
Img 2289 - Here is the grill as I found it in my friends back yard, here in Little Rock.

Img 2290 - This is the CSA-spec plate showing the model number, serial number, and basic BTU information under the control panel.
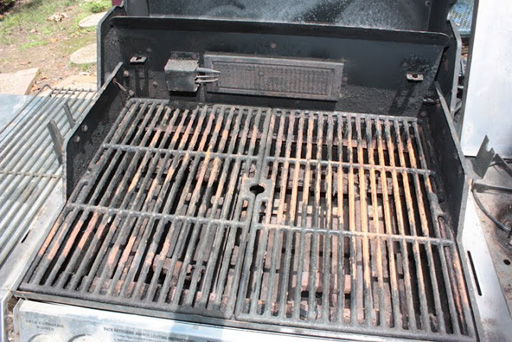
Img 2291 - This photo shows the lid top open with the warming rack out.
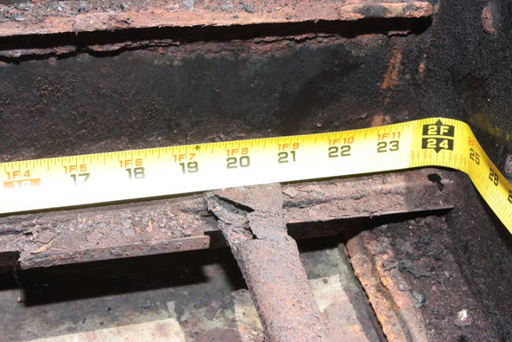
Img 2292 - The length of the burner bracket is 24 5/16 inches which is part number CLA-MX0046 and shown on this page:
http://www.clagrills.com/allgrillparts/brinkmann/brinkmann-all-repair-parts.htm
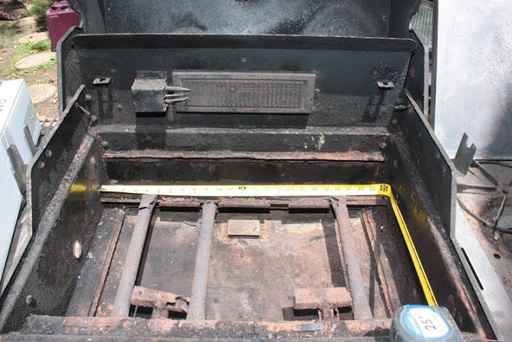
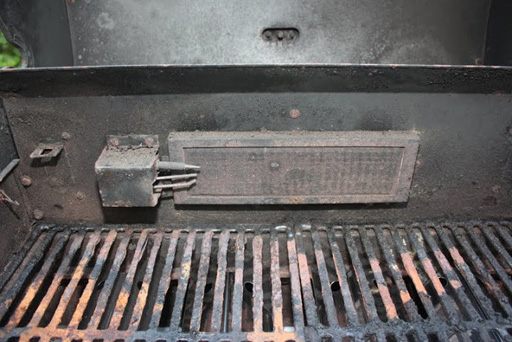
Img 2293 - This is the bottom of grill showing old burners, brackets and the old electrode/collector box which CLA doesn't have. The factory does offer a universal replacement. Unfortunately, I've had customers say those don't work well.
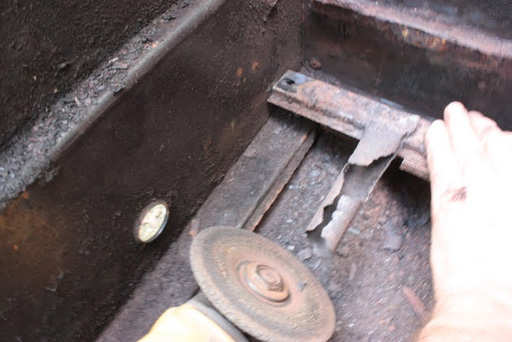
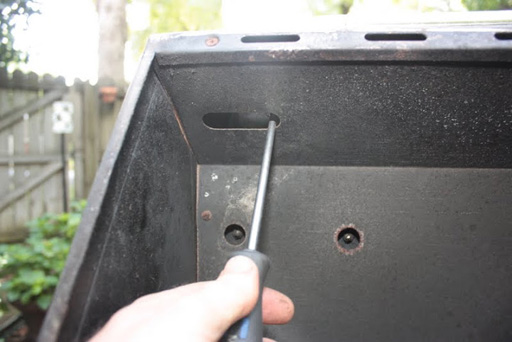
Img 2296 - I had to grind off the screws holding the bracket down with a serious grinder.
Img 2297 - This photo is showing the burner bracket loose and showing the rusted hardware that holds it.
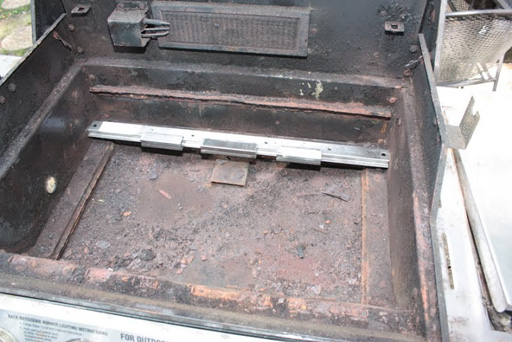
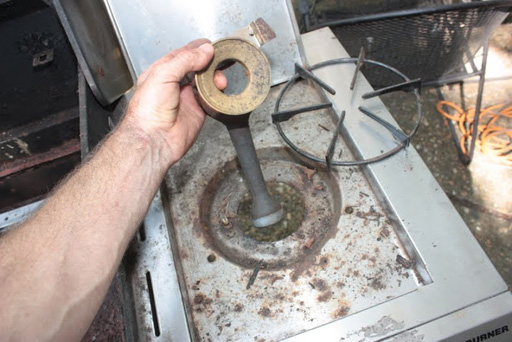
Img 2298 - Here is CLA part CLA-MX0046 installed in the grill bottom.

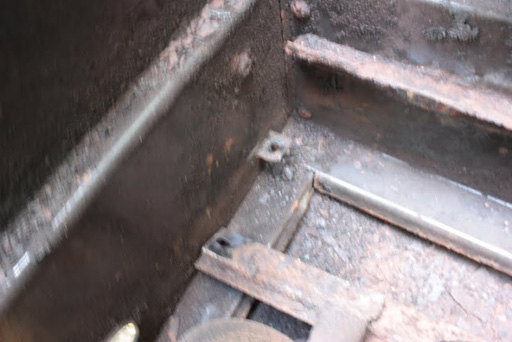
Img 2299 - Here is the front of the grill bottom with the electrode brackets removed.
Img 2301 - I had to go under the control panel to drill out the main valve orifices to Natural Gas. I used a #53 drill bit to convert .
Img 2302 - I pulled the side burner out to get to the valve orifice so I could drill it out. I used the #52 drill bit for that. I didn't get a picture but the valve orifice is just under the side burner shelf.
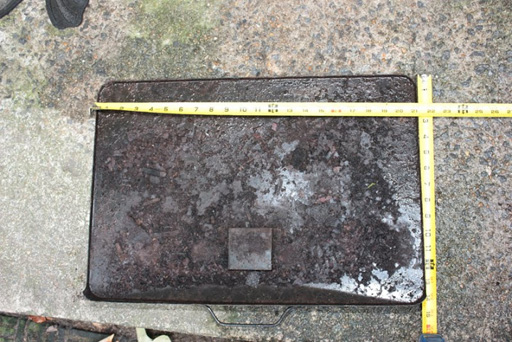
Img 2304 - This photo shows the grease tray pulled out with tape measures showing the length and width. It looks like 21 X 14 1/2 inches. We (CLA) doesn't have this part, so you will have to try Brinkmann.

Img 2306 – Here are the main burners, mounted correctly, over the main valve orifices. It is always good to check and be sure before testing. Always look!
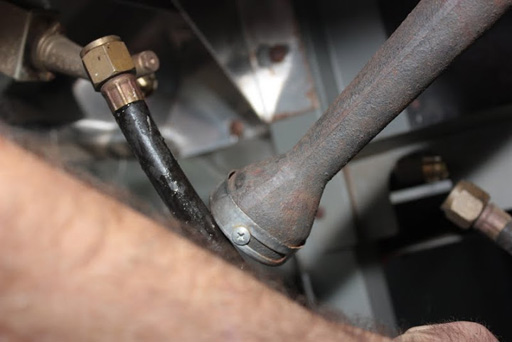
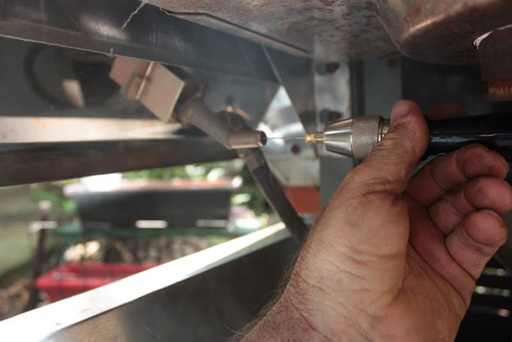
Img 2307 - The old hose hook ups are common 3/8 flared fittings. I use 2 short connectors and a T to hook up a common 12 quick connect that was on the old grill.
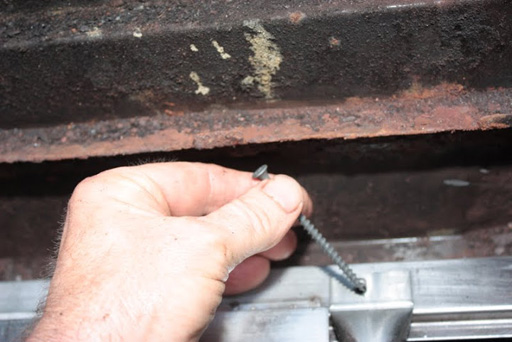
Img 2308 - I only had some drywall screws to put the burners down in the grill. They don't need to be screwed or bolted down unless you move the grill around.

Img 2309 - Here the burners are installed with one heat tent installed. It’s good to test the burners with everything off to check the flames.
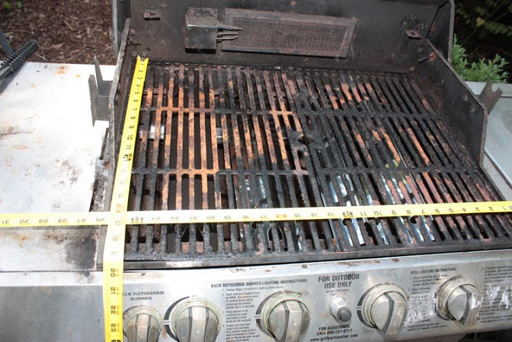
Img 2310 - Here is a tape measure on the grids showing the measurements.
Img 2312 - I tightened the lid handle inside the lid with a Phillips head screw driver.
Img 2315 - I still had to drill out the rotisserie burner orifice which is behind the grill.
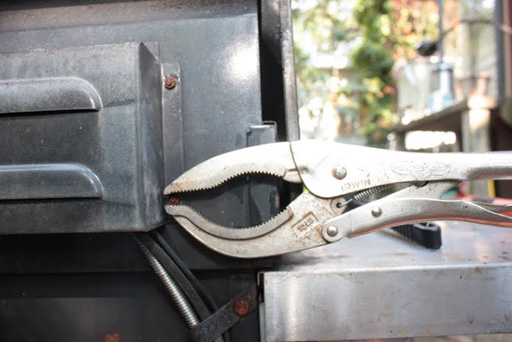
Img 2316 - I loosened the nuts with vise grips.
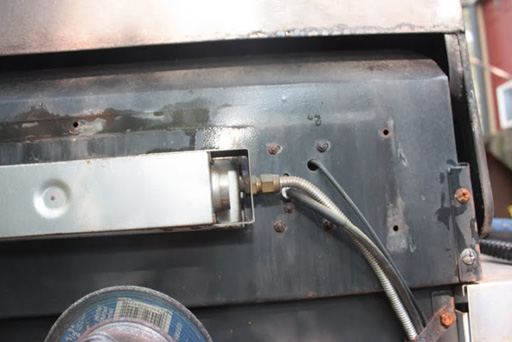
Img 2317 - When the cover is off it exposes the orifice going into the burner. I used a pair of open end wrenches to get it loose after taking off the gas connection.
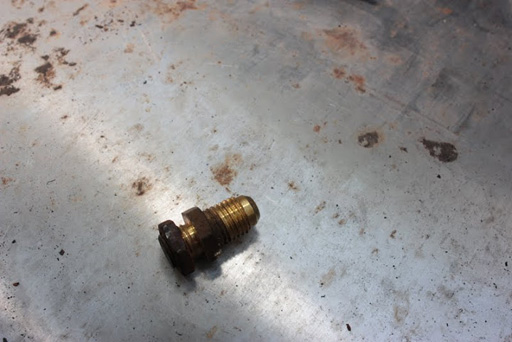
Img 2318 - This is the orifice removed which I drilled out with a #53 drill bit. Then reinstalled and tested.