
Buy American!
For Specific Grill Repair, Click on Your Model:
Weber Summit Silver Conversion
Making a SLG2006C Burner Bracket
Charmglow 810-7400-S
This article is on a Brinkmann made Charmglow 810-7400-S. This grill can be found at Home Depot. The Charmglow name goes back a long way with gas grills. Back to the days when Walter Koziol started what may have been the first consumer gas grill factory in the fifty's. He sold that and later started Modern Home Products, MHP grills. These grills are still in the market. Charmglow later was bought and ended up being owned by Sunbeam. Sunbeam went out of the grill business about 10 years ago. The name was then bought, or rented, by Home Depot about 6 years ago. That name was then put on a line of their grills which were made by several companies, including Nexgrill. The 810 numbers on the front are a Brinkmann prefix.
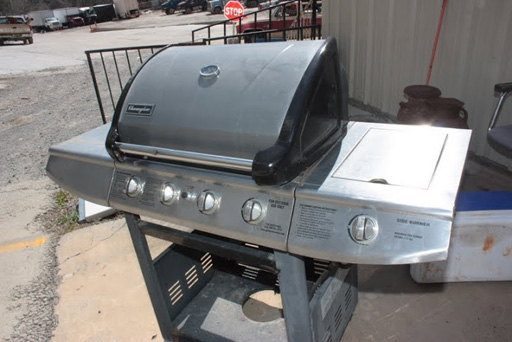
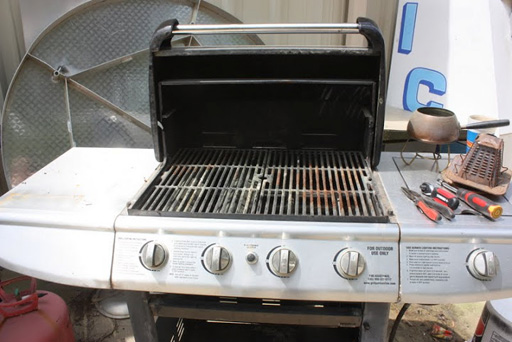
Img 2550 - The 810-7400-S is a heavy gas grill with numerous stainless steel parts, mostly on the top and outside of the grill. The ends of the top are cast iron, notably heavy. If the valves hold up, and you can afford the parts, it is worth keeping. You can see the parts we have at this link:
http://www.clagrills.com/allgrillparts/brinkmann/brinkmann-model-810-7400-s.htm
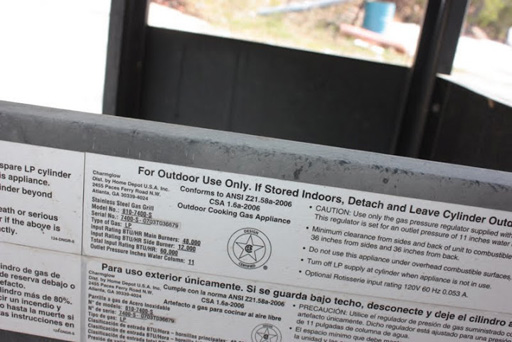
Img 2552 - The spec plate/CSA is on the lower bracket behind the grill.
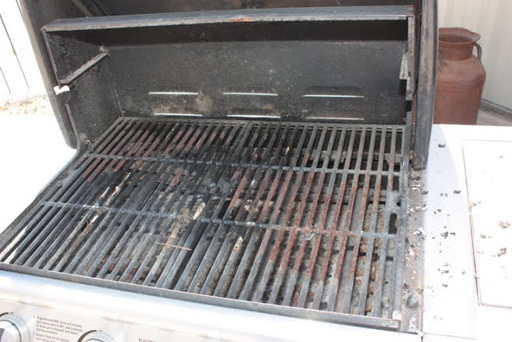
Img 2553 - The warming rack is missing but the grids are in good shape. Even if the porcelain is chipped or worn away, you can brush the grids down, oil them up with cooking oil and they're ready to go.
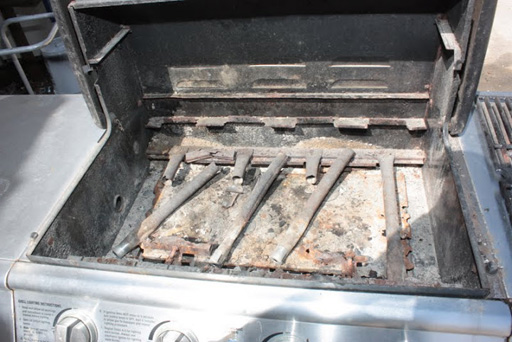
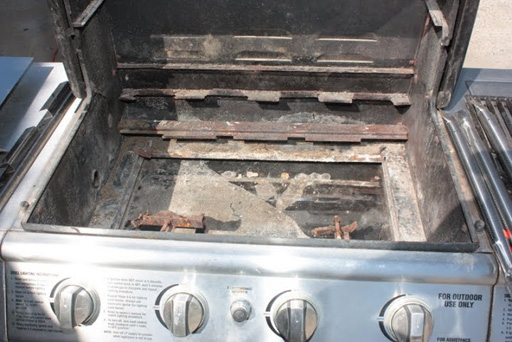
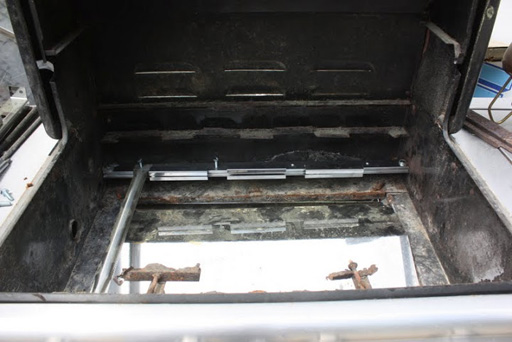
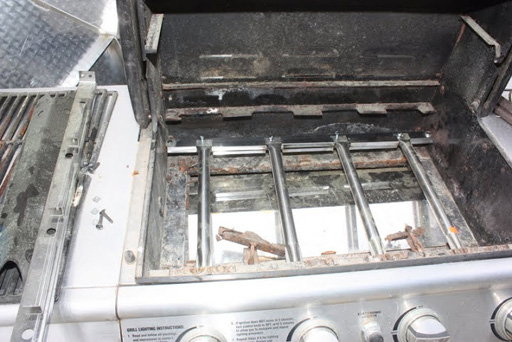
Img 2554 - As you can see, the flame tamers and the burners are gone. We have the burners and flame tamers and are working on a burner bracket. The factory still carries the grease tray and the lower heat shield.
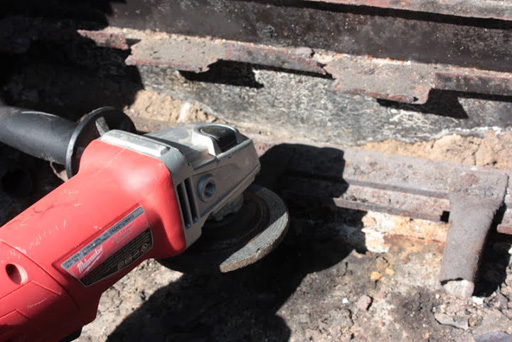
Img 2575 - I had to grind out a few of the bolts holding the old burners in. If you don't have a heavy grinder like this, you might be able to twist the bolt out with vise grips or drill the bolt head off.
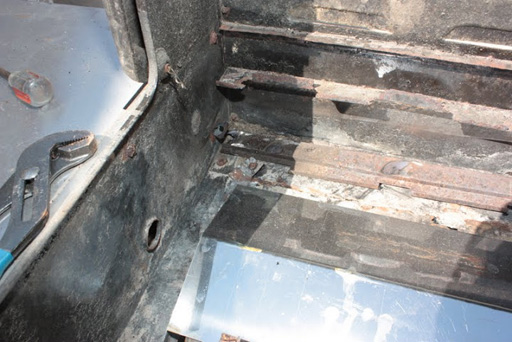
Img 2576 - I removed the burners and lower heat shield. Then I dusted out the crud in the grill bottom and grease tray.
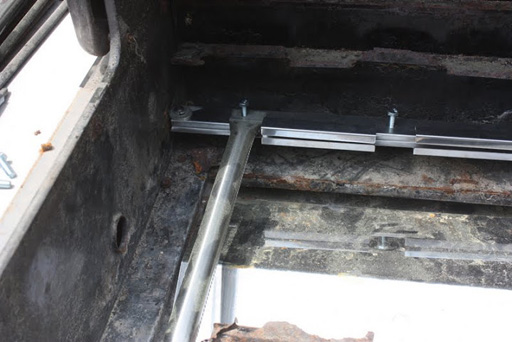
Img 2577 - I have some sheet metal equipment and was able to make the lower heat shield and a grease tray, which slides in from the back of the grill. You can also patch up both of them with sheet metal or even heavy foil. It should last a few months.
Img 2629 - I bought the burner bracket from Brinkmann (we're having some made locally) and had to grind out the bolts on each end holding the bracket. The bracket has crossovers that help to get all the burners lit.
Img 2630 - The burners then will install with the open end going in the front of the grill. I like to look under the control panel and make sure the venturi opening on the burner is secured over the valve orifice.
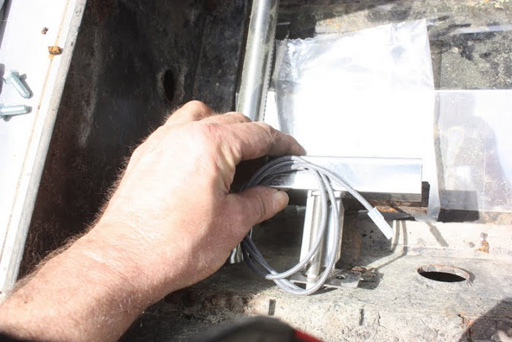
Img 2631 - Our 08500 electrode/collector replaces the old one. I left them out here as the owner is use to lighting with a long stemmed lighter. There is a hole for manual lighting on the left side of the grill bottom.
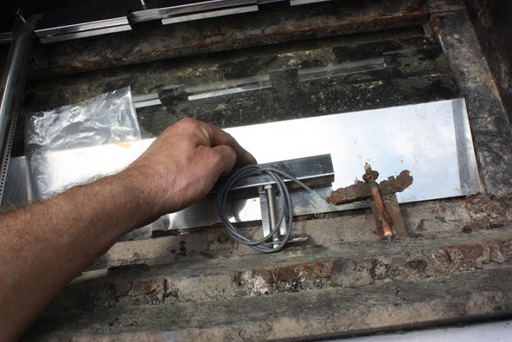
Img 2632 - This photo shows our electrode next to the old one. You can see the lower heat shield I made. To change the electrode you, again, have the old bolts to remove. I would grind them out. Install the new one and hook up to the igniter. We also show an igniter on our parts page:
http://www.clagrills.com/allgrillparts/brinkmann/brinkmann-model-810-7400-s.htm
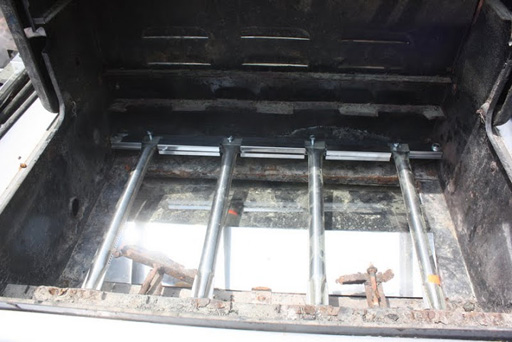
Img 2633 - Here you can see all the burners installed. I like to secure them as it's easy for the burners to slip out without being bolted in. I tested the burners without the grids or flame tamers.
Img 2634 - You can see that I left out the new electrode. And, you can see the new lower, improvised, heat shield and grease tray under the burners.
Img 2635 - Here I have put the flame tamers back in with the grids and tested the grill by lighting. I always like to inspect the hose regulator... then it is ready to go.