
Buy American!
For Specific Grill Repair, Click on Your Model:
Weber Summit Silver Conversion
Making a SLG2006C Burner Bracket
Bakers & Chef Y0656
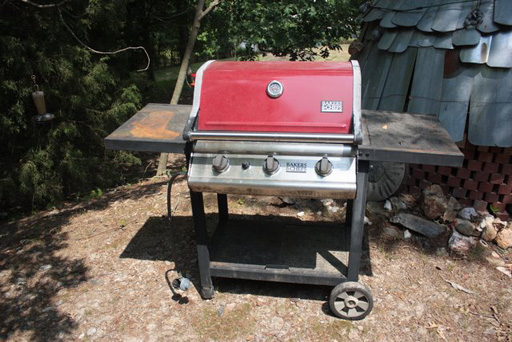
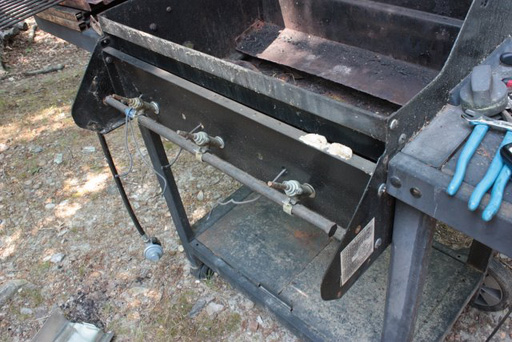
Img 2200 - This is an old Bakers and Chef Y0656 given to me by one of my parts vendors. It’s a sturdy grill without a side burner or rotisserie burner. I think it goes back 7 or 8 years. See the CLA parts at this link: http://www.clagrills.com/allgrillparts/bakers_chefs/bakers_chefs-model-y0656.htm
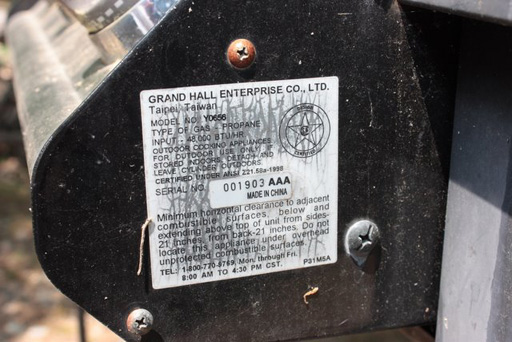
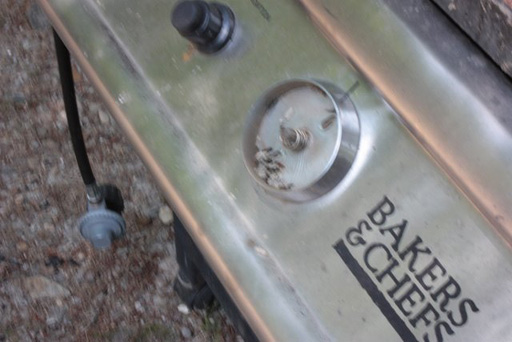
Img 2201 - The spec plate is on the right side of the control panel. These decals tend to get unreadable over time. But the model number is the most important part.
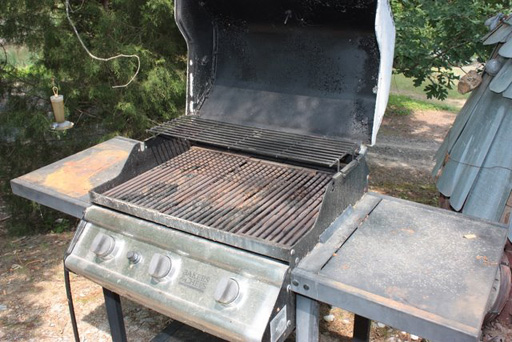
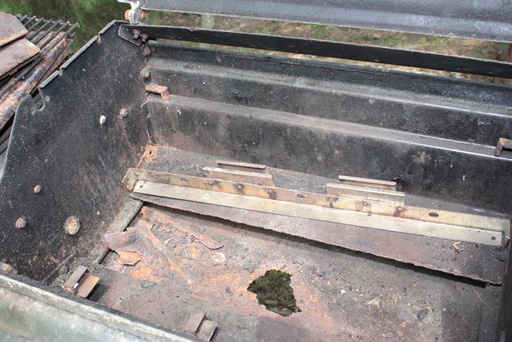
Img 2202 - The grids, warming rack, and heat plates/flame tamers just sit in the grill.

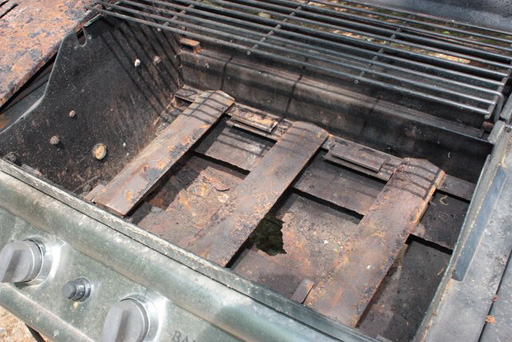
Img 2203 - Heat plates lift out.
Img 2204 - The burners are held in by small cotter pins under the burner bracket in the back of the grill. I've changed the burner brackets before.
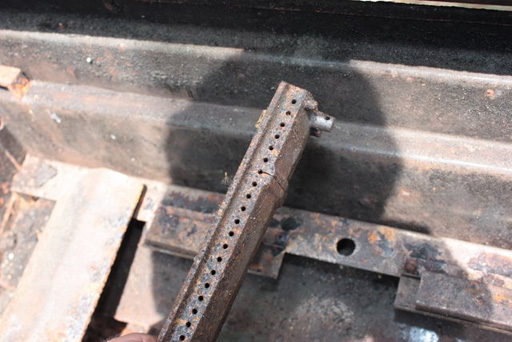
Img 2205 - The burner lifts out from the back and then pulls out as you pull up slightly. Note the cotter pin hole. I used needle nose pliers to get them out.
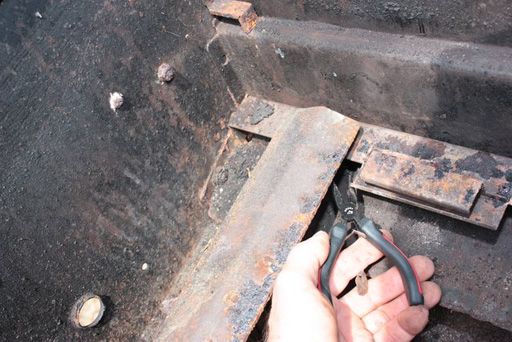
Img 2206 - In this photo I am using the needle nose to get the next burner's pin out.
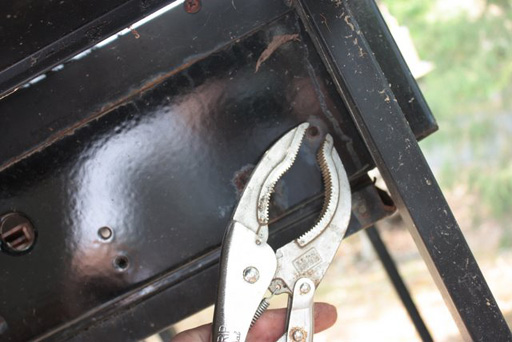
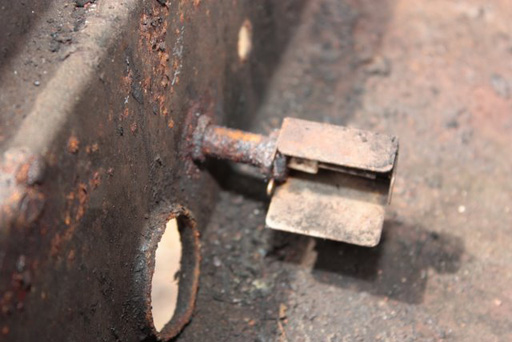
Img 2207 - The burner bracket is held in by a nut and bolt on each side. It might be rusted enough to need some vise grips to loosen.
Img 2208 - I did use box wrench to hold the inside nut and loosen.
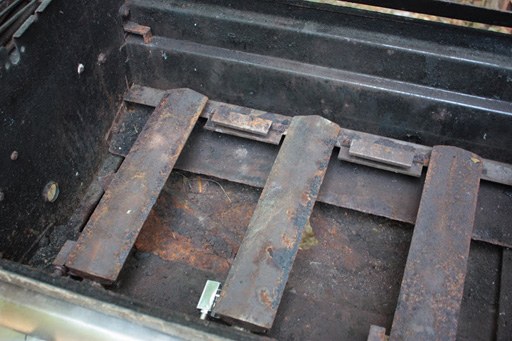
Img 2209 - The burner bracket removed.
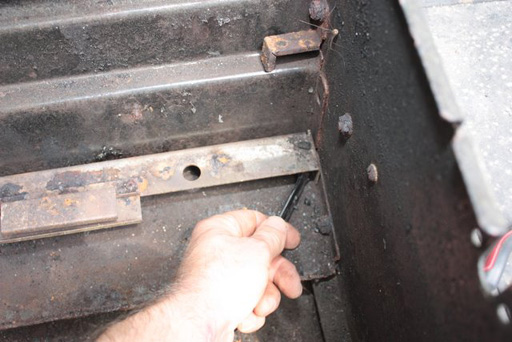
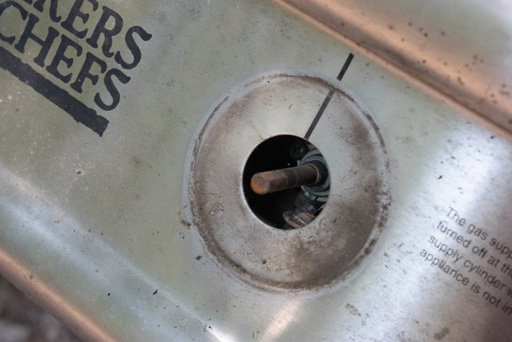
Img 2210 - The electrode on the lower front of the grill next to the burner. This one is rusted in and will probably have to be ground off to remove. I have also twisted them off with vise grips and channel locks.
Img 2211 - The front knobs pull off and there is a spring under each one. Try not to lose them.
Img 2212 - The knob, spring and bezel removed from the control panel.
Img 2215 - The control panel removed from the grill.

Img 2216 - Its easier to get to the electrodes with the valve assembly removed. You might be able to get to it without removing the valve assembly but I decided to give myself the room to work.

Img 2217 - I managed to get the electrode unscrewed with the vise grips and channel locks.
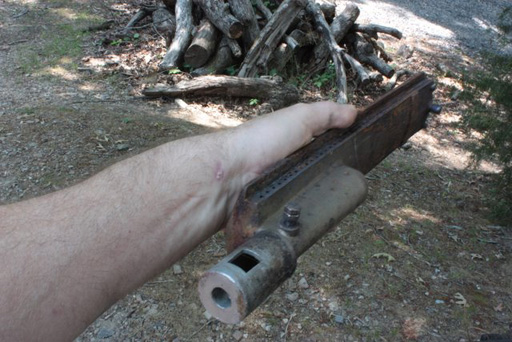
Img 2218 - The burner removed. This one is a cast stainless burner I've had there for 3 years now. They do last years longer but will cost about 3 times as much as cast irons ones.
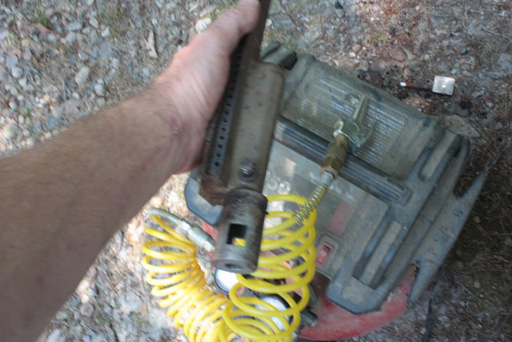
Img 2219 - I blew out the burner with compressed air.
Img 2220 - The new electrode installed with the burners and bracket back in the grill. Be sure to reset the valve, the bezel, springs and knobs!
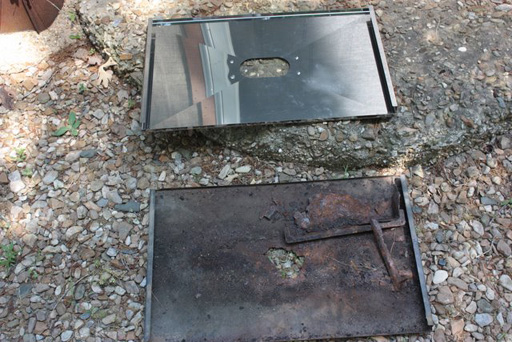
Img 2221 - The old grease tray replaced by CLA-DS0003 seen at: http://www.clagrills.com/allgrillparts/bakers_chefs/bakers_chefs-model-y0656.htm
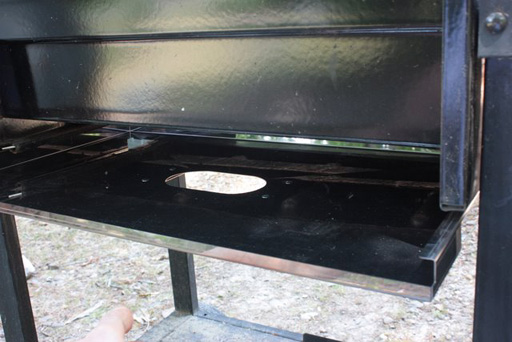
Img 2222 - The grease tray slides in from the back and has a small mini loaf grease cup that slides under the tray into some brackets.
Img 2203 - The heat plates and grids just sit in the grill. Check for leaks and test carefully before using the grill!!!