
Buy American!
For Specific Grill Repair, Click on Your Model:
Weber Summit Silver Conversion
Making a SLG2006C Burner Bracket
Kenmore 41515450
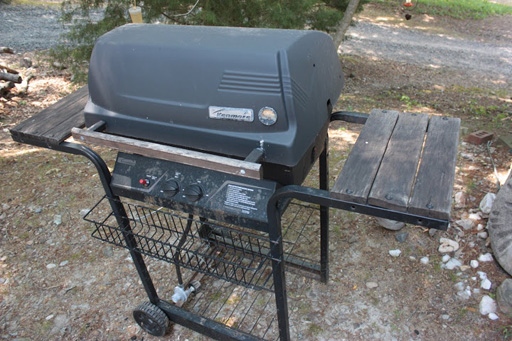
Img 2223 - This is a Kenmore 41515450 that I found close to where my brother-in-law lives. The grill was not far from someone’s house but it was on the road, abandoned.
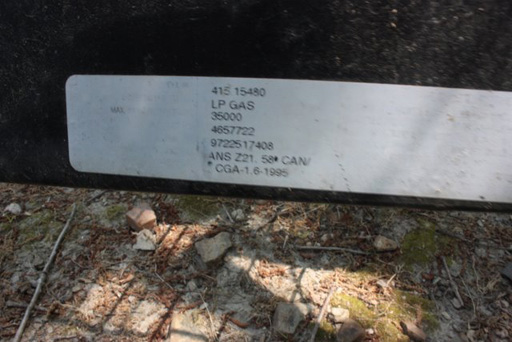
Img 2225 - The CSA/spec plate is on the lower support on the back of the grill. Below the Kenmore model #41515450 you can see another number 4657722, which is the manufacturer’s model number. This is a Charbroil made unit which shows up on the Charbroil website.
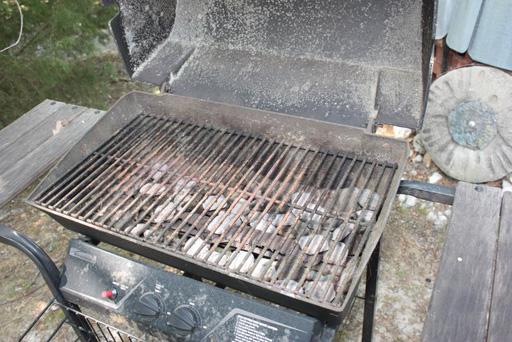
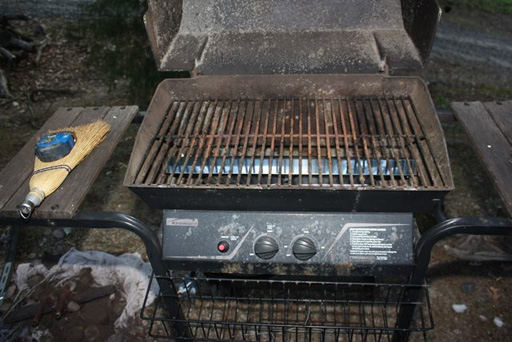
Img 2226 - Here is the grill with the grids and worn out guts inside.
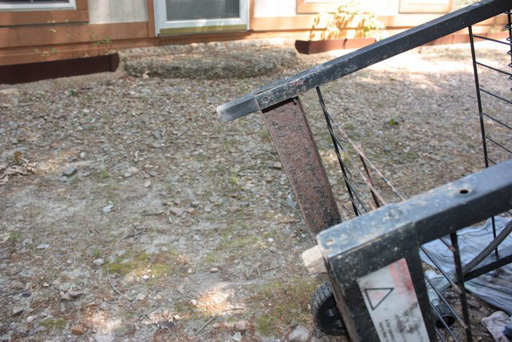
Img 2227 - This photo shows the legs opposite the wheels with a missing plastic foot and a wood end stuck in one leg. Since you're doing this work you might as well fix it permanently.
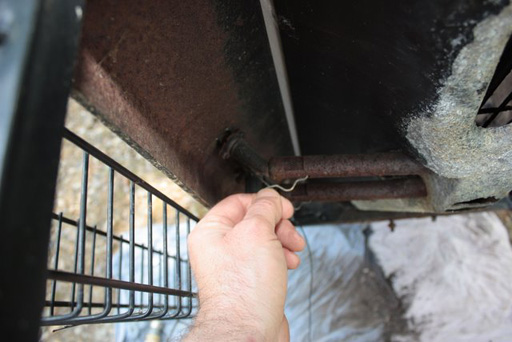
Img 2228 - The burner assembly is held into the grill by this spring, attaching the venture to the valve manifold.
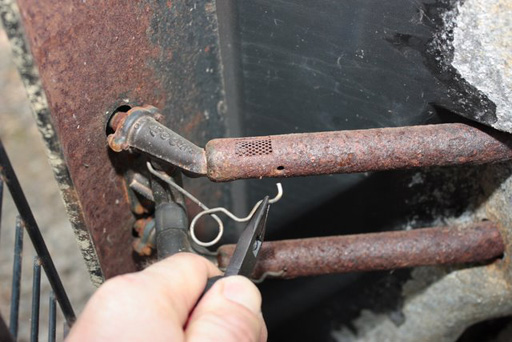
Img 2229 - It might be easier to use needle nose pliers to get the spring in or out.
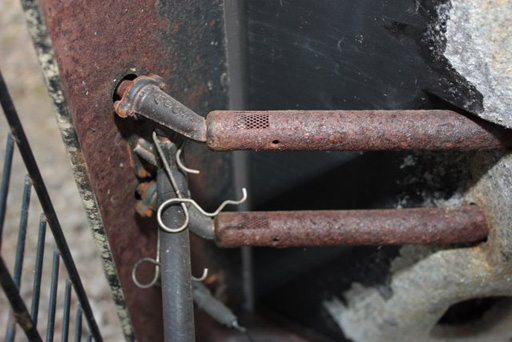
Img 2230 – Here is it is with the retaining springs out.
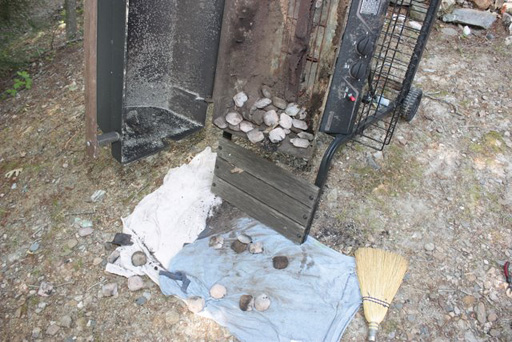
Img 2231 - Its easier to get the crud and rust out with the grill on the side and brush with a whisk broom onto some old T shirts.

Img 2232 - Then upright the grill and pull the burner assembly, with the old grate, which sat under the burner. You can get those from Charbroil or leave it out.
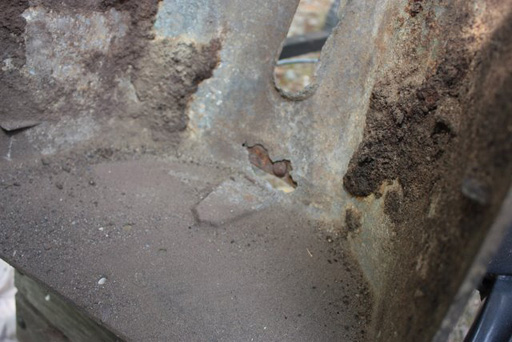
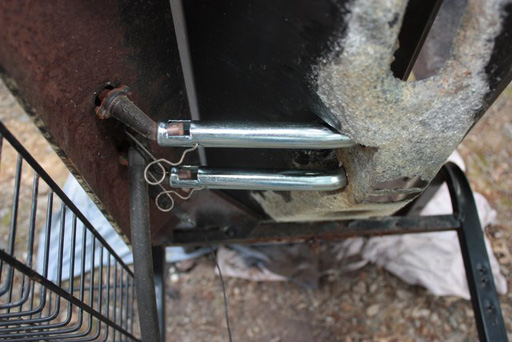
Img 2233 - The grill bottom is showing the old bolts which are rusted out. It’s better to make a repair here to prevent the grill bottom separating from the frame later.
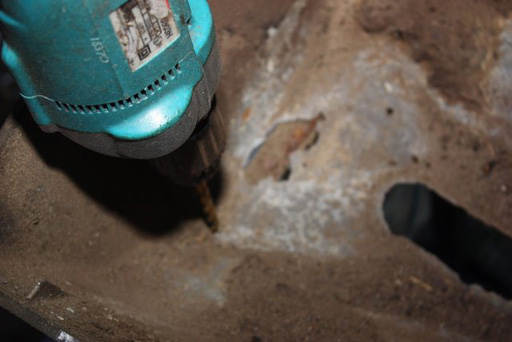
Img 2242 - I drilled some new holes to patch it up.
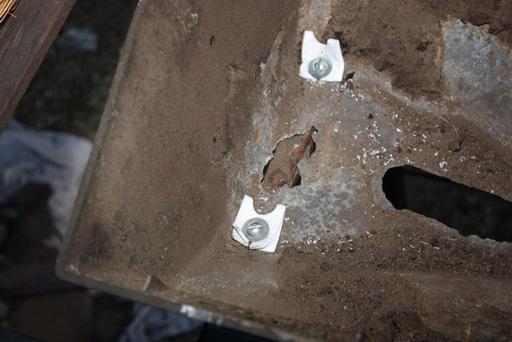
Img 2243 - I set 2 bolts on each side and used some gasket material under the washers to reduce the galvanic oxidation that causes the rusting.
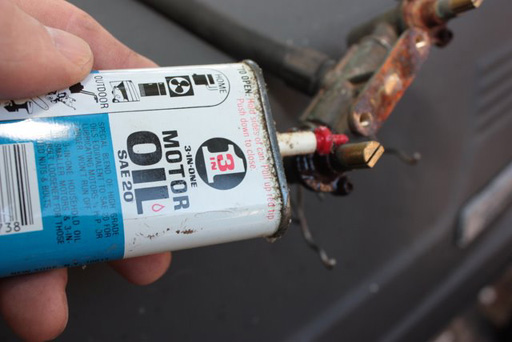
Img 2236 - I used some machine oil on the valve stems to loosen them up and slope down the rusting that occurs between the brass stems with the steel screws and flanges.
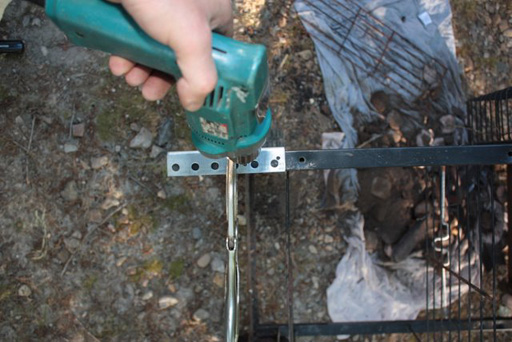
Img 2237 - I had some simple angle pieces from the hardware store that I cut to replace the cheap plastic pieces from the factory. I leveled the grill with a 2X4 under the bottom supports and clamped the angles to drill and attach.
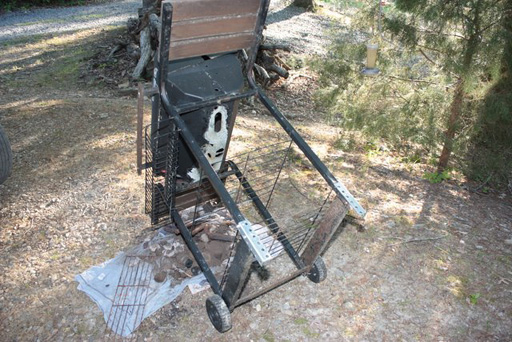
Img 2238 – Here is the grill with the ad hoc supports attached to the legs.
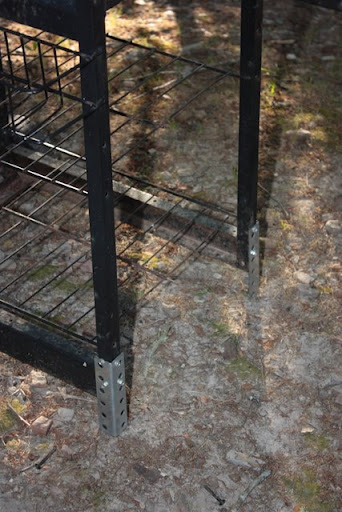
Img 2239 – These legs are sturdier and will last a few years.
Img 2234 - You can find the burner assembly, ignitor/electrode, and flame tamer on a similar Charbroil model page. The CLA/music city burner 115C2-76402 installed with the 04400-04500 electrode/box attached.
http://www.clagrills.com/allgrillparts/charbroil/charbroil-model-4637815.htm
Img 2235 - The venture has holes in the venture to attach the retaining springs to.
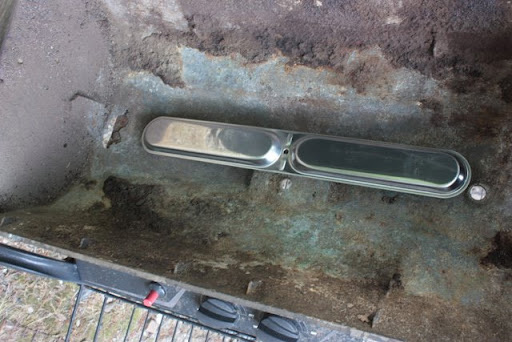
Img 2247 - The heat plate goes over the burner and sets on supports on either end of the grill bottom.