
Buy American!
For Specific Grill Repair, Click on Your Model:
Weber Summit Silver Conversion
Making a SLG2006C Burner Bracket
Broil King 988787
This is a Broil King grill I bought from the factory 6 or so years ago intending to assemble and have for research. But I never got around to putting it together. I had the opportunity to give it to a vendor and finally got it out of the warehouse.
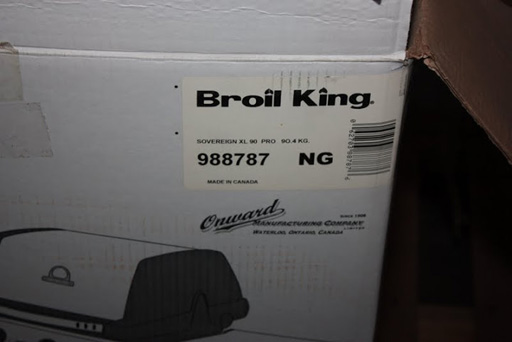
Img 2156 - Here is the Broil King 988787 NG (natural gas) in the box.
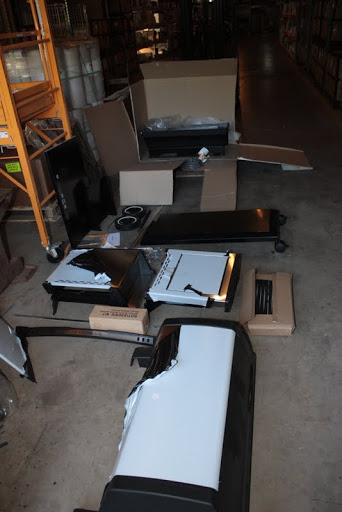
Img 2159 – When ever I assemble anything, I like to spread all the parts out on the floor and have the instructions right there. I try to put it together as instructed.
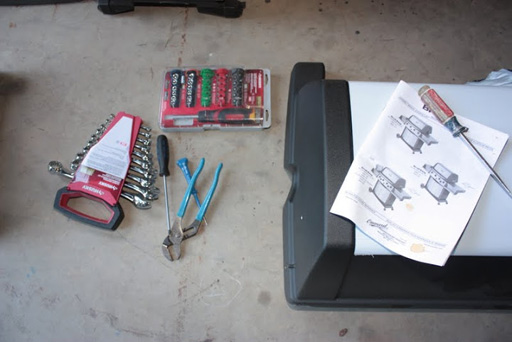
Img 2160 - The instructions might have a tool list but I’ve got my favorites together. Plan on using a few they don't show.
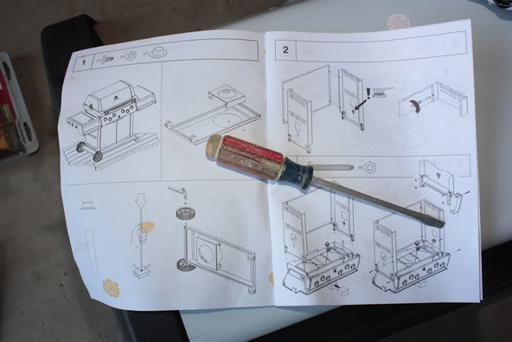
Img 2161 - Most of the instructions use pictures and very few words. They usually show the nuts and bolts you'll need with an index. It’s a good idea to keep it all handy so you'll know exactly what they mean! We're starting with the base here.
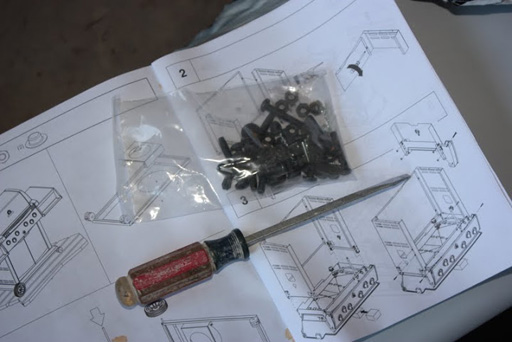
Img 2162 – This photo shows all of their nuts and hardware. They are in the bag and unmarked. So use their descriptions to get the right one.
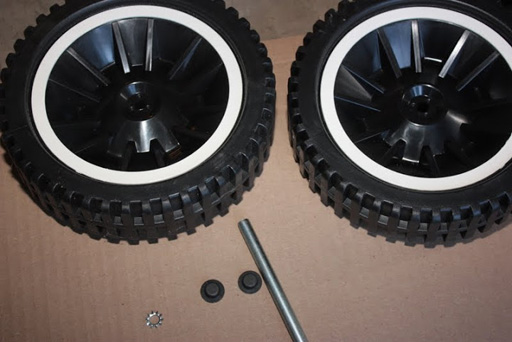
Img 2163 - The wheels with the end caps
.
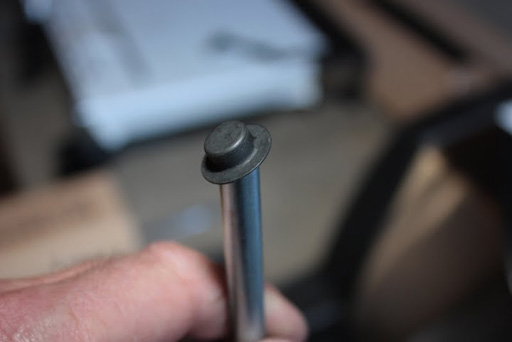
Img 2164 - I hammer one side on with gentle taps of a hammer.
Img 2165 - Then I thread the rod with one wheel on the end with the cap on (and make sure the wheel is on right).
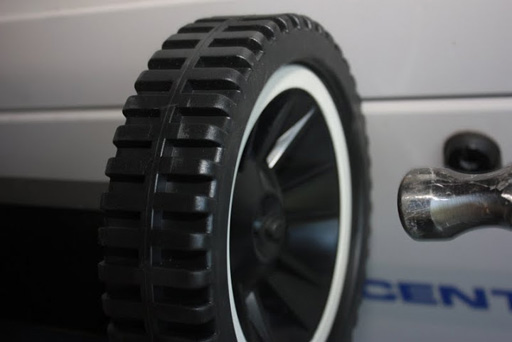
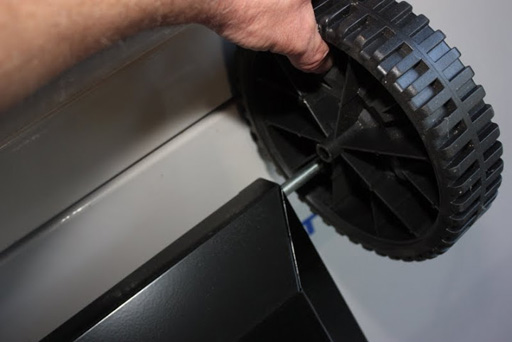
Img 2166 - I put the other wheel on and then tap on that end cap. Check the wheels each way to see which is better. They might detail that in the instructions, they might not. The castors simply get pushed into the other end of the base. I had to tap in with my hand.

Img 2168 - I had mounted some of the side panels to the grill bottom before adding the base.
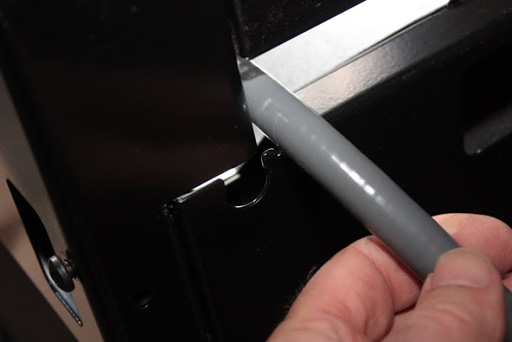
Img 2170 - The gas hose is made to sit in a small notch on the grill back. But I thought it might be too tight and eventually could wear a hole through the hose. So I enlarged the small opening seen to the left of the hose in the picture, and added some extra tape to the hose as a precaution.
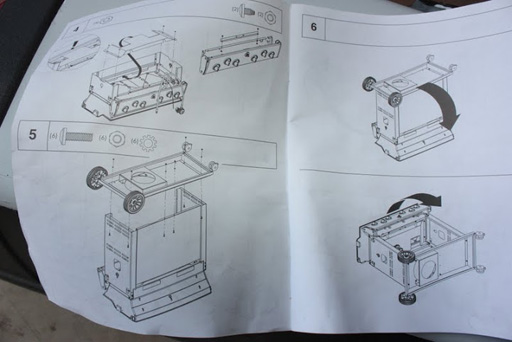
Img 2174 - There's the pictures showing the panels, heat shield on the grill bottom and the grill base with the wheels and castors.
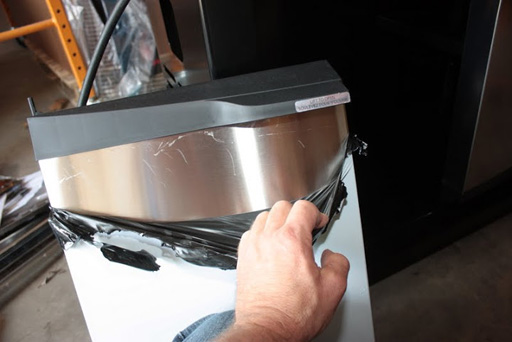
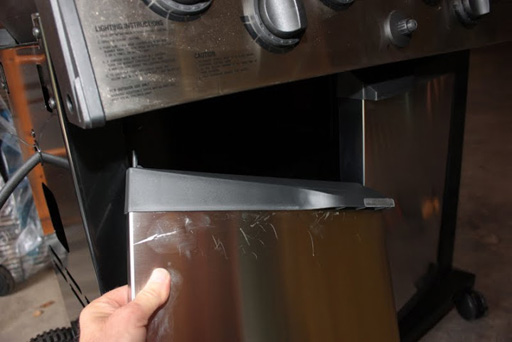
Img 2175 - Pulling the vinyl plastic of the panels is the worst job of the whole thing. And, if it is cold, the plastic tends to tear away. Take the panels into a heated area to warm up first… if that's the case. I've used a hair dryer to warm it as I go which helps. FAILURE to get it off will result in it burning up!
Img 2173 - Here is a photo of the grill upright.
Img 2176 - The front doors do just clip in. You might have to study the instructions and the doors a bit though.
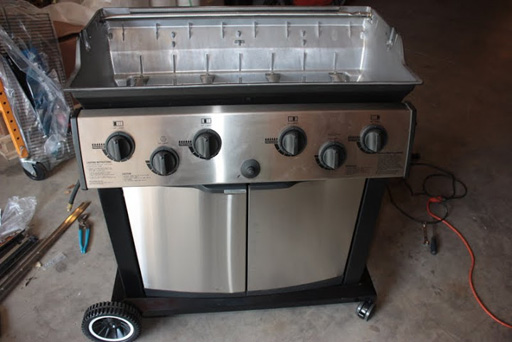
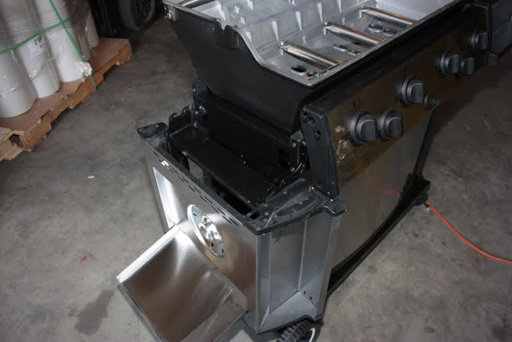
Img 2177 - The grill assembled on the base ready for the side shelves.
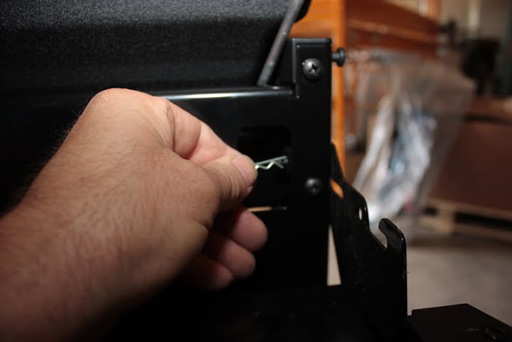
Img 2179 - The shelf pin is held by a cotter pin.
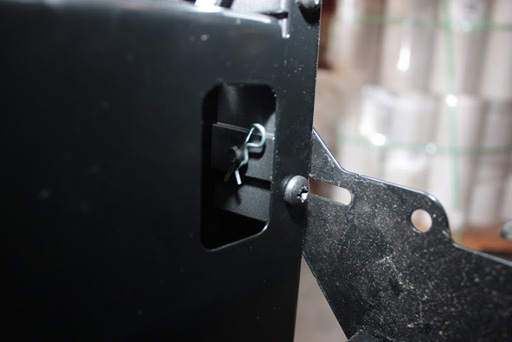
Img 2180 - The pin installed holding the shelf with the cotter pin installed.
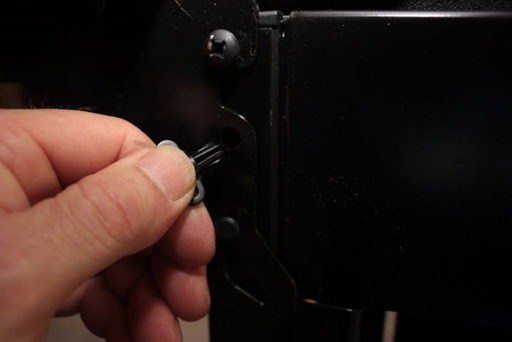
Img 2181 - There is a small plastic insert to lock the side shelf in the upright position.
Img 2184 - The side burner shelf will be hooked up with the pins and then can be raised to the level position.
Img 2185 - The igniter/electrode can be hooked up with the shelf up.
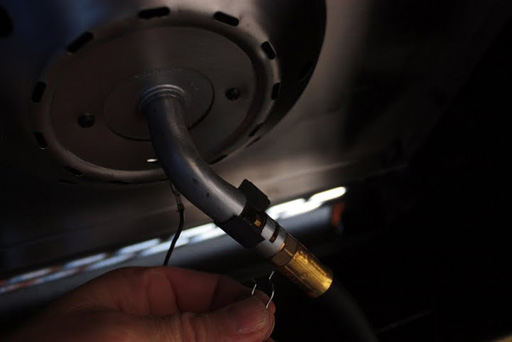
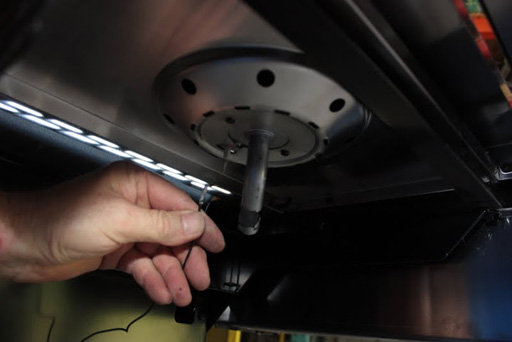
Img 2186 - The gas supply is held in the venture by a spring clip.
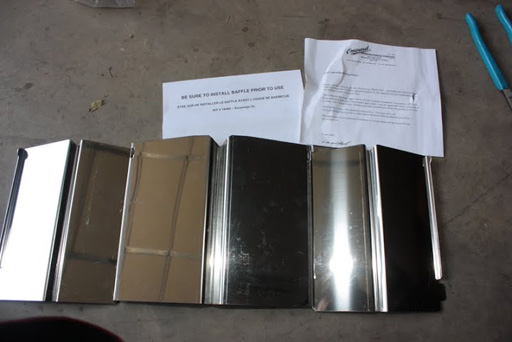
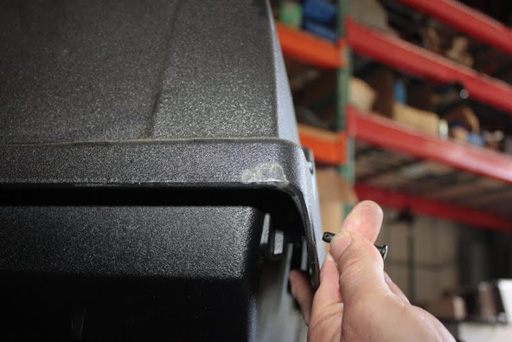
Img 2188 - The factory sent a notice after the purchase of the grill and provided an additional heat shield kit that goes under the burner. Whenever the factory provides additional hardware, you should try to install it or get someone else to. This kit provides addition protection to the grill bottom, as well as increases the safety of the grill.
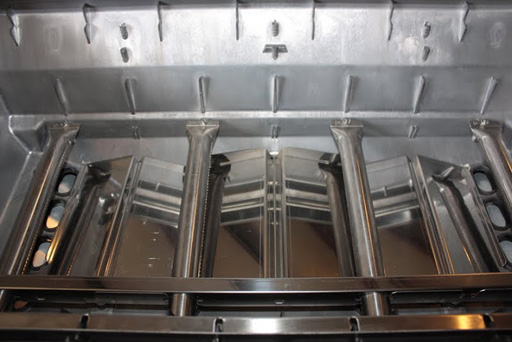
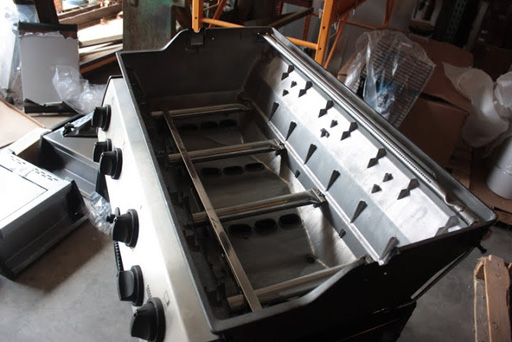
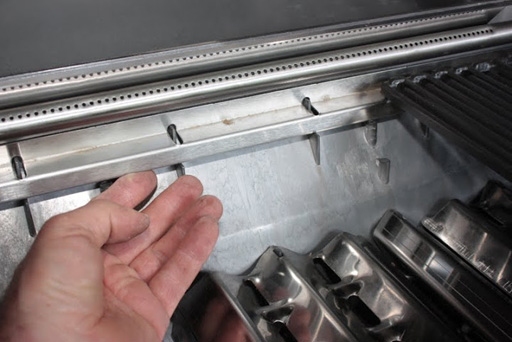
Img 2189 - Here is the heat shield kit installed under the burners.
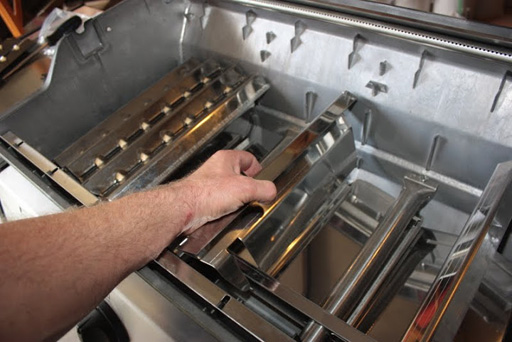
Img 2190 - The heat plates and the side supports going into the grill.
Img 2191 - The lid hinge pin installed and will need a cotter pin.
Img 2192 - The factory provided an extra grid support, and it is a good idea to install it.
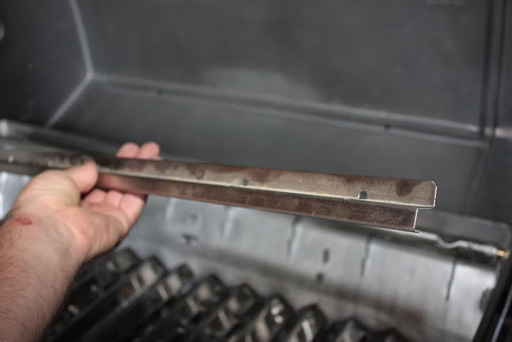
Img 2193 - And here is the grid support.
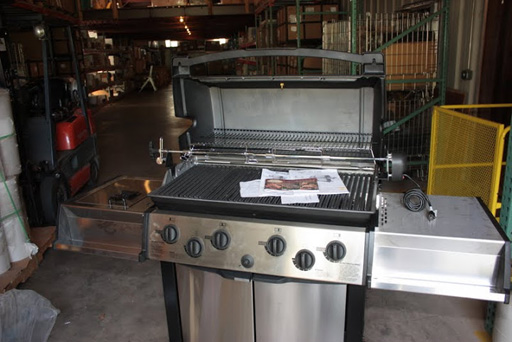
Img 2194 - And here is the grill assembled.