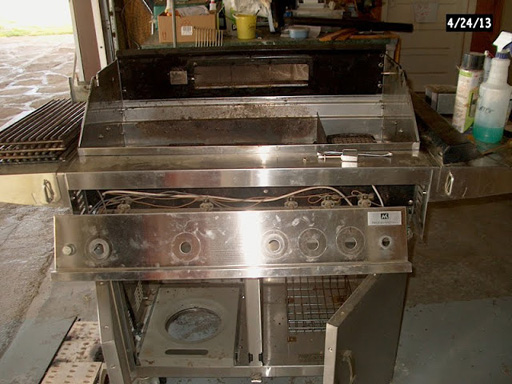
Members Mark M3905ALP
These are pictures were sent to me by an owner of a Members Mark M3905ALP. He used our burner 16431 to replace his old one (which we don't show) to fit his grill. We're working on duplicating the grease tray and burner brackets.
Img 014 - Here is the Members Mark M3905ALP
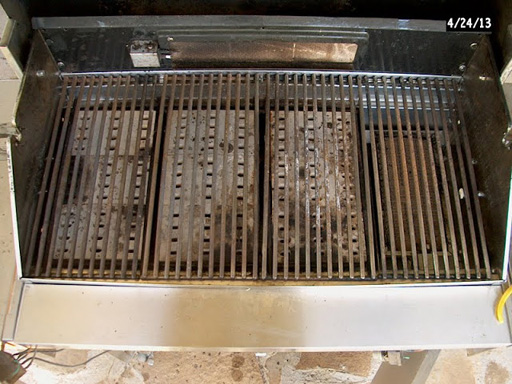
Img 013 - We have the top up in this photo. It has the older style ceramic plates in it, held by a heavy rod rack.
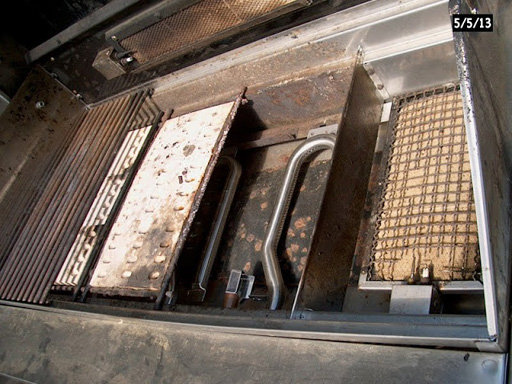
Img 032 - You can see our 16431 burner and our 02623 electrodes installed.
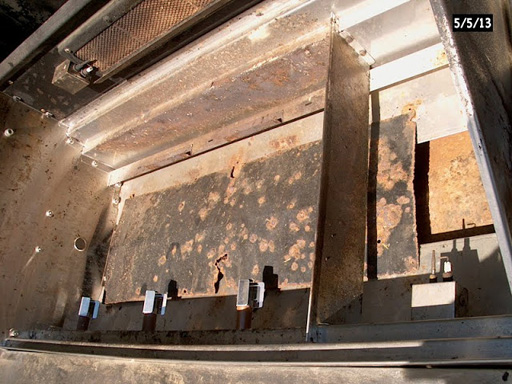
Img 027 - He has the grids, heat plates and the burners out here along with the old upper heat shield.
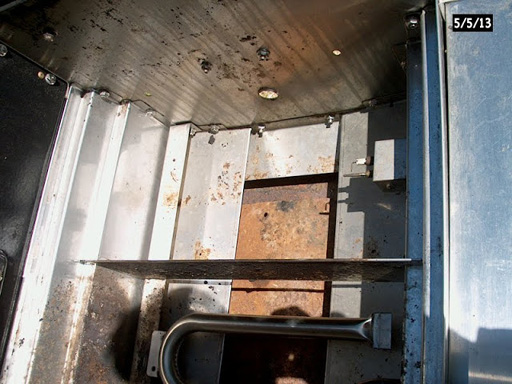
Img 025 - The infrared burner is pulled out here. The electrode is attached to the grill wall.
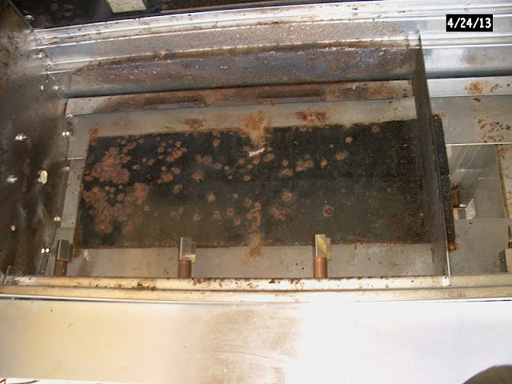
Img 009 - Here is the grill with all the parts out and cleaned. You can see he put copper tube sleeve over the shaft of the 02623 electrode collector box. That would help reduce the rusting to the shaft some over time.
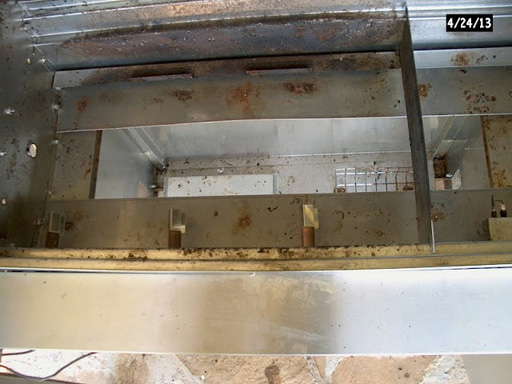
Img 008 - This shows the grill bottom with the upper heat shield removed. That is a really clean grill!
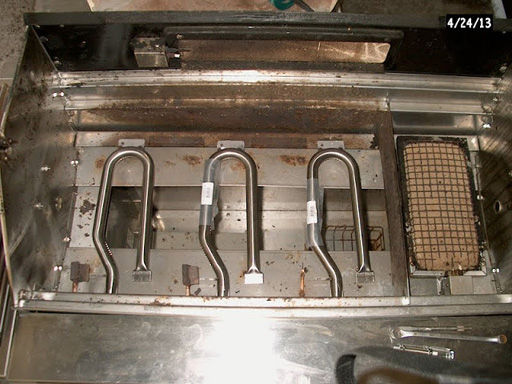
Img 006 - Again, the 16431 burners installed. They will sit there OK if you don't move the grill but drilling a small 3/16 hole for a nut and bolt will hold it secure.
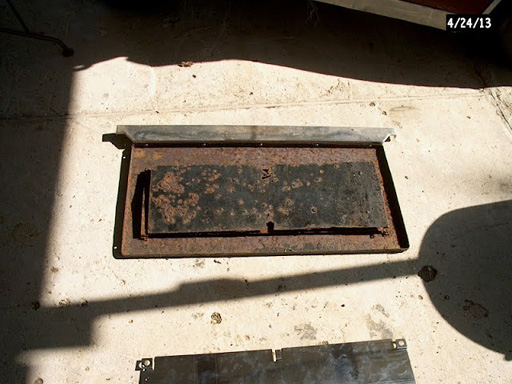
Img 005 - Here the grease tray is removed along with the lower grease tray shield. We should have these duplicated in the next few months.
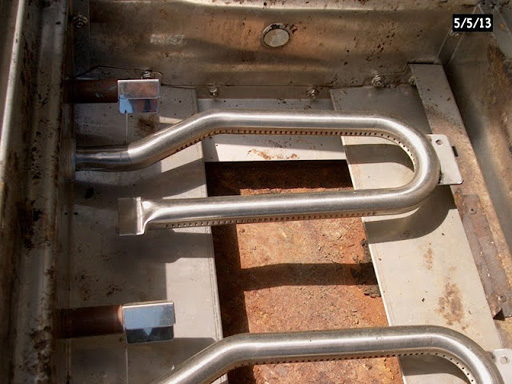
Img 023 - This is a closer view of the 16431 burner installed.
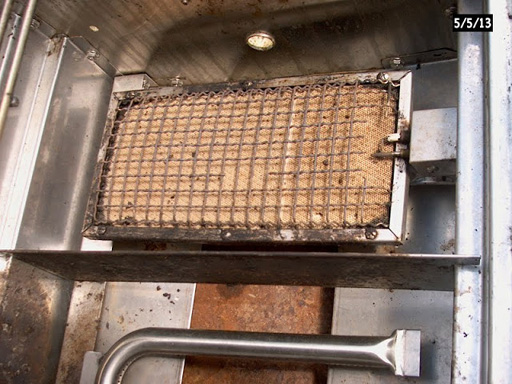
Img 024 - Showing the infrared burner installed. You can see where part of the "cage" over the burner has burned away. As the infrared burner gets more use, the ceramic will begin to break up.
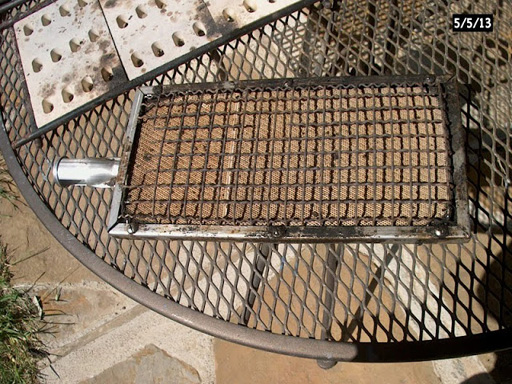
Img 030 & 031 - We have the infrared burner pulled out. It's in good shape.
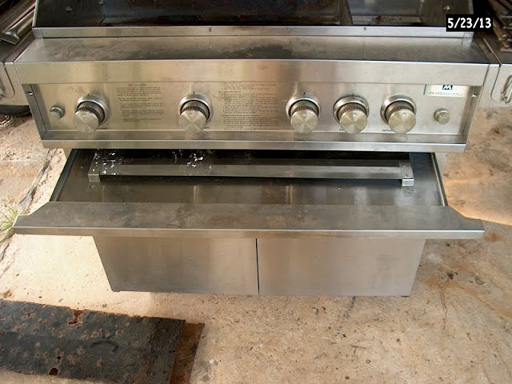
Img Updated grill007 - I was able to make a simple tray that I exchanged with him for the old one, which I'll have duplicated locally. He used the old grease tray handle on the one I have sent for duplication, along with the lower grease tray shield that I sent.
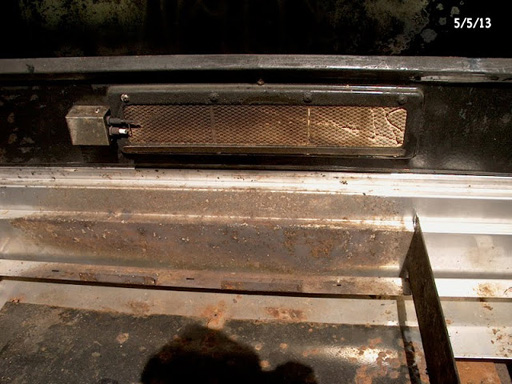
Img 029 - This photo shows the back infrared rotisserie showing some rust and some scoring on the ceramic.
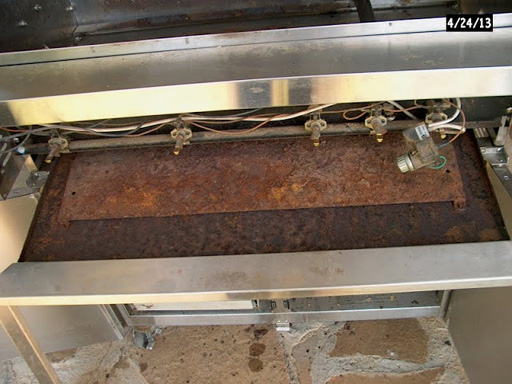
Img 010 - Here we have the old grease tray pulled out with the control panel removed showing the valves.
Img 000007 - And here is the control panel sitting on the grease tray.


