
Buy American!
For Specific Grill Repair, Click on Your Model:
Weber Summit Silver Conversion
Making a SLG2006C Burner Bracket
ARKLA GRB40
This article is on an old classic Arkla GRB40 which is on what was called an H cart. This was a long series for Arkla, who later sold to Preway. And then the series was finally sold to Sunbeam before they went out of business years ago. You can also find this grill with a Sears or Kenmore name on it.
The series started as the simple version, which is shown here. This model also includes a single valve version. There were many other models with the valves located under control panels which were hung of the front of the grill bottom. It’s a simple review and the early ones did not have any ignition system, except a hole on the right front side where you would normally hand light. Parts for the GRB40 post control model can be found at: http://www.clagrills.com/allgrillparts/arkla/arkla-model-grb40_post.htm

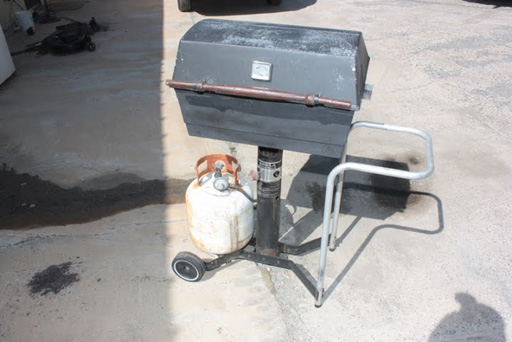
Img 2542 - Here is the old classic GRB40 post controlled gas grill on an "H" cart.
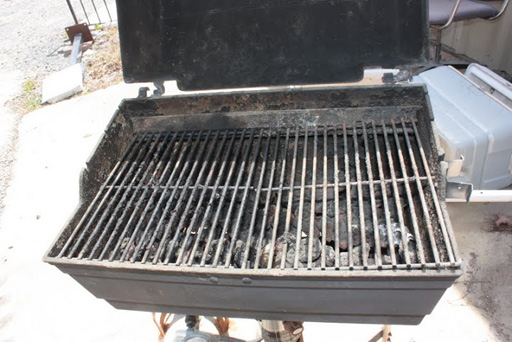
Img 2543 - The two grids sometimes come with a warming rack. This one had the old “adjust a grid" with two levels to put the grids.
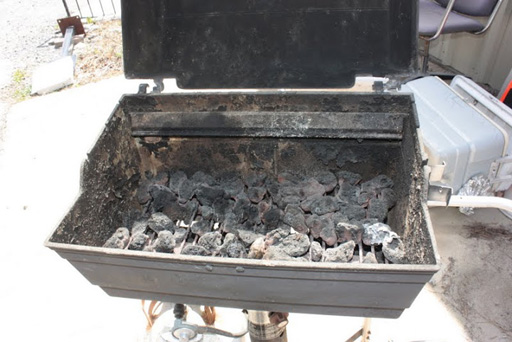
Img 2544 - The grids lift out. Then I pull the grate with the rock out all at once and lay on the ground.
Img 2545 - The burner comes right out. This is an old cast iron double burner. I brushed down and checked the gas ports. If they are rusted shut, I use an ice pick or a 3/32 drill bit in a hand held tool to ream the gas parts. Then I blow out and or/ swab the venturi with a venturi brush or a small branch from a scrub.

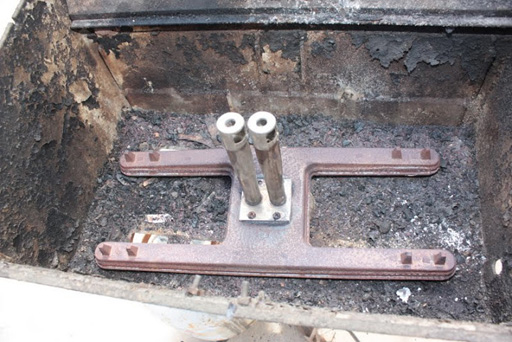
Img 2546 - In this photo I cleaned out the bottom and removed the knobs and valve cover. Be careful to keep the screws, knobs, and cover together! Don't lose them.
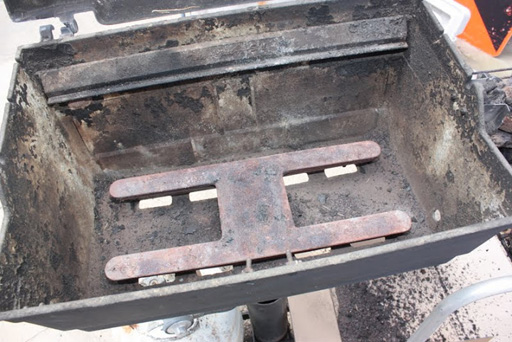
Img 2547 - I checked the gas flow through the orifices. You can remove if cleaning is necessary. After cleaning, reinstall the burner while being careful to place the venturi opening over the orifices/gas jets.
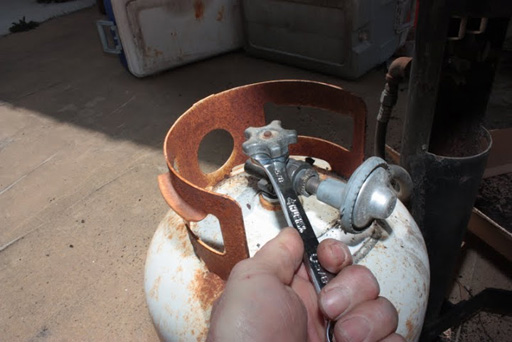
Img 2548 - I like to check the burner before putting the other parts back in. But here the gas tank had a leak in the tank valve. It had to be tightened hard open or closed to keep from leaking. So I marked it with a permanent marker. The burner did work OK.
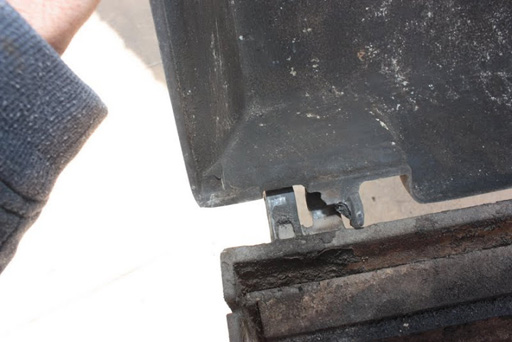
Img 2549 - The grill lid hinge was broken. If this happens, and you can find the pieces, you might find a local welder who can weld the aluminum. I had a few old GRB40 castings and was able to replace the top.
Img 2572 - You might be able to improvise a bracket.
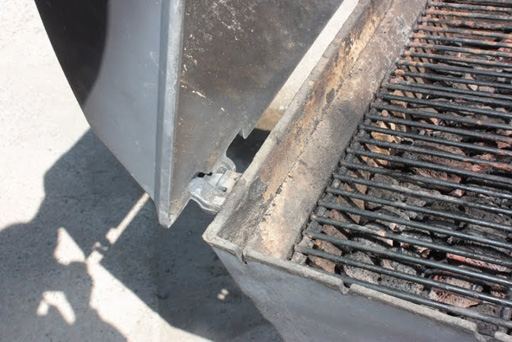
Img 2573 - With the replaced lid on, you are ready to go… except for the leaky tank!