
Buy American!
For Specific Grill Repair, Click on Your Model:
Weber Summit Silver Conversion
Making a SLG2006C Burner Bracket
Cooking with Carl's Perfect Pizza Pan
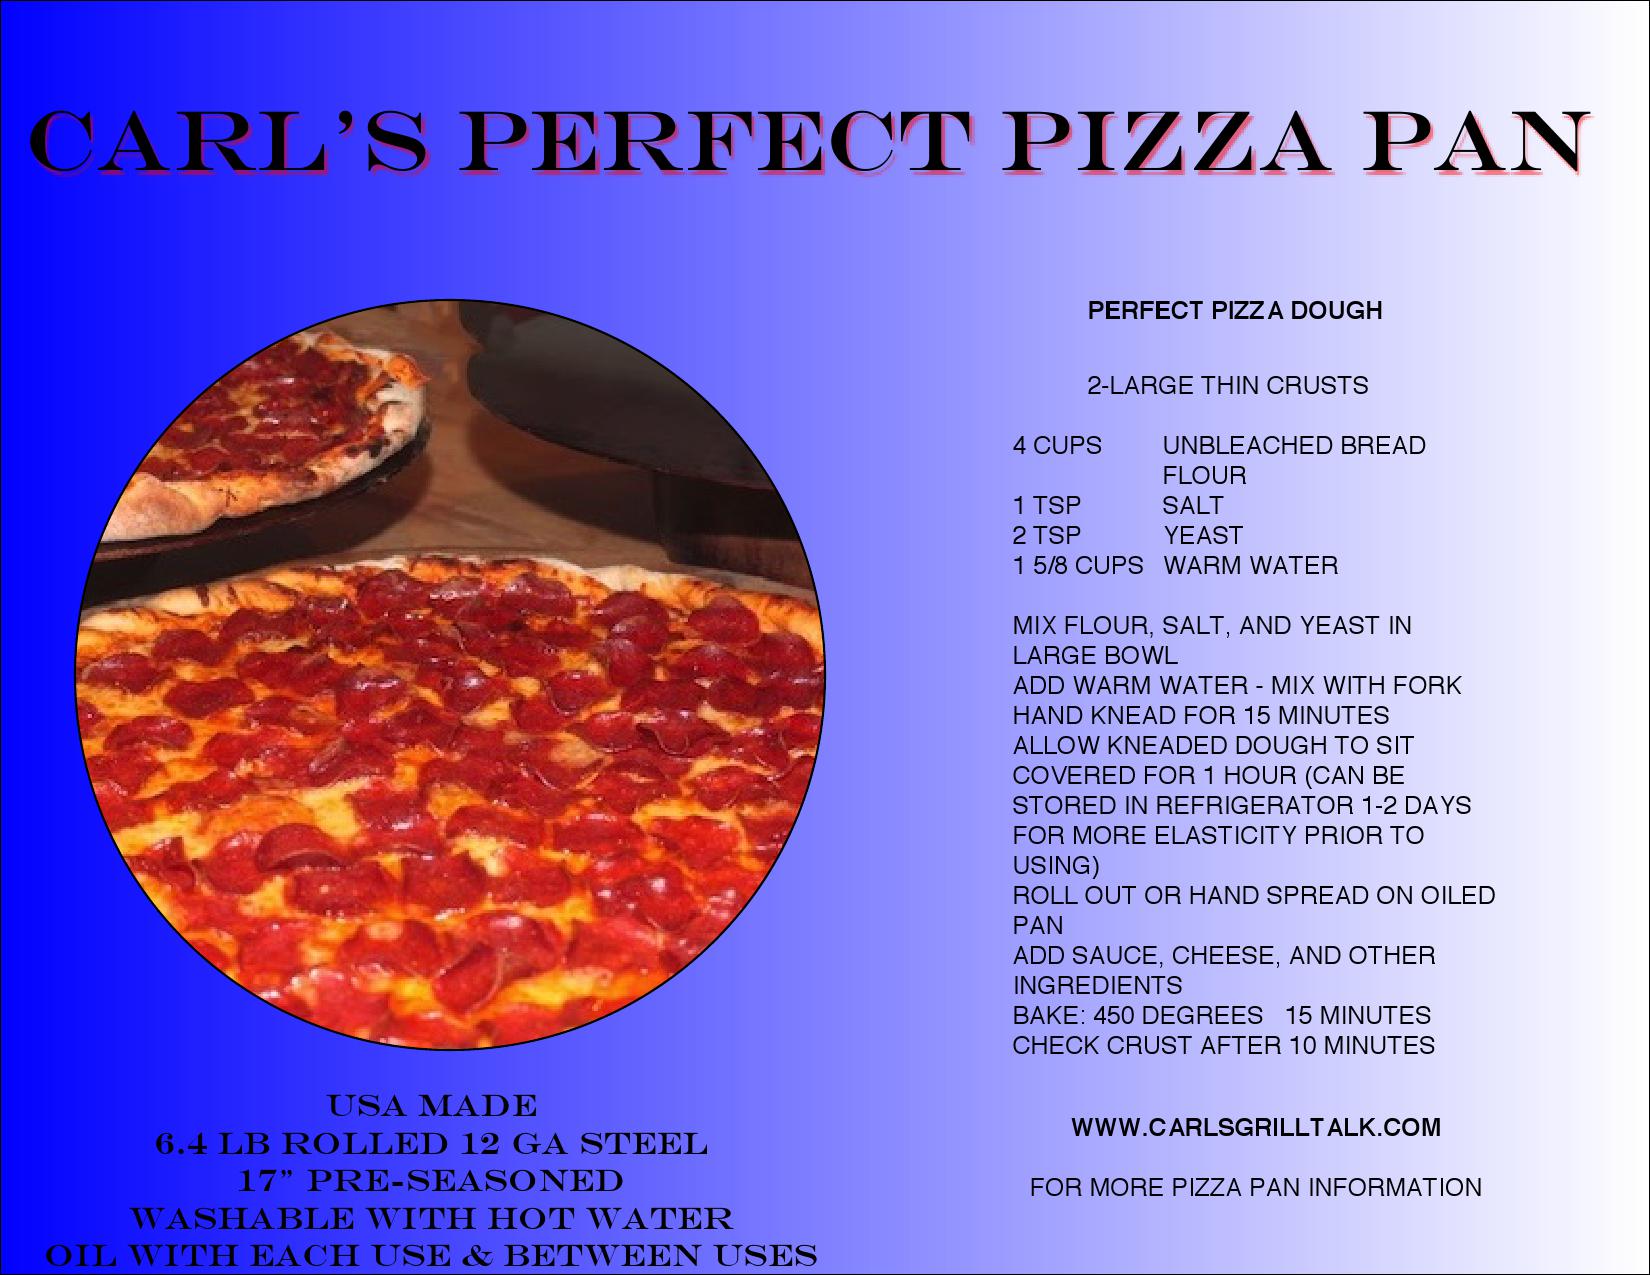
This is a rolled carbon steel pan I had locally made here in Little Rock. I hand cut my first pans out of scrap steel 25 years ago and my daughter in NYC asked for more pans for her friends, so I had them made. This steel pan is 12 gauge which is thicker than the 14 gauge or thinner pans you might see on Ebay. The 17" pan weighs 6lbs. 4ozs. This pan when kept seasoned and oiled will provide great heat transfer to the dough for the perfect pizza. I have the pan for sale on Ebay under "USA made rolled steel pizza pan". $32.90 shipped anywhere in the lower 48 states. I clean and season with vegetable oil before shipping.
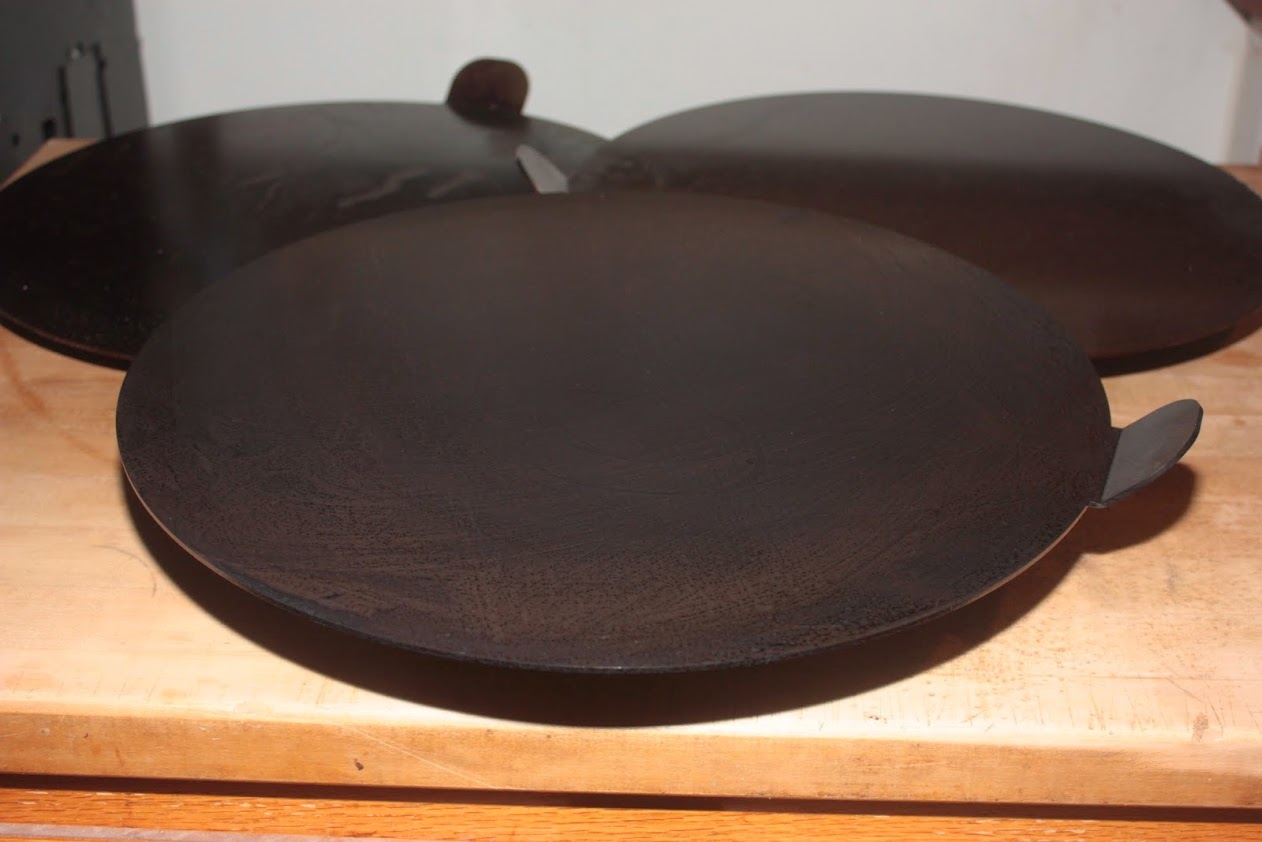
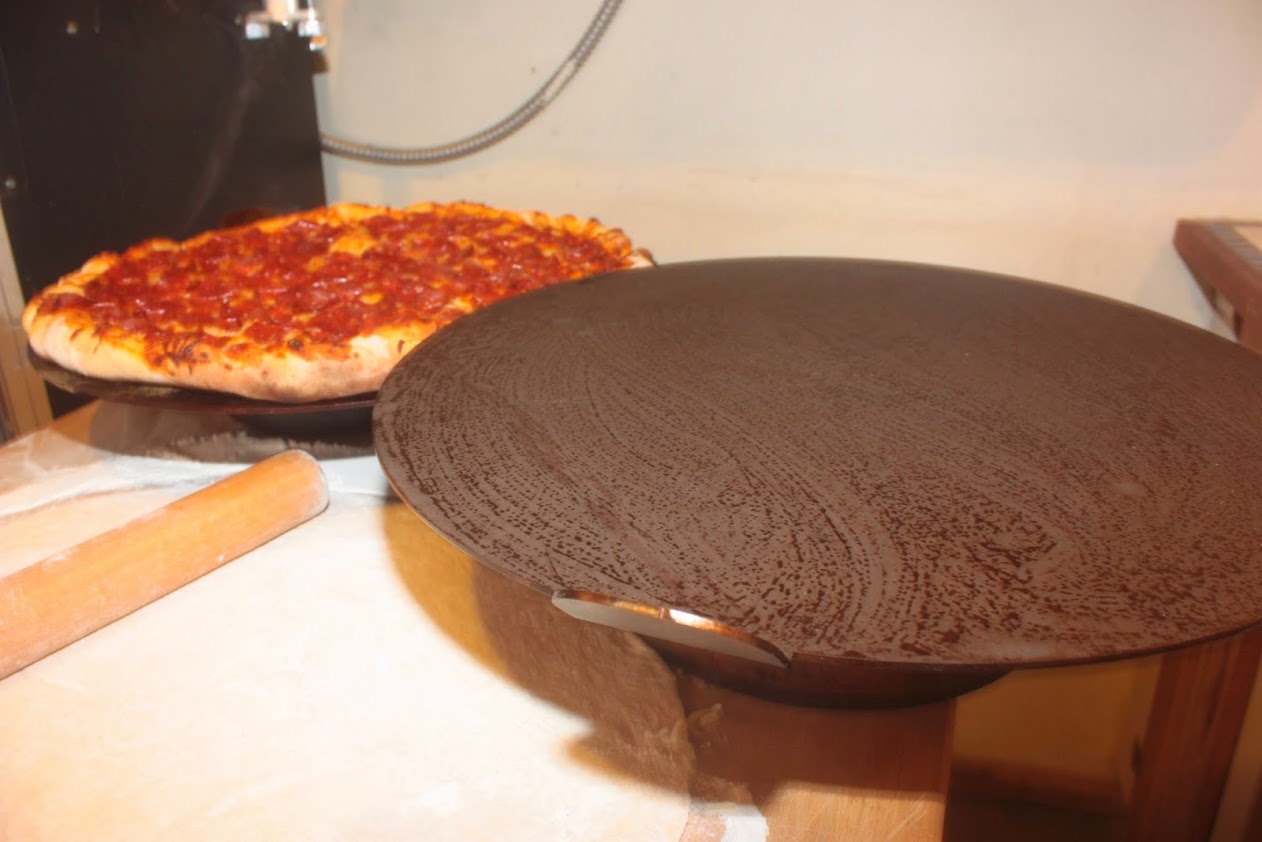
The following is in my kitchen starting with the pan from the fabricators shop, Acubrand.
I receive the pans from the fabricator coated with machine oil.
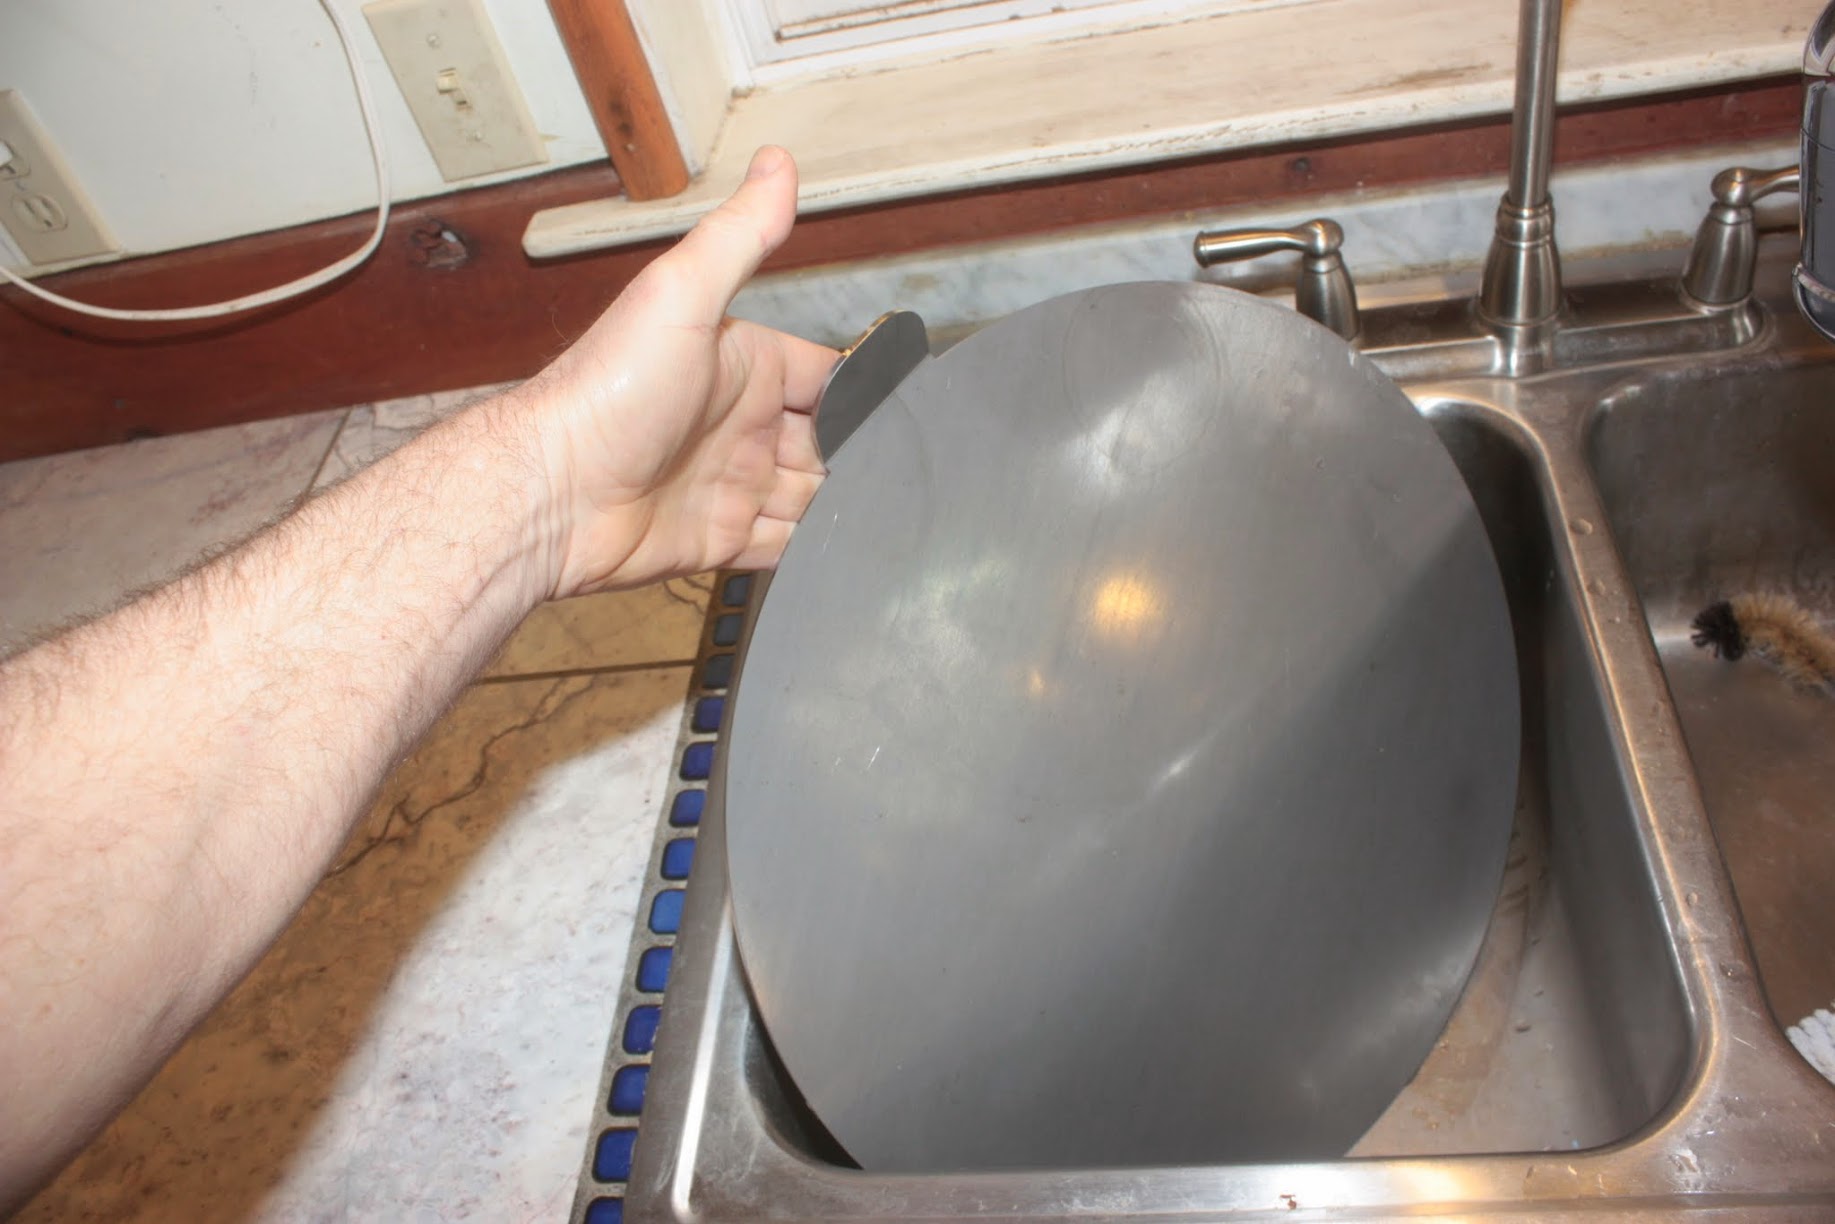
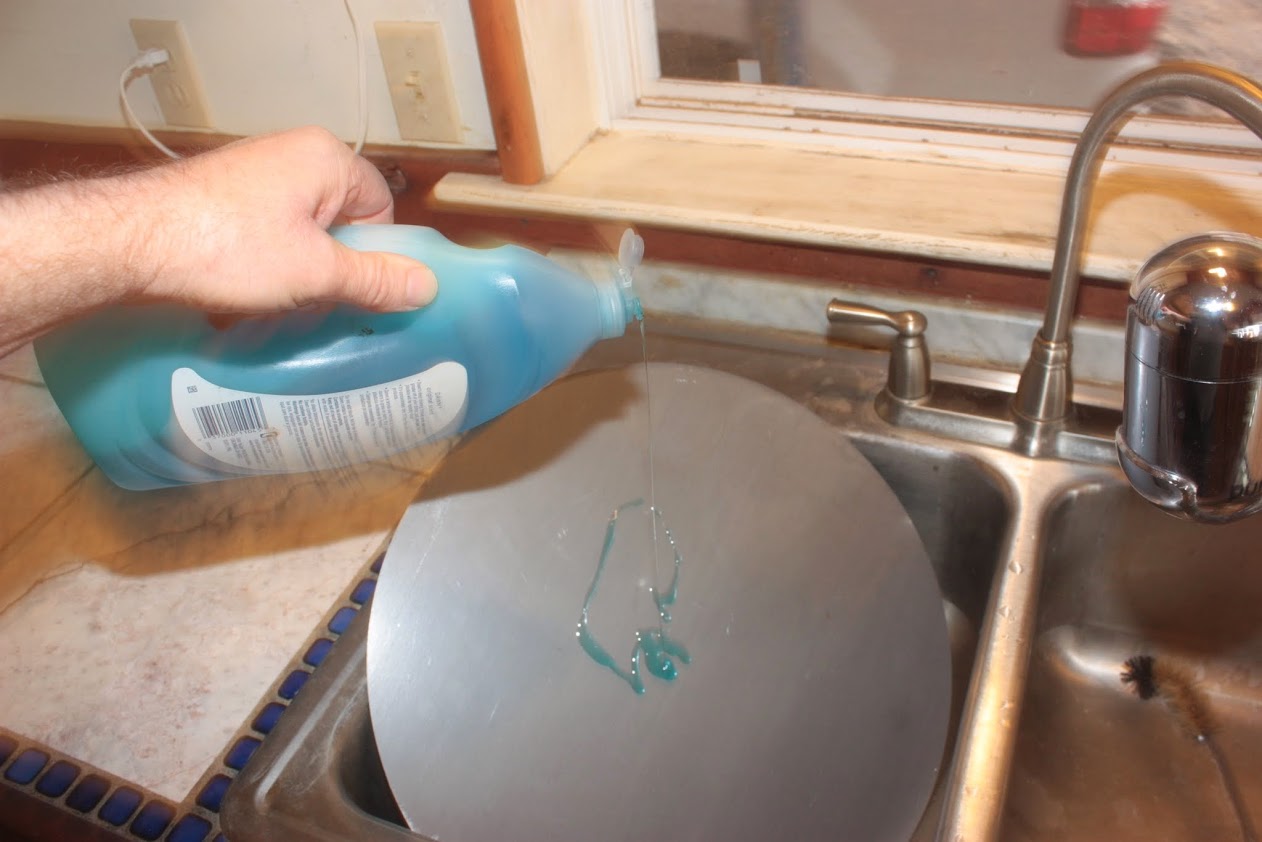
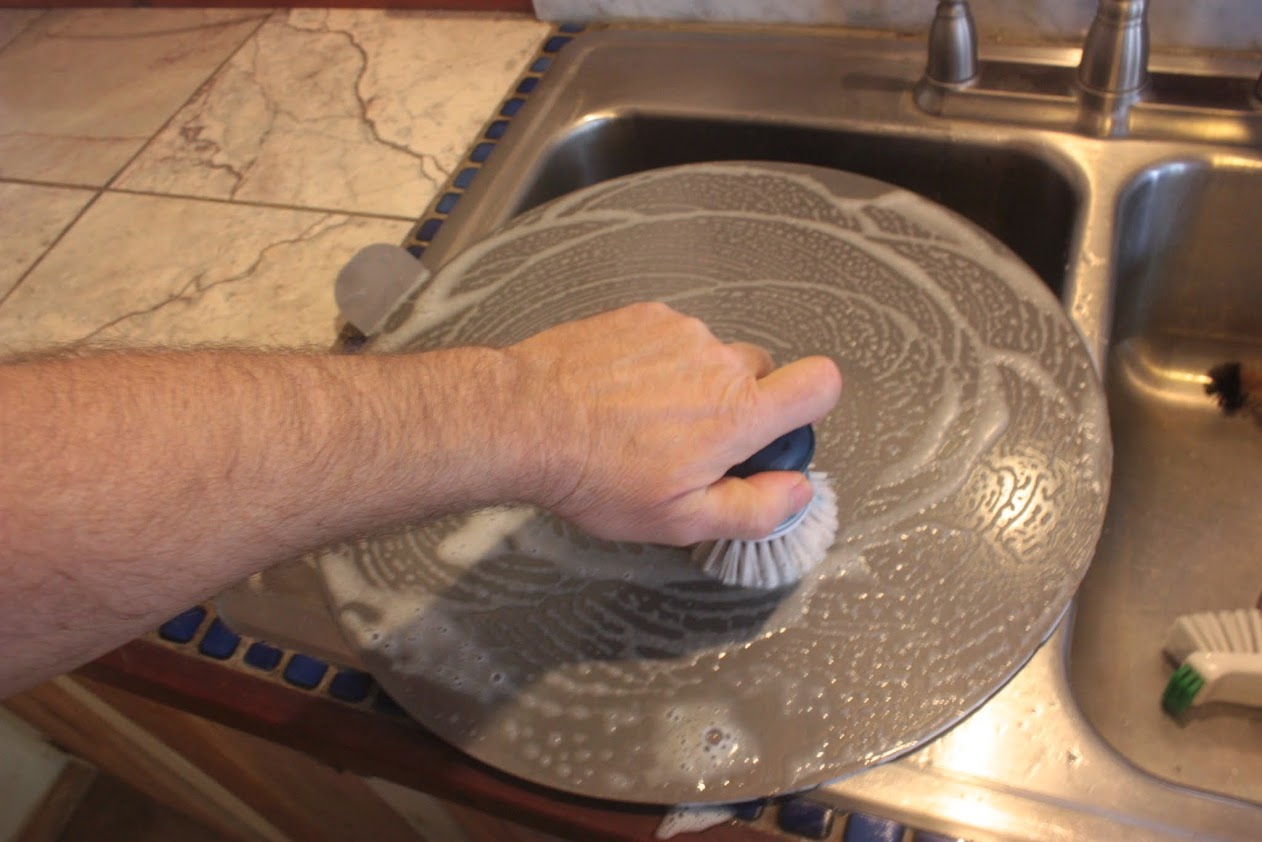
I scrub both sides of the pan with dish detergent and towel off.
I coat both sides of the pan with any vegetable oil, in this case I'm using olive oil.

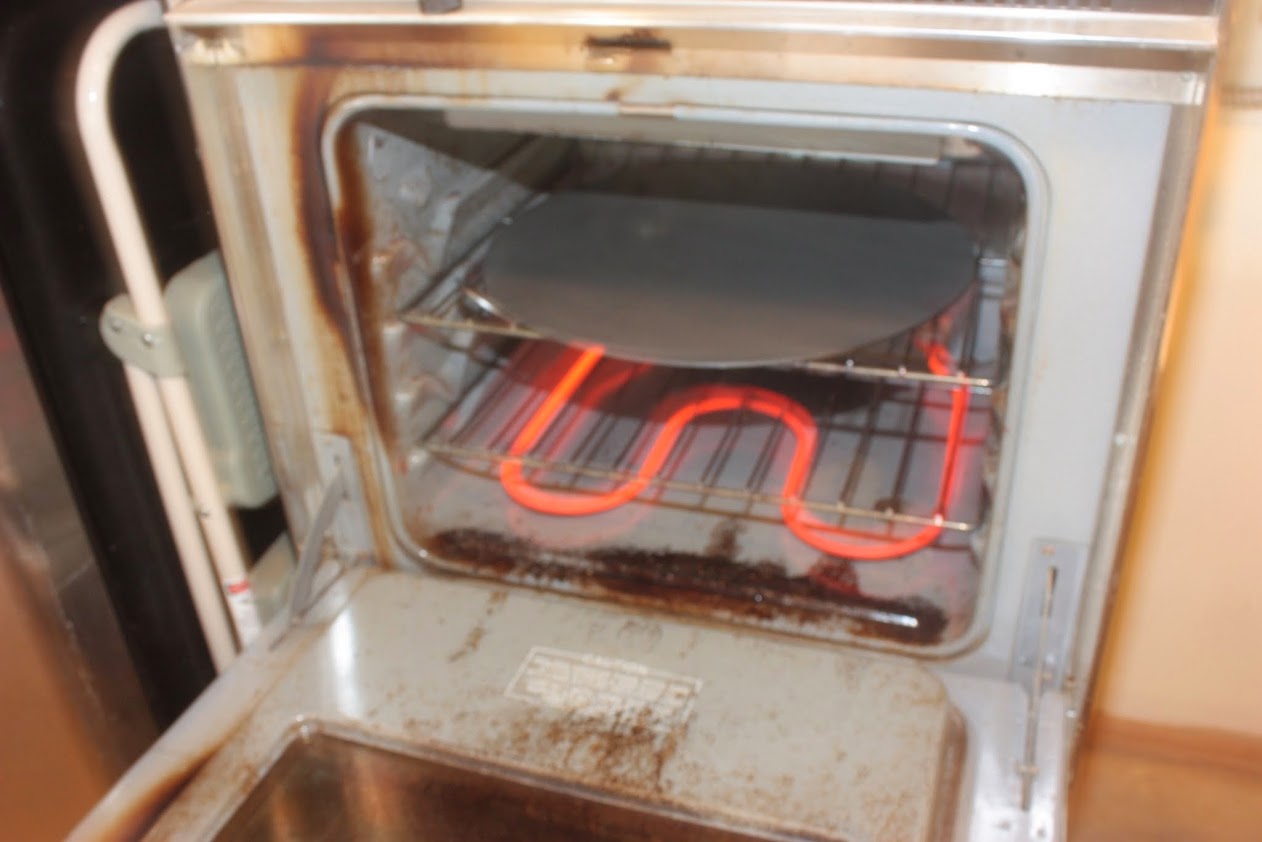
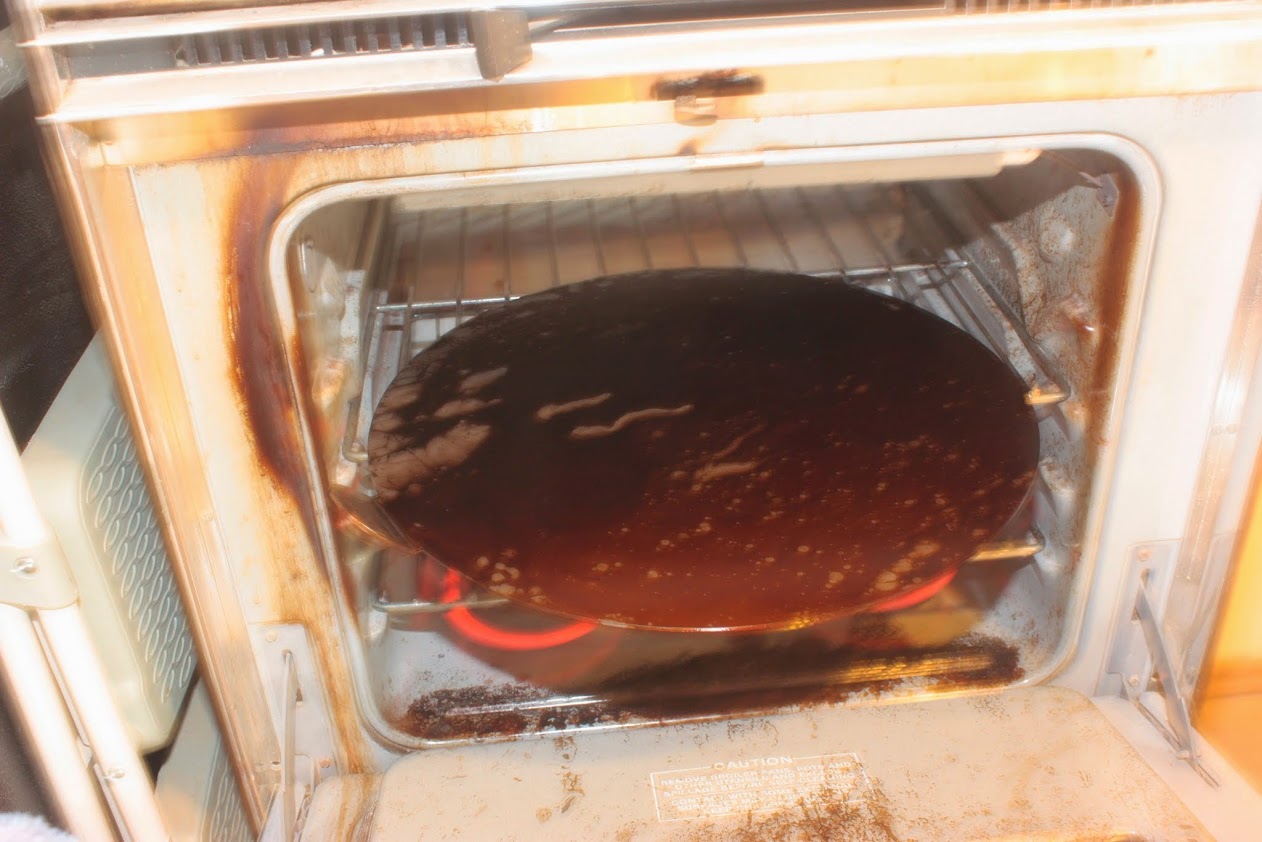
I baked the pan at 500 degrees for 15 minutes to season it and let it cool with the oven off.
At this point I'm ready to start making a pizza. I'm using the recipe on the pan logo seen on the home page.
The pan once coated with olive oil makes a nice crust with a crunch.
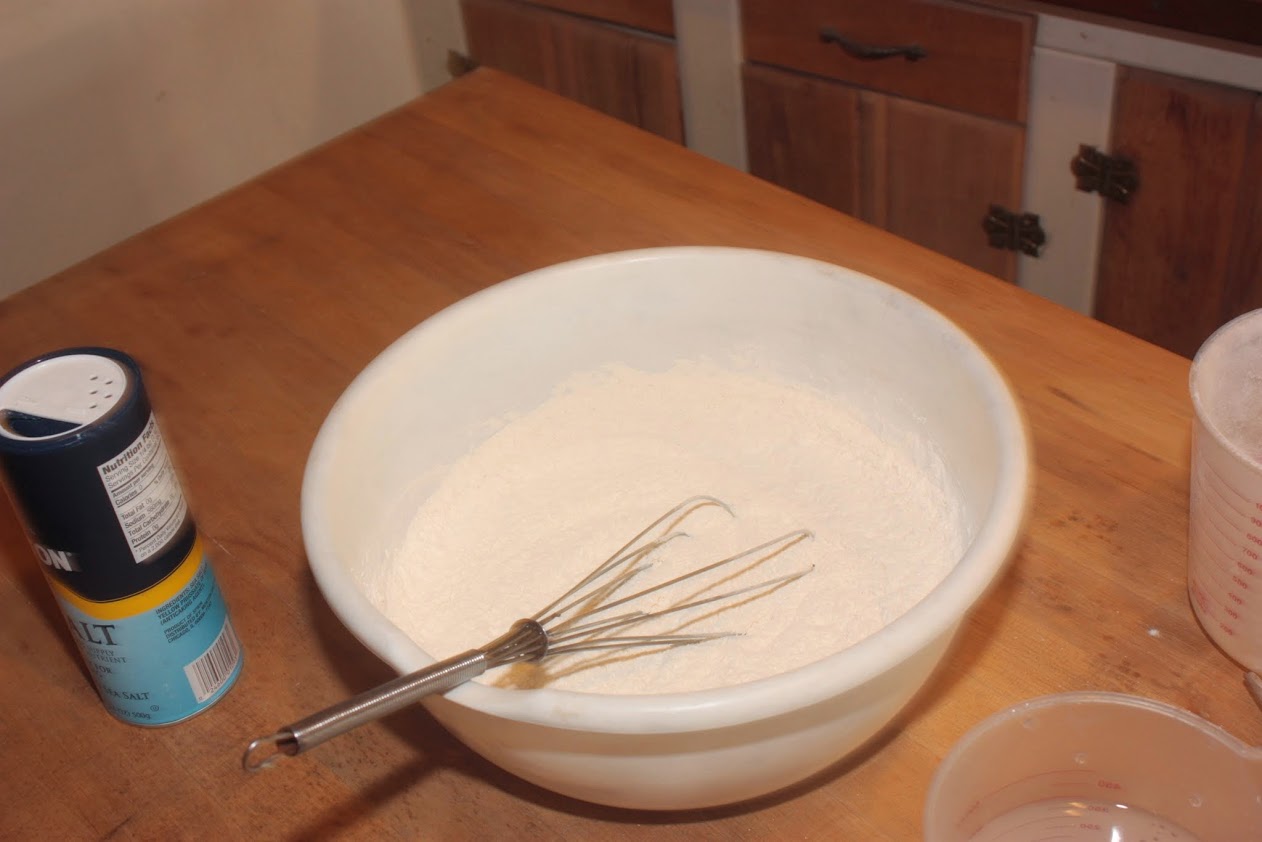
I start with the flour, salt and yeast mixed well in a big bowl.
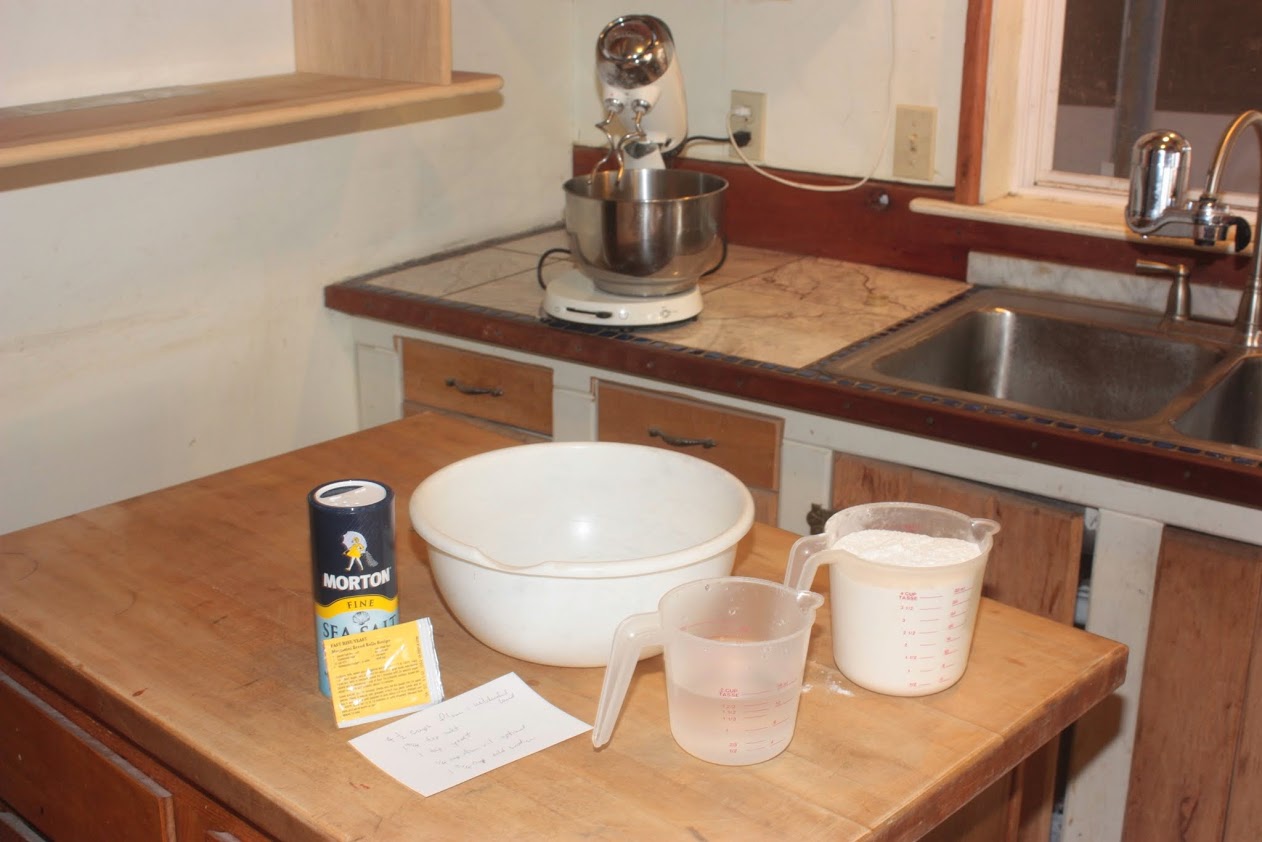
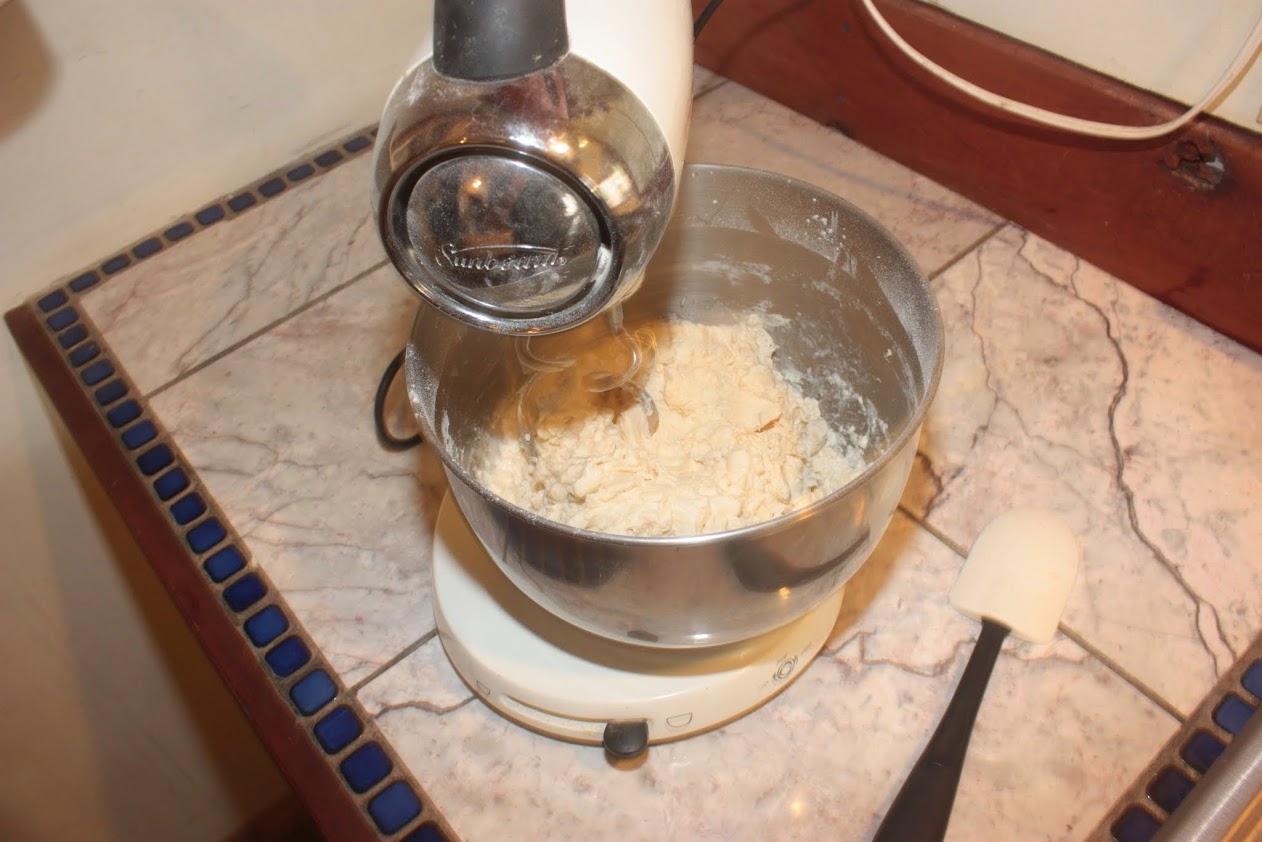
I put the warm water in on top of the flour and let the machine work it over for 10 or so minutes. If I'm making just one pizza crust I use a fork to start and finish by kneading the dough for 15 minutes by hand.
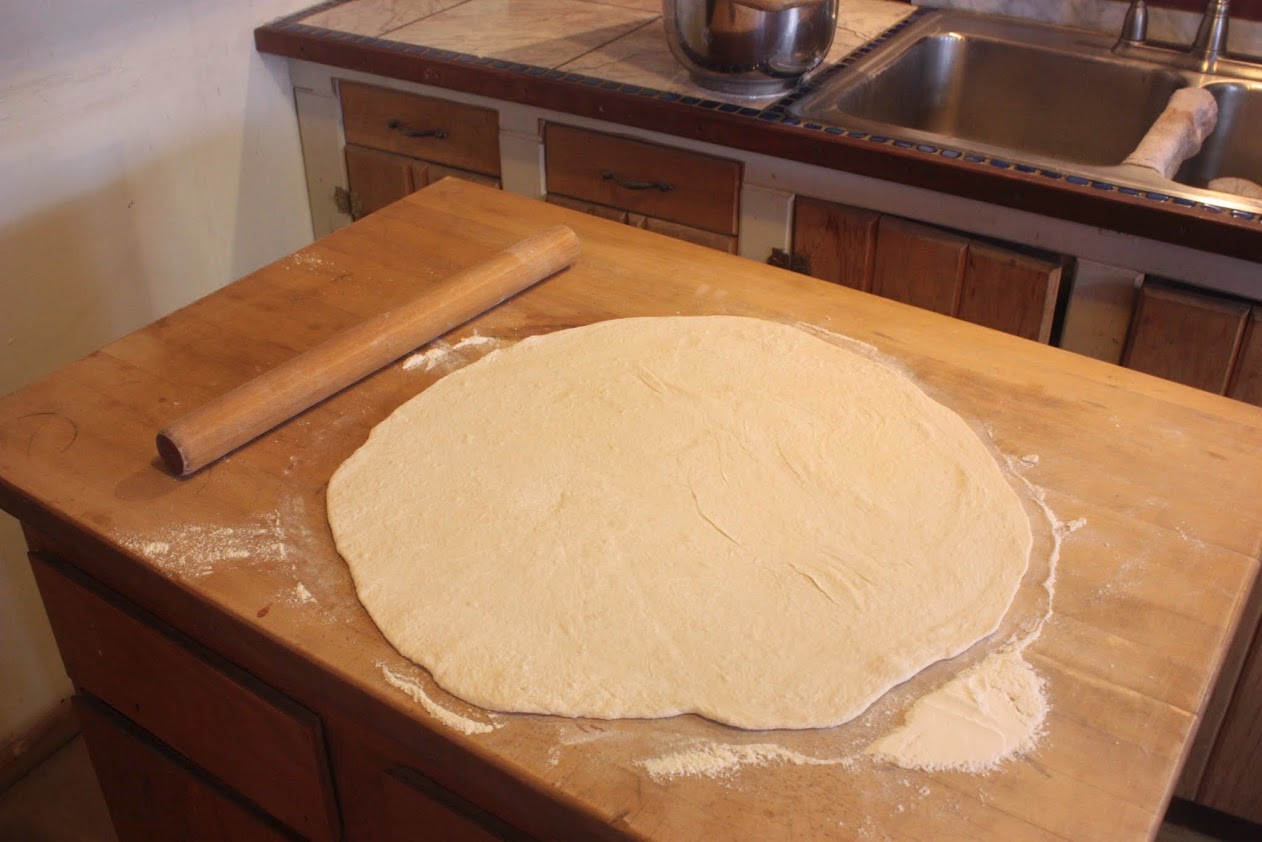
I roll it with a roller to about a 1/4 inch thickness, but can be rolled to any thickness you may enjoy.
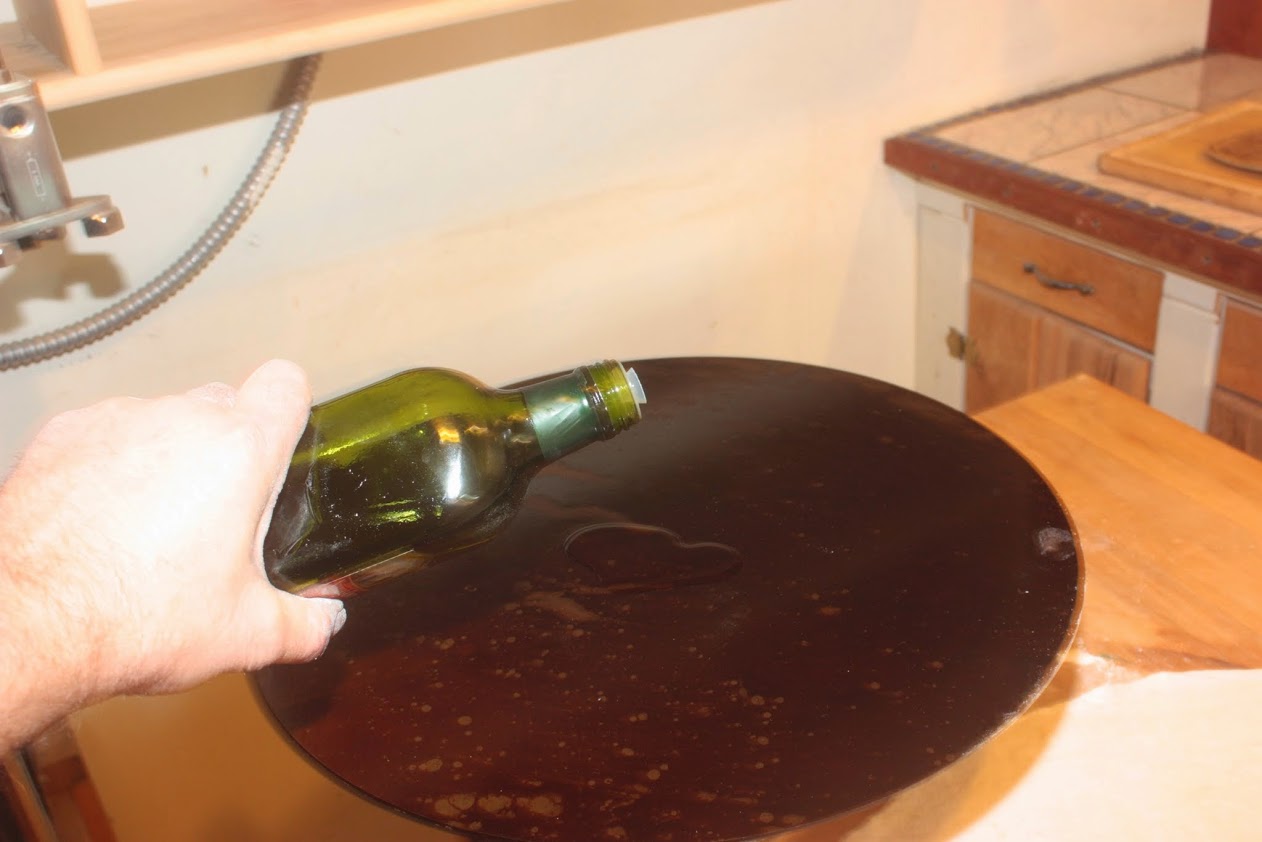
I coat the pan with olive oil before I set the dough. It's OK not to use the oil, the crust will not be as chewy.
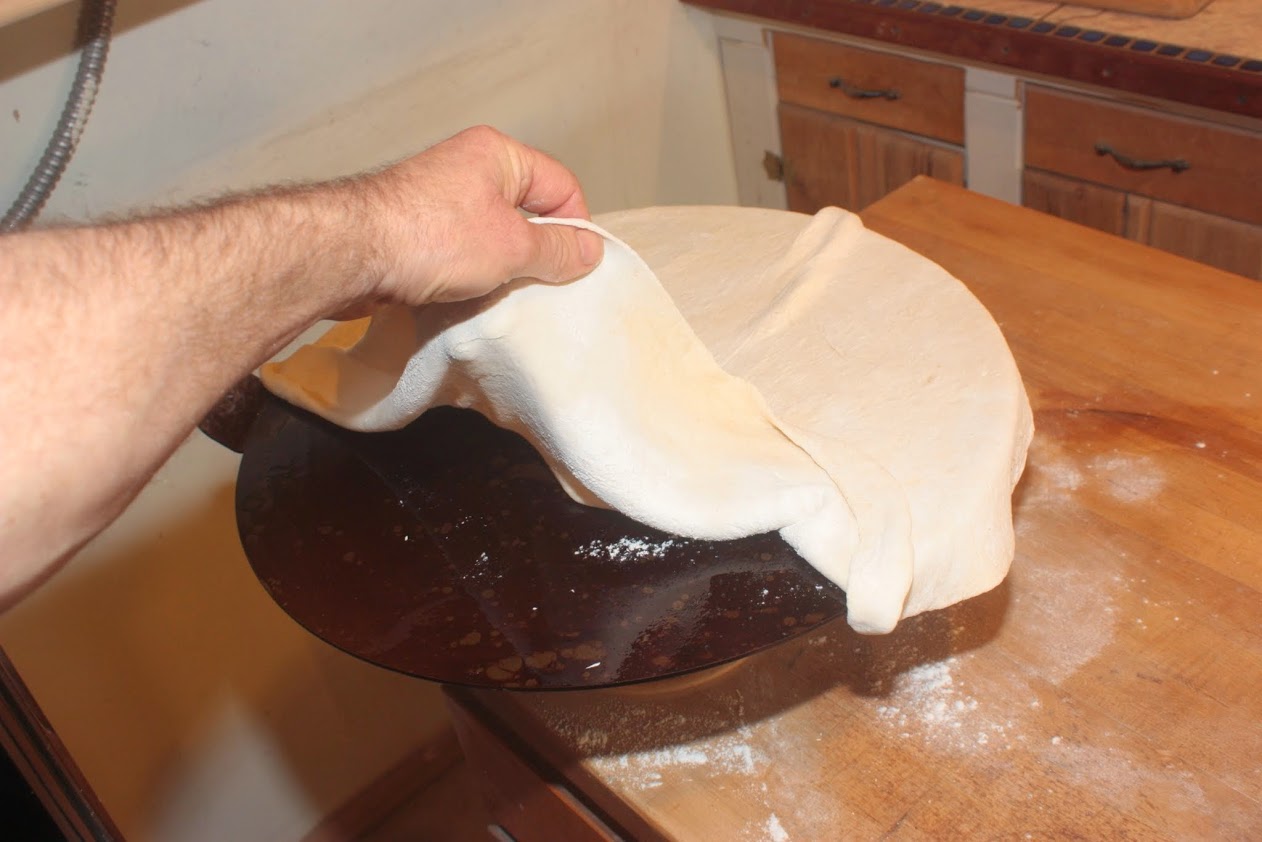
I just lift the dough to the pan and spread it.
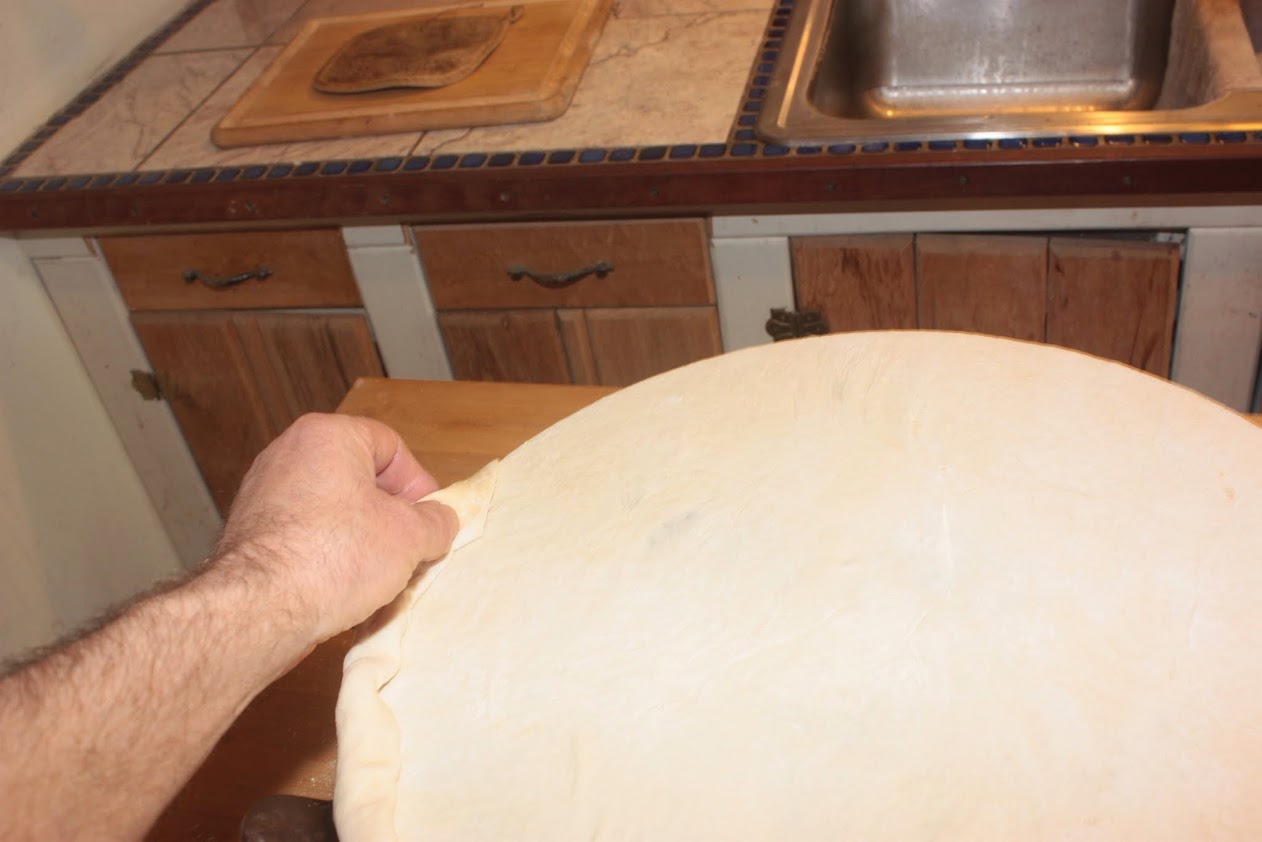
I roll the edges around the edge of the pan. You can just cut it off if you like.
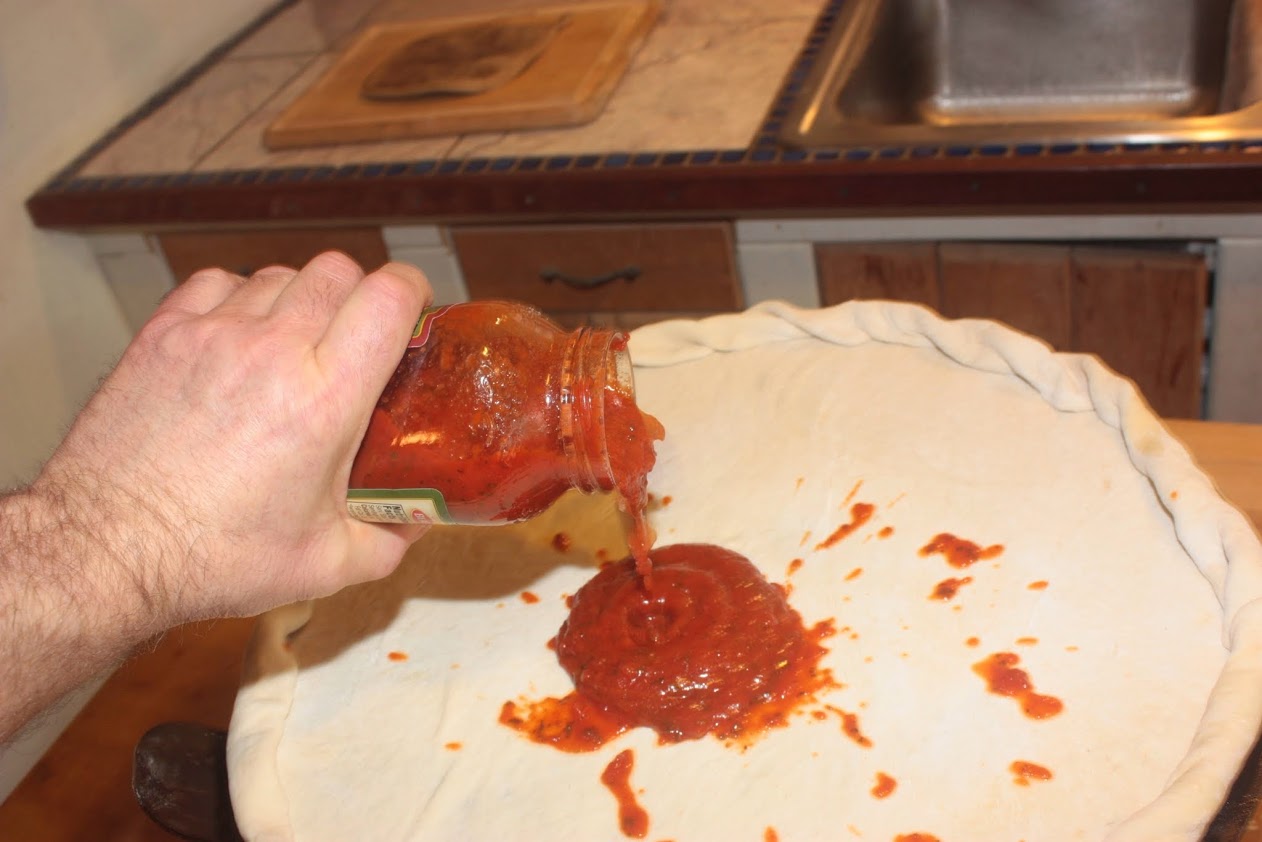
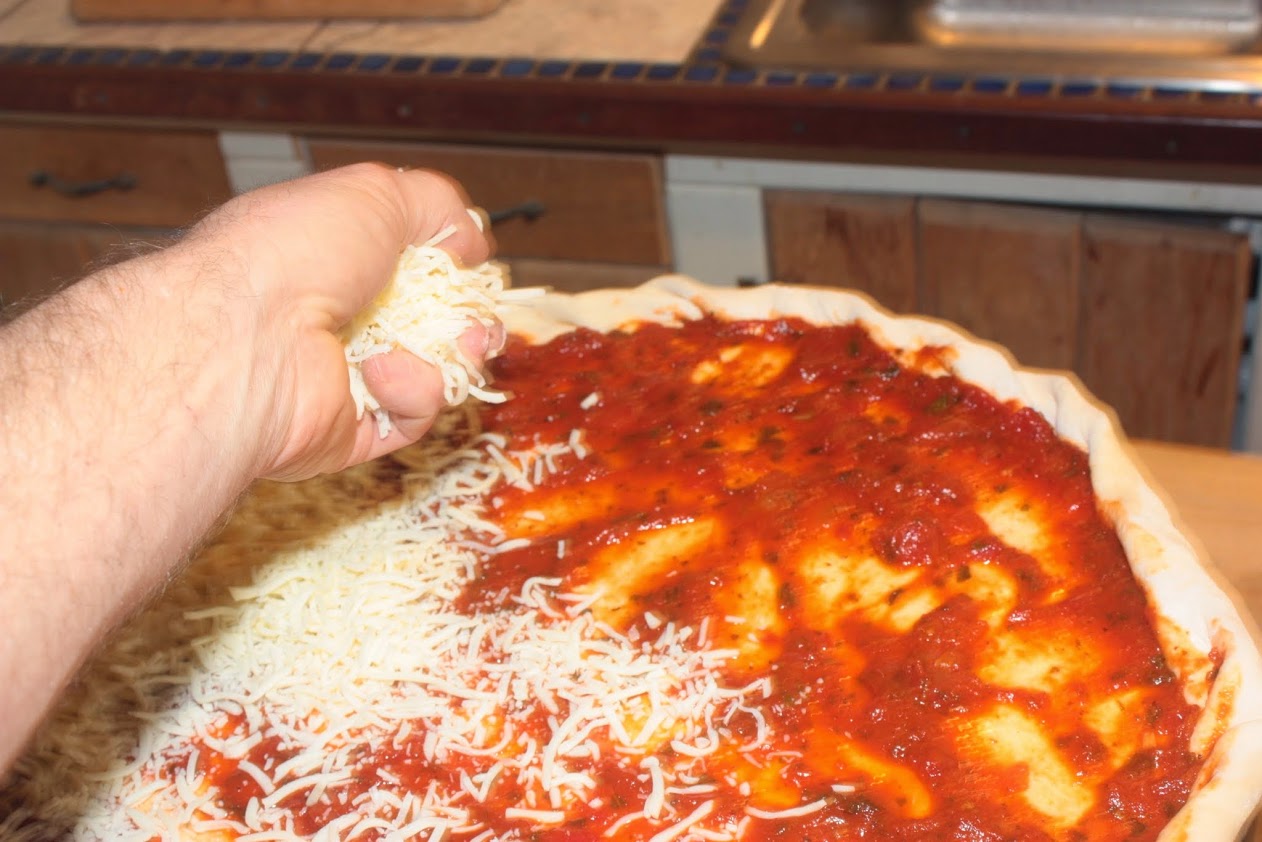
I generally use the plain pizza/spaghetti sauces, but do love fresh made pesto!
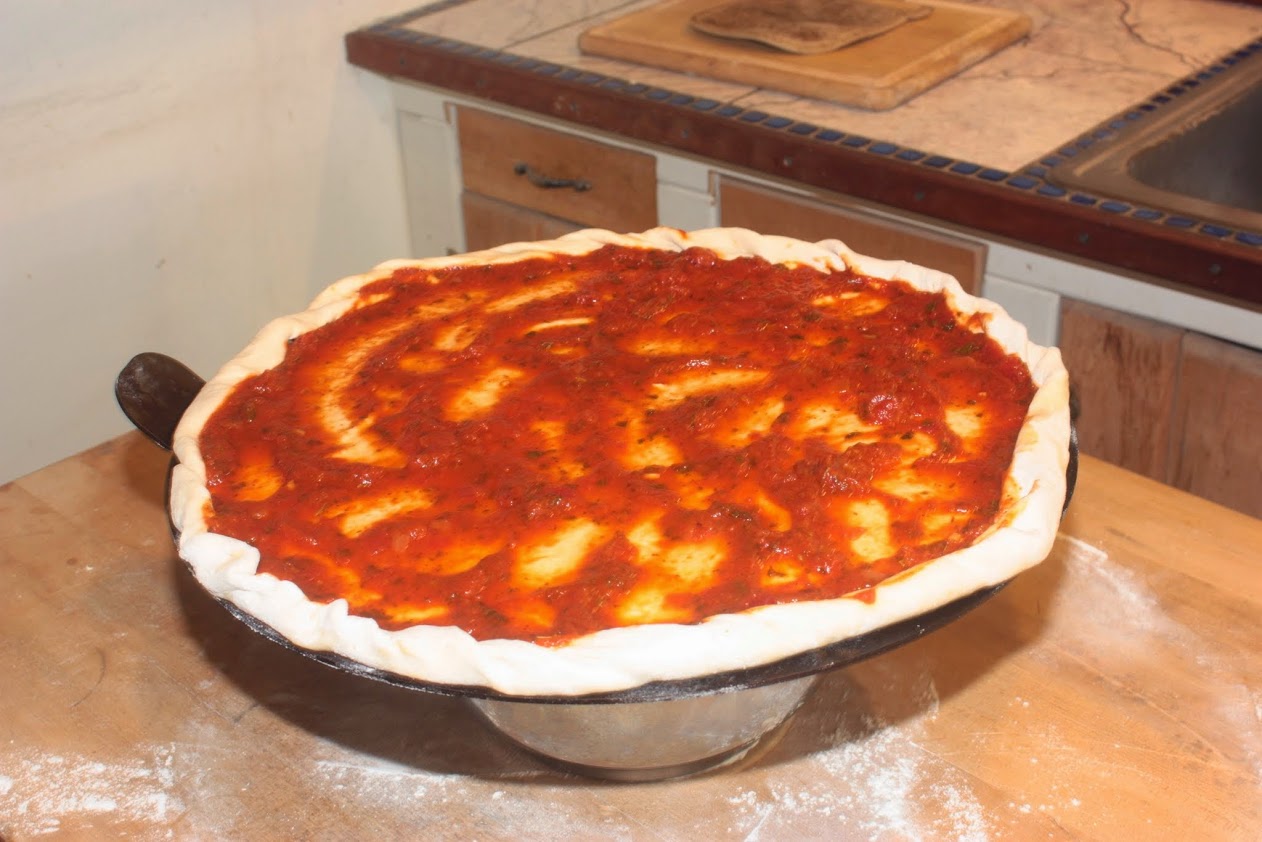
Ready for the rest of the toppings!
I like the cheese next and just use regular pizza cheese.
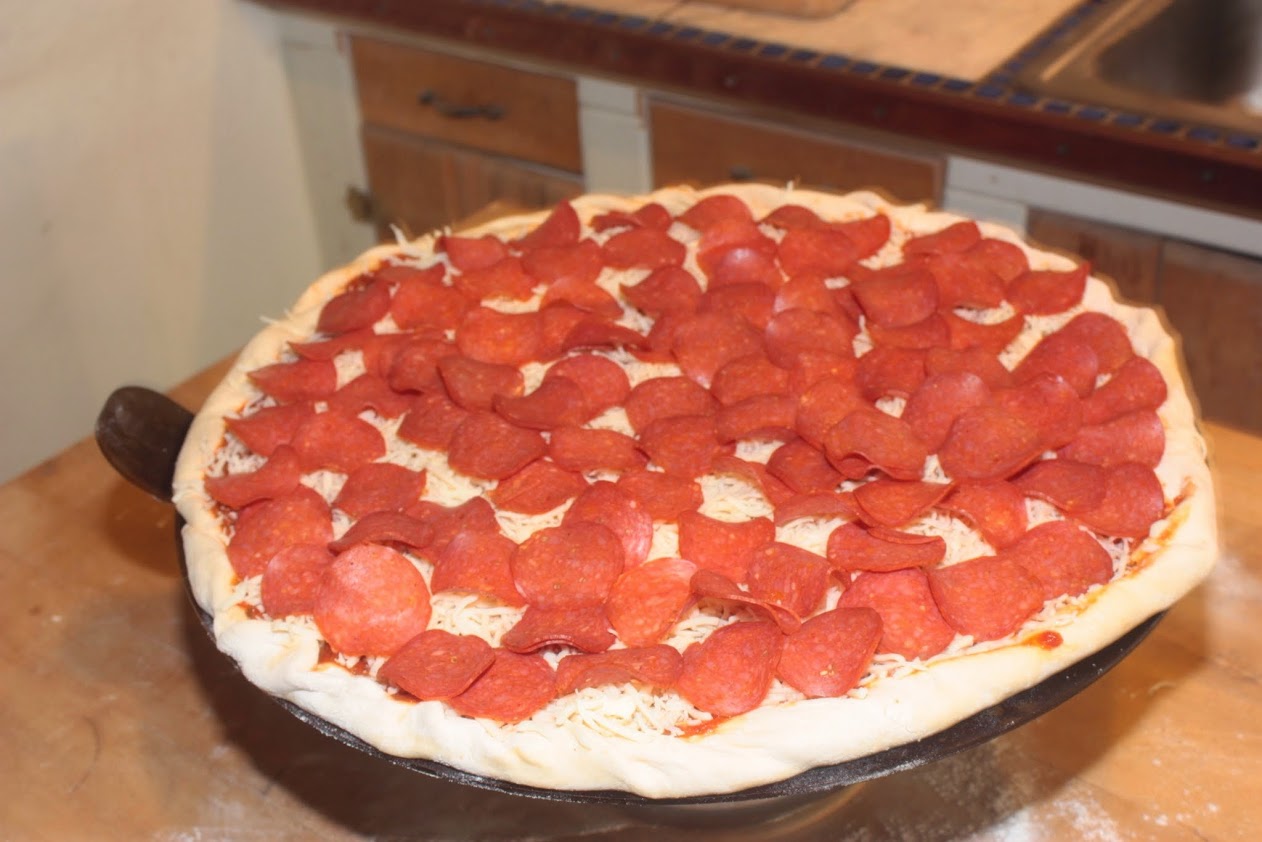
Extra pepperoni!
Oven temperature should be at the least 450 degrees. I give it 10 minutes and then rotate and check the bottom. I move the pizza to the oven bottom rack to brown the crust a bit more and to the top rack to brown the top more. I watch it from the 10 minutes until it is done.
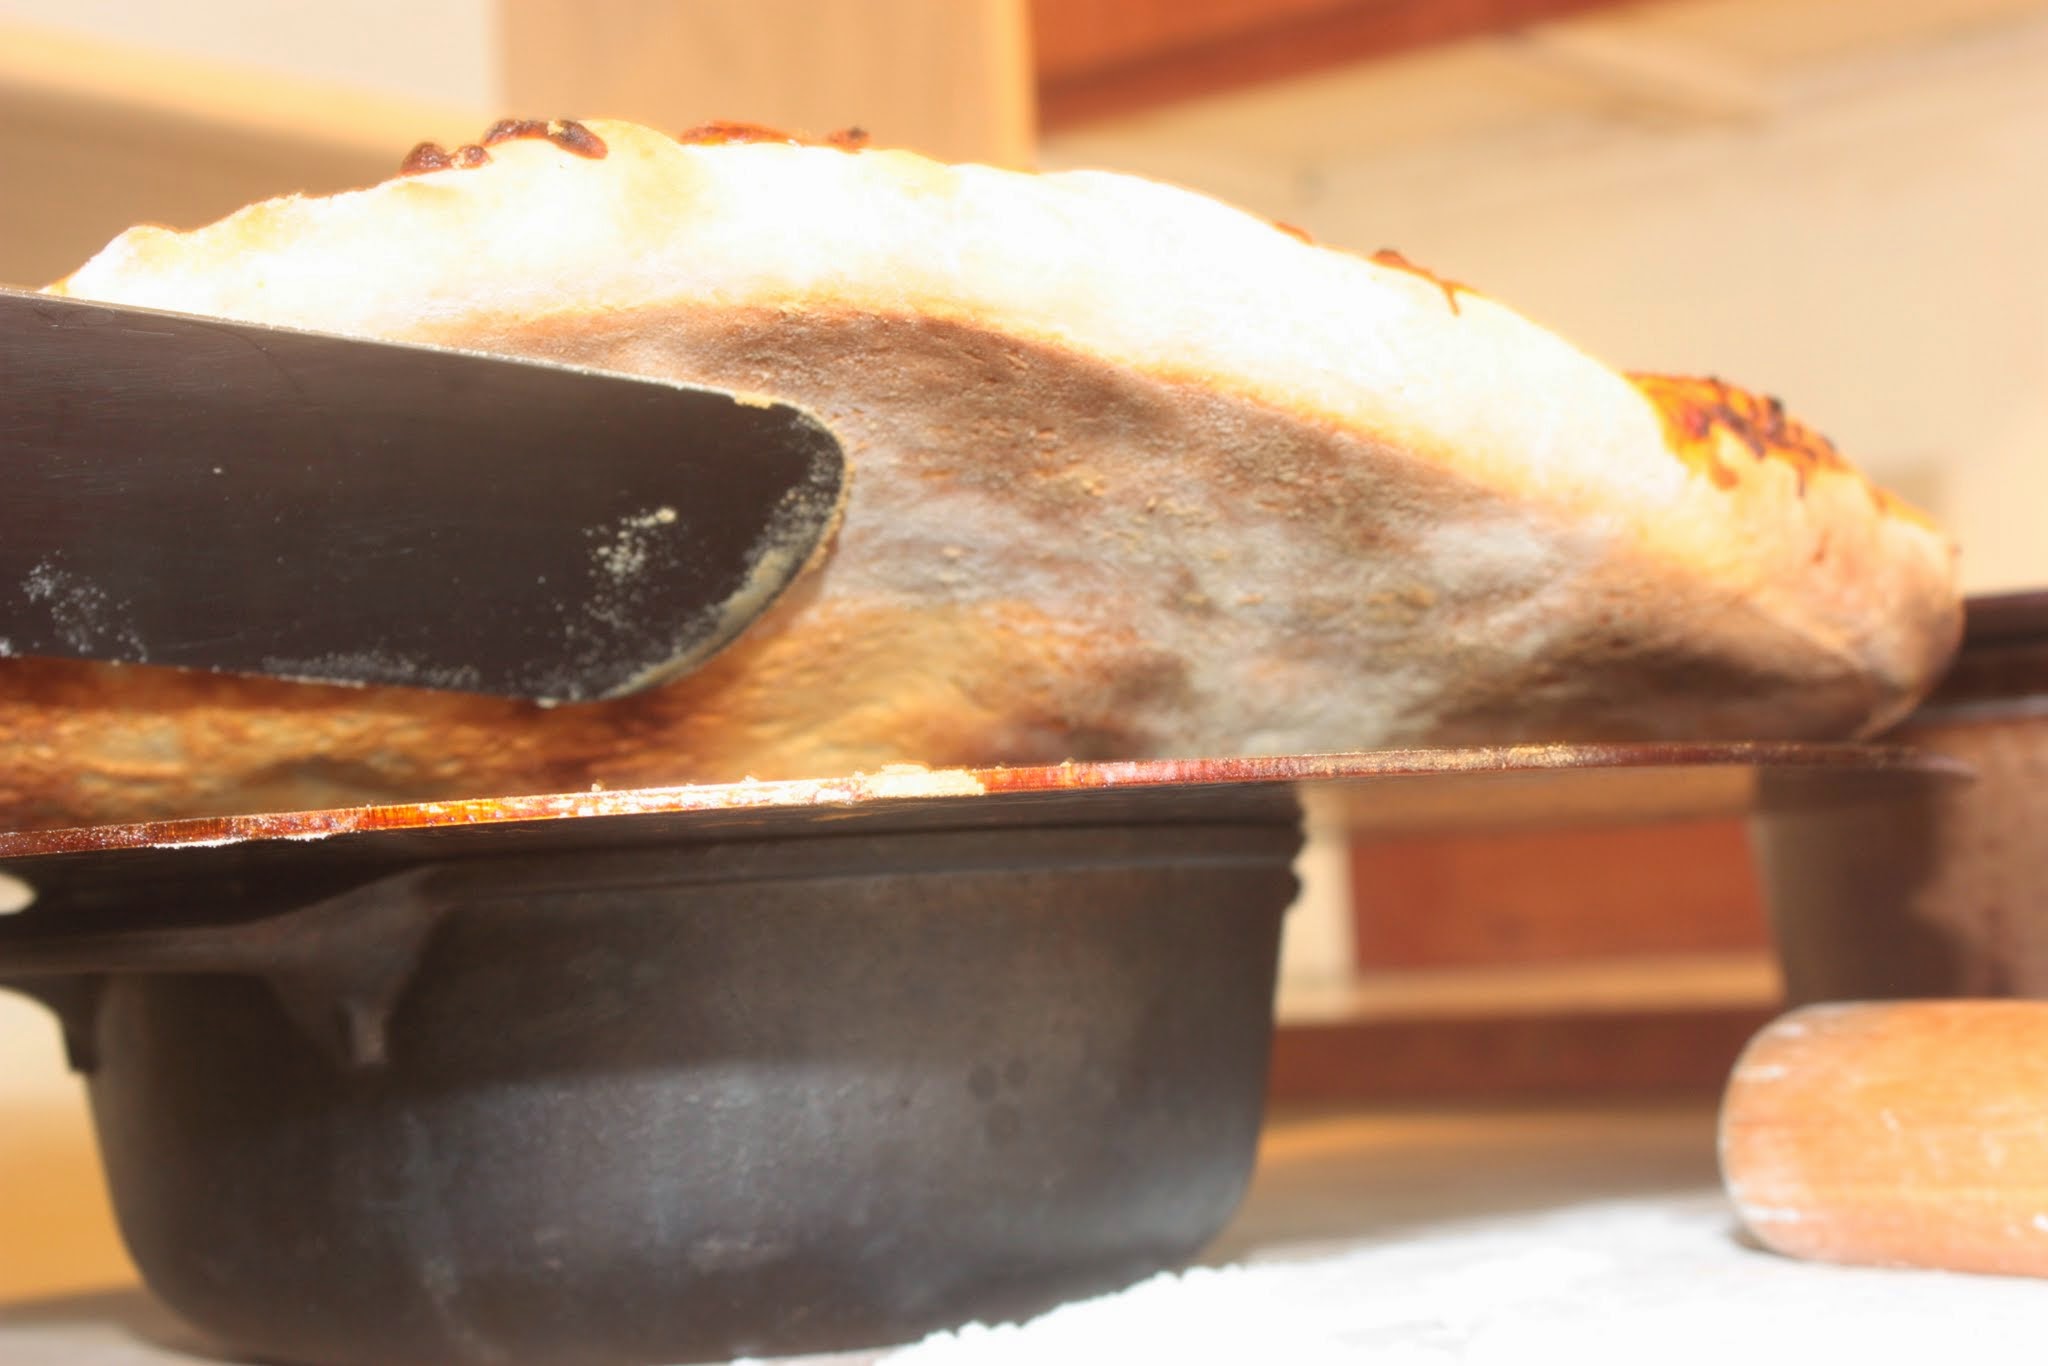
Pulled and resting while I get another ready.
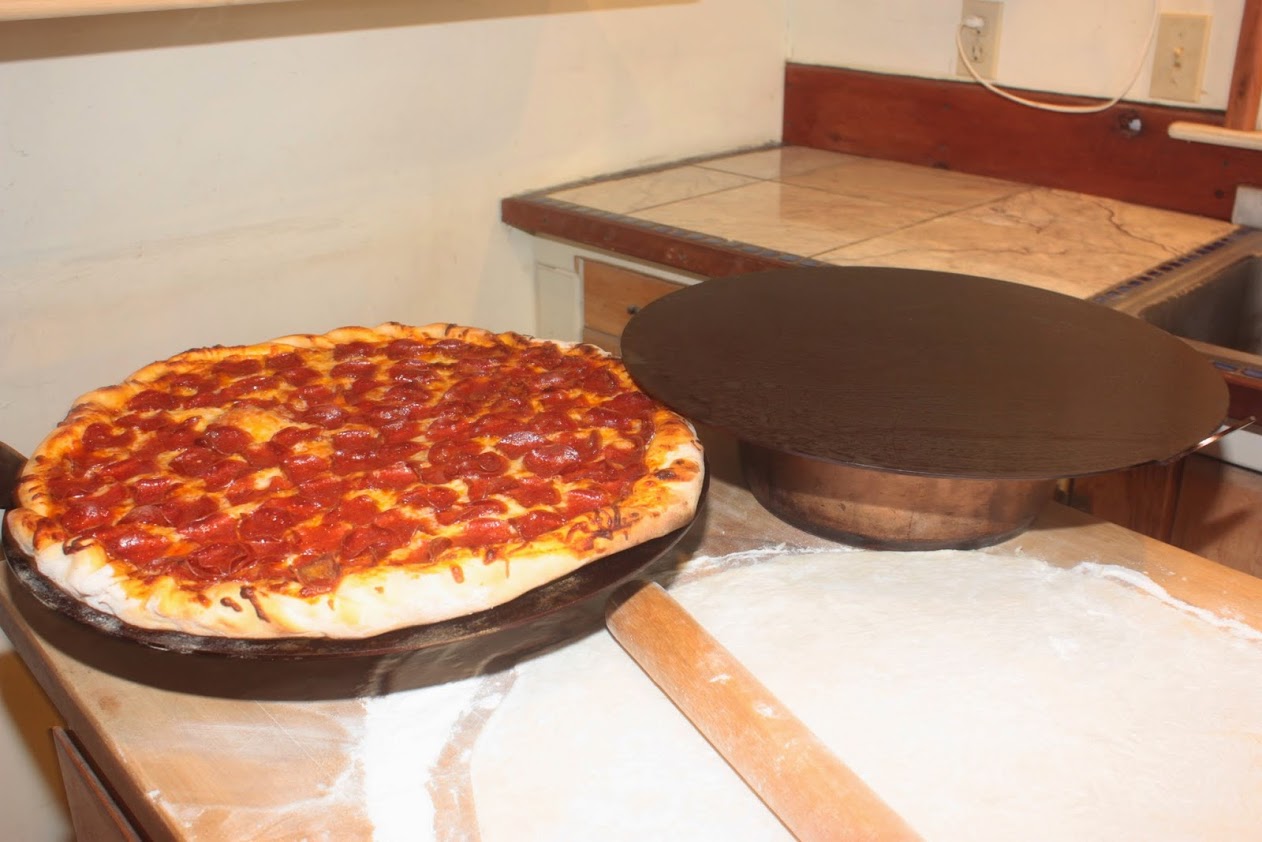
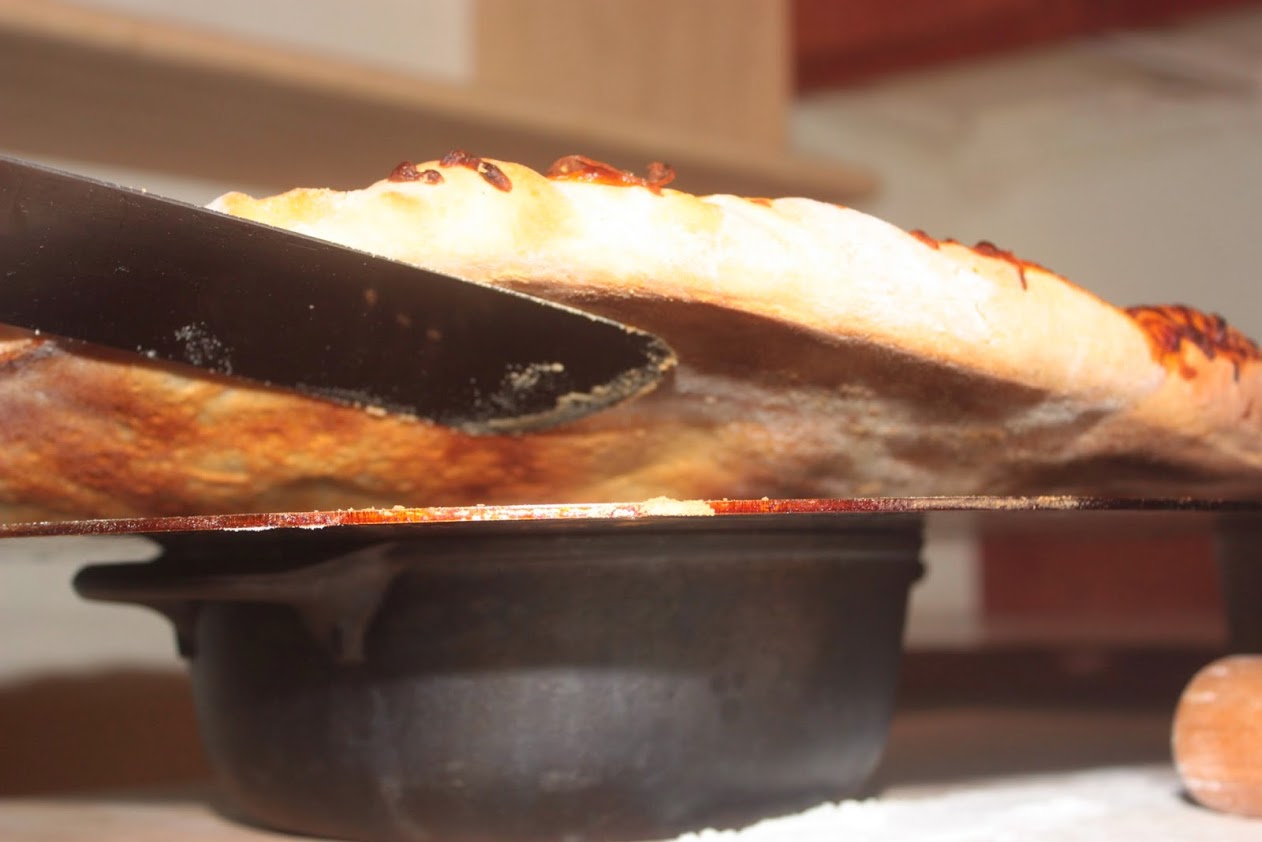
You can see the pan thickness which really helps to deliver the heat to the crust.
The second one out resting and ready to cut up the first.
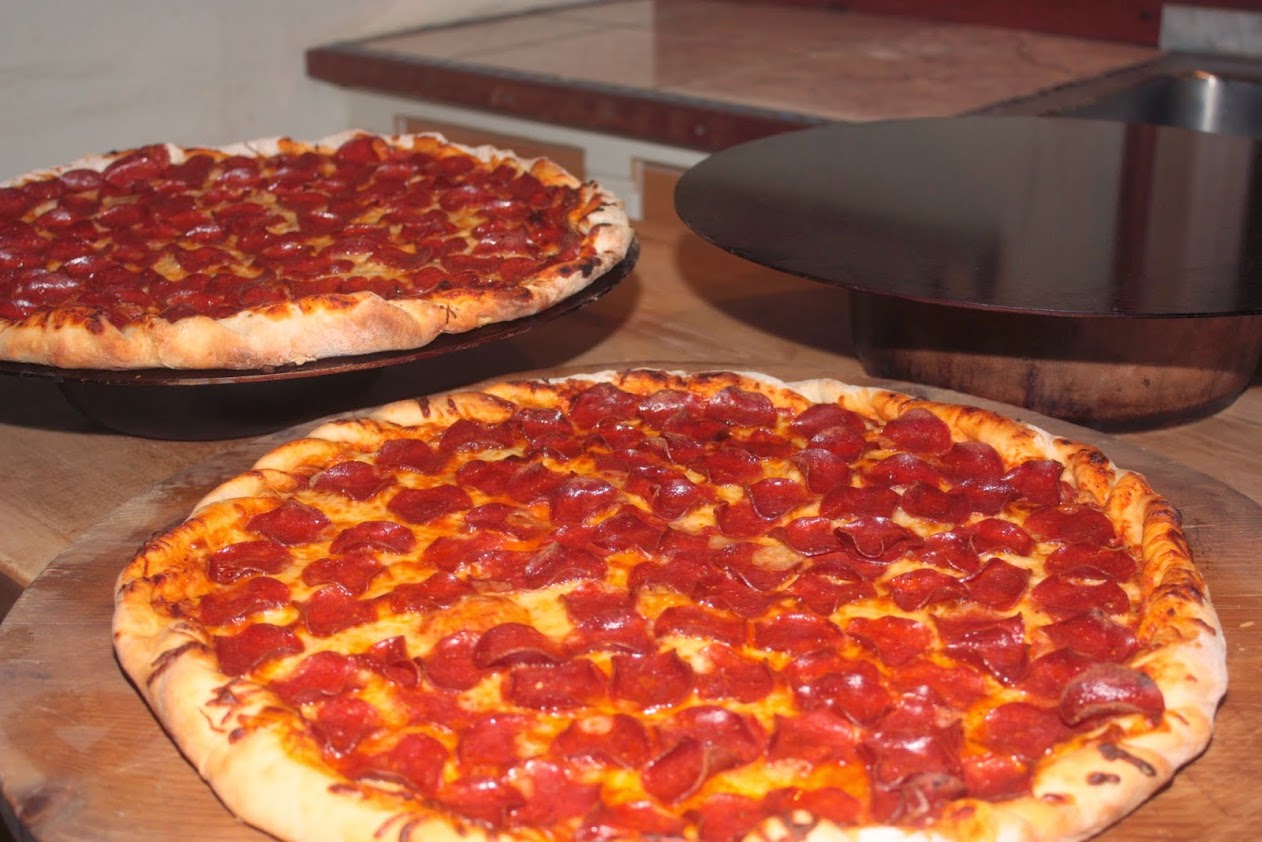
Works every time!
I wash the pans in plain warm water without soap and dry. Apply oil lightly to store.
The pans are laser cut with a small tap. You can grab with a pair of channel locks or a few heavy towels. I keep one hand with extra towels to steady it as I pull it from the oven. The pan will be very hot!
For more information and any questions please use the contact page of the website.