Buy American!
For Specific Grill Repair, Click on Your Model:
Weber Summit Silver Conversion
Making a SLG2006C Burner Bracket
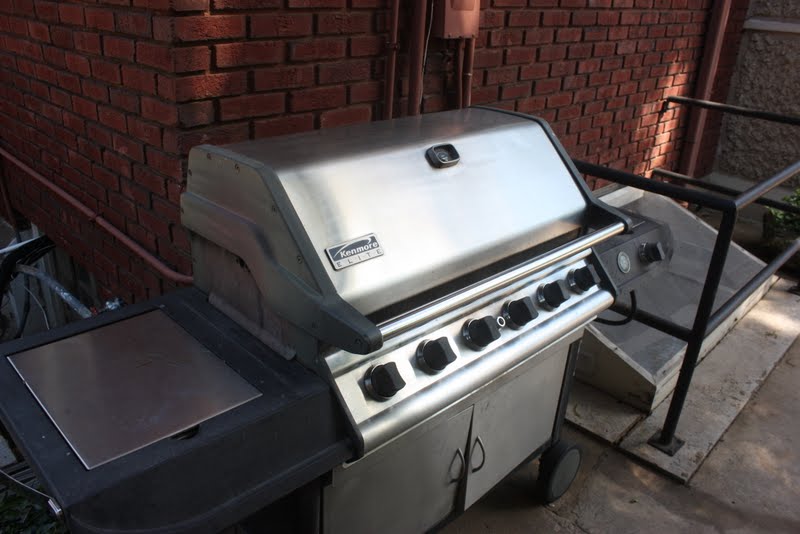
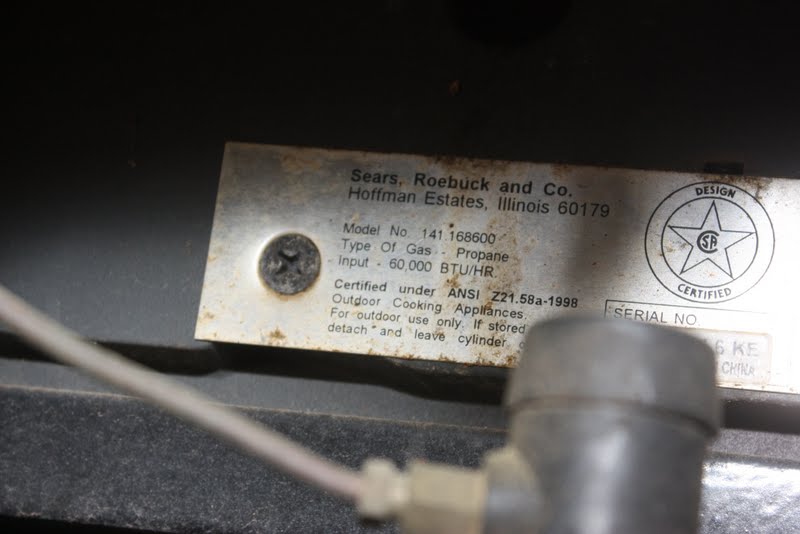
Kenmore 141.168600
www.clagrills.com/allgrillparts/kenmore/kenmore-model-141.168600.htm
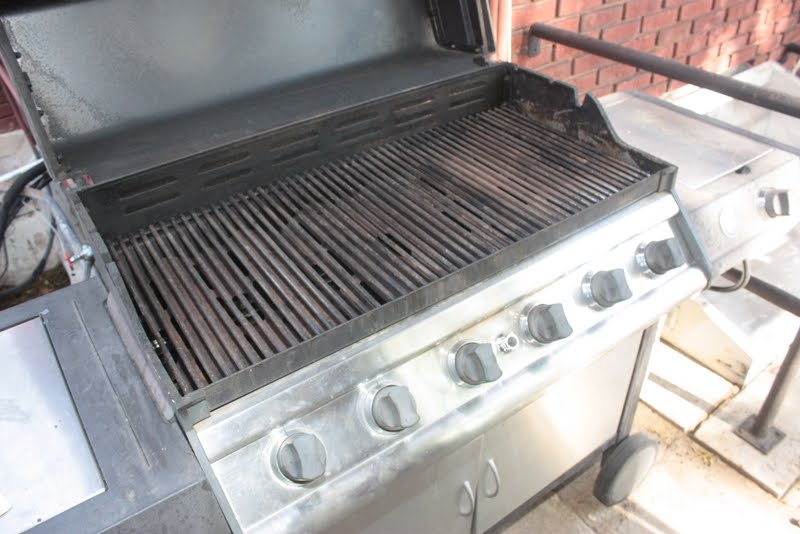
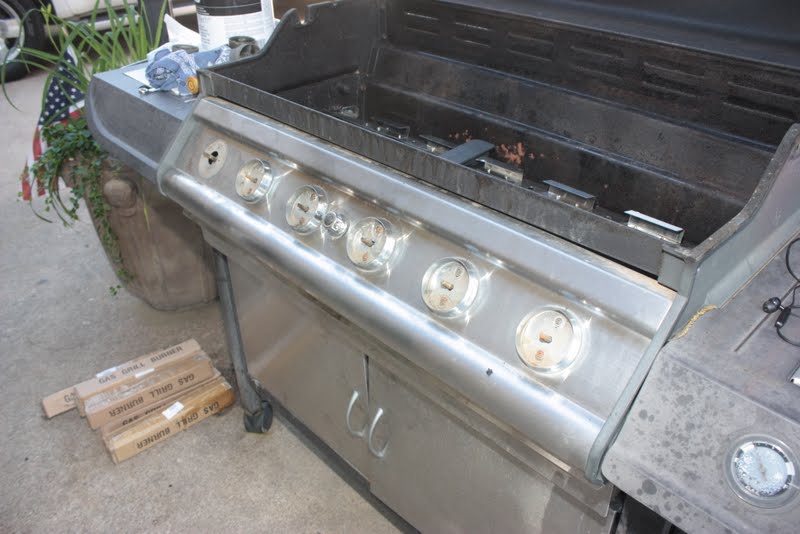
This is a fairly large Kenmore grill at a friends house downtown.
The spec plate was located under the side burner shelf. It is likely a
Brinkmann made grill. Remember to turn off the tank and disconnet before
making repairs!
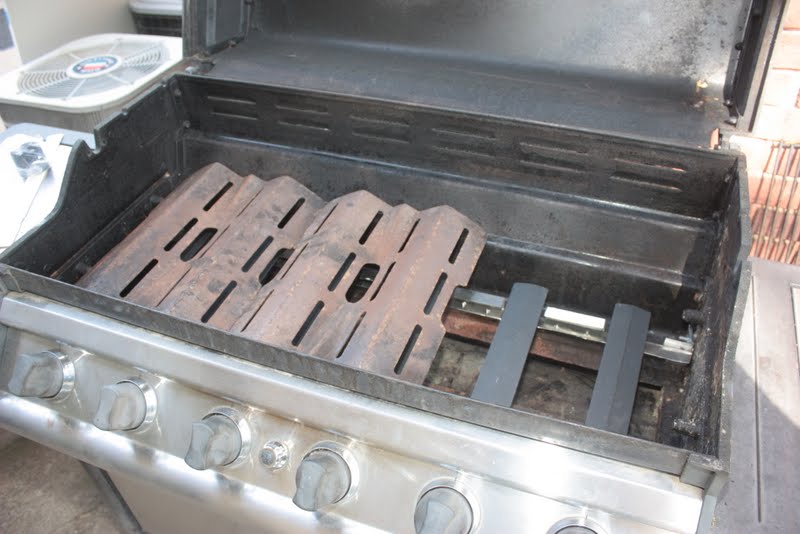
This grill has a side burner and the grids and heat plates lift out.

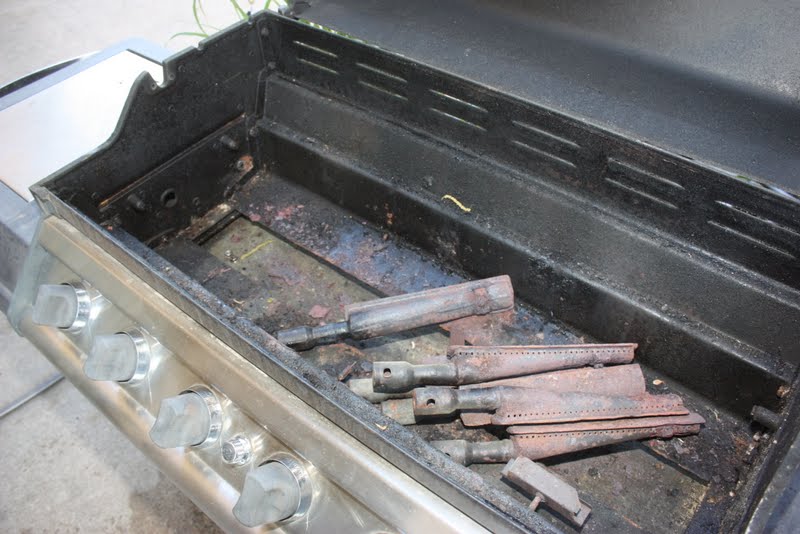
The burners are a little worn out and the burner bracket has fallen apart. Notice
the tiles he used to prop up the burners.
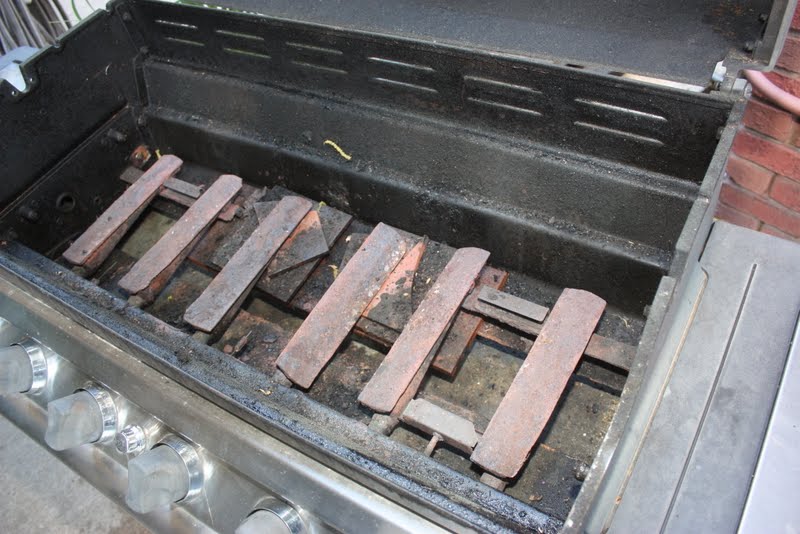
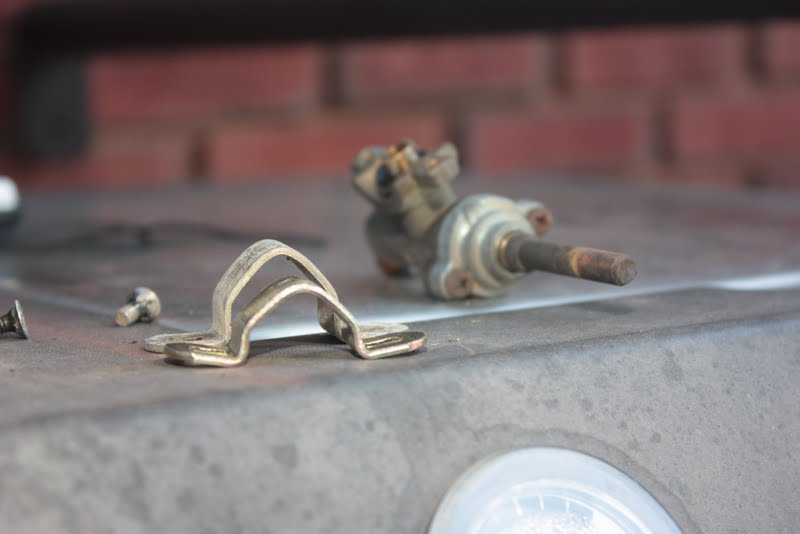
The bracket is held in by a bolt on each end.
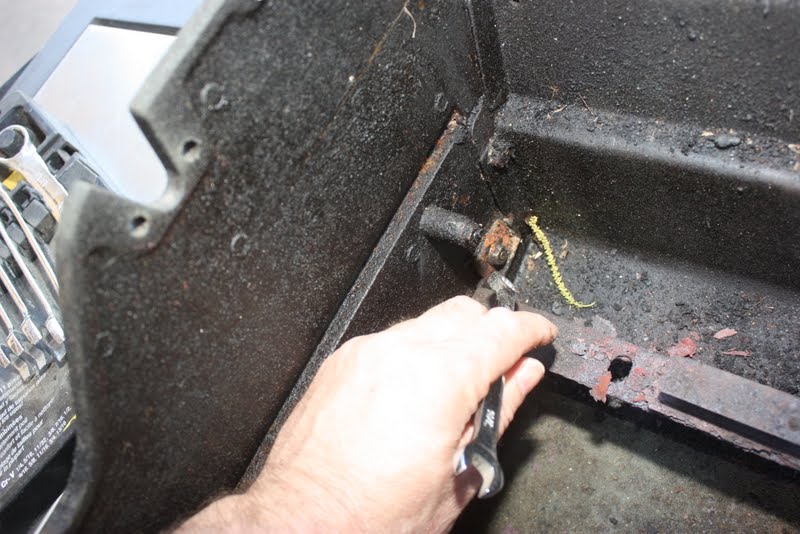
The bracket is removed. The burners actually have a little life left in them, but
but I replaced them as part of the deal.
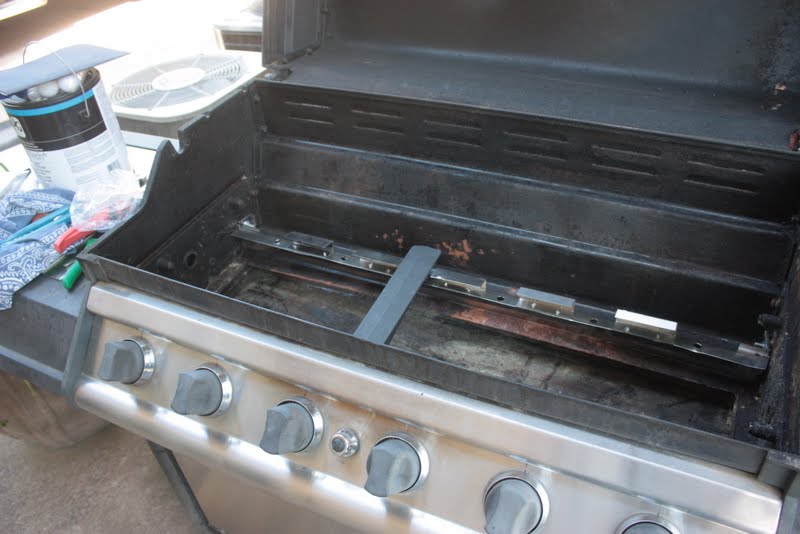
At the time I fixed this grill, I think Sears had the bracket for sale around $90.,
but they are no longer available. I managed to make this one, but you could
improvise a patch or a new one with some angle from the hardware store.
I would use the old bracket pieces to attach a piece of angle.
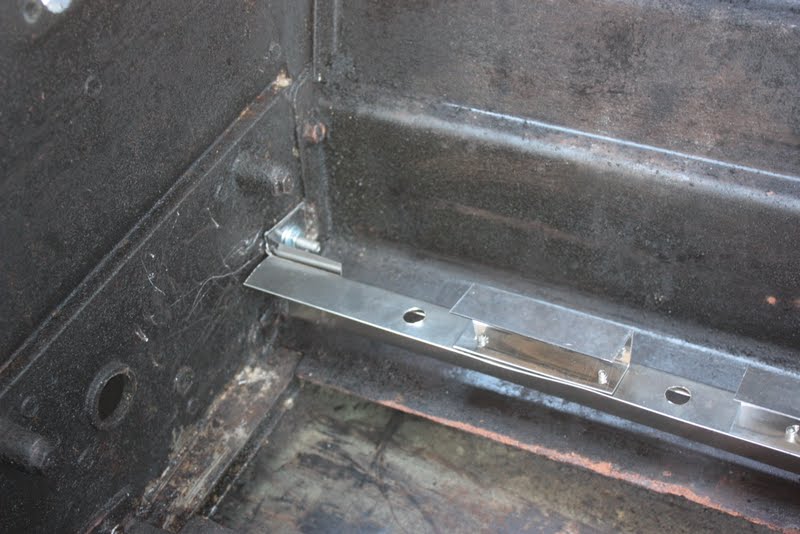
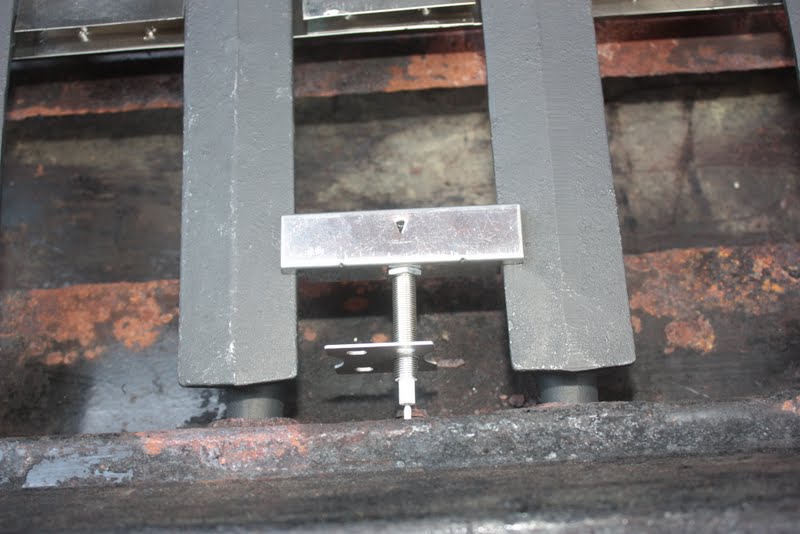
Here is the bracket I made installed. I have some sheet metal equipment and
have made a few of these. It only took me 4 hours to make one.
I had agreed to check and replace any leaky valves. I started by getting the
knobs off. I have to use both hands and try to pry them off without using a
screw driver. Don't be surprised if you crack them by prying off with a screw
driver.
Start with the screws on the side.
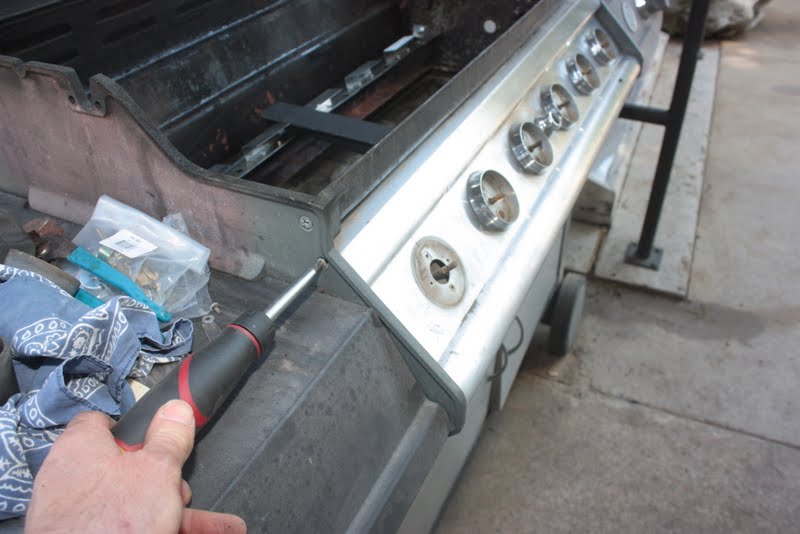
It wasn't easy, but here it is with the cover panel off.
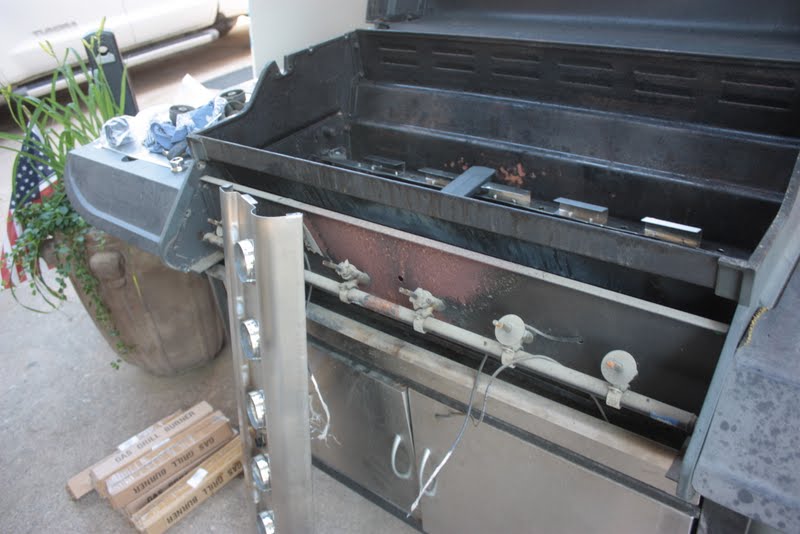
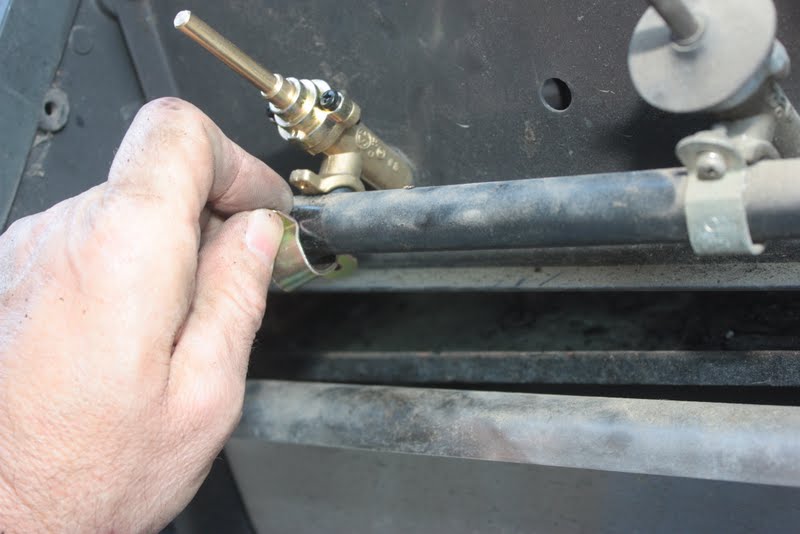
I was able to get the valve off by removing the clamp holding it and then slipping
it off the manifold pipe.
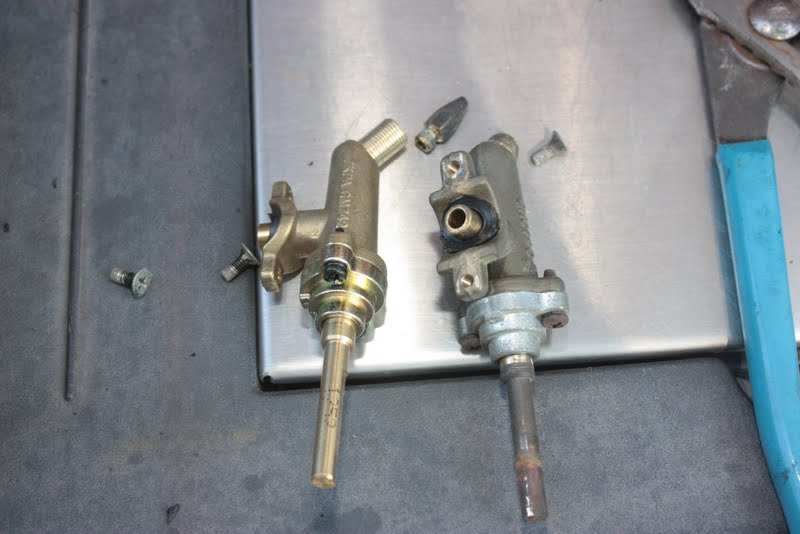
Our valve, CLA #3042C, next to their valve.

Another view of the 2 valves.
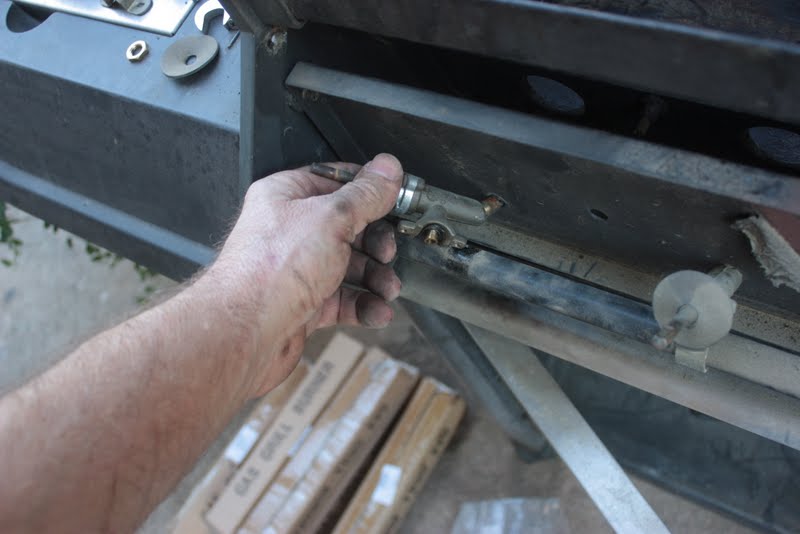
When installing the new valve you will have to slip the orifice into the hole first
and then pull through manifold while pushing downward on the valve. Otherwise
you will have to remove the valve assembly, adding another 45 minutes of work.
Our clamp was a little small so I used the old clamp to secure our valve.
The bad valve is replaced, the control panel re-installed, and the burners are installed.
It's a good idea to hook the gas and check the burners at this point. Keep the grill
control knobs off until the tank is hooked up and open!
Our electrode/collector box, CLA #02618, works here. Again, it's a good idea to
check the ignition before installing the heat plates. I had replaced the igniter as well.
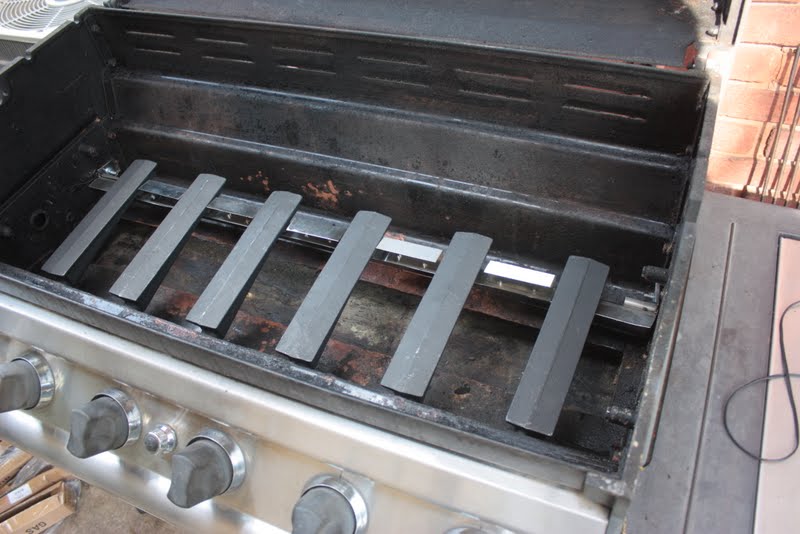
The OEM flame tamers are re-installed. New flame tamers/heat plates are
available at CLA Grills.com. You will need 3.
Everything back in place and ready to cook. Reconnect the tank and with the
grill control knobs in the OFF position open the tank valve. Check the grill
before using.