Vermont Castings CF9030LP
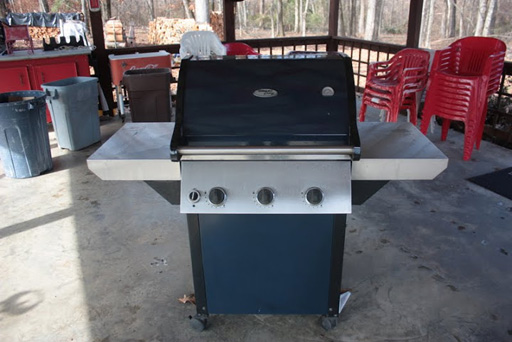
Img 2378 - This is a Vermont Castings CF9030LP which is a heavy grill made when Vermont Castings was owned by Canadian Foundry ( which is now gone) but you can still find the Vermont Casting grills out there in some small dealerships.
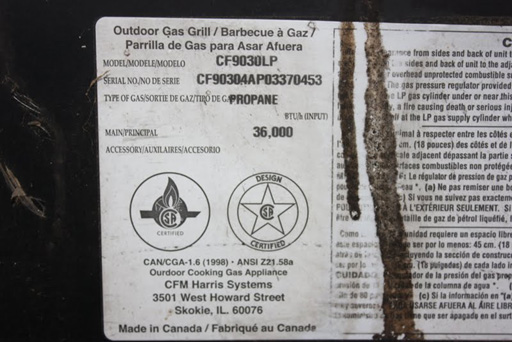
Img 2382 - The label on the back of the grill showing the model and serial number.
Img 2383 - It has a heavy top with cast iron sides. It’s a heavy grill which explains way we still sell so many parts to it.
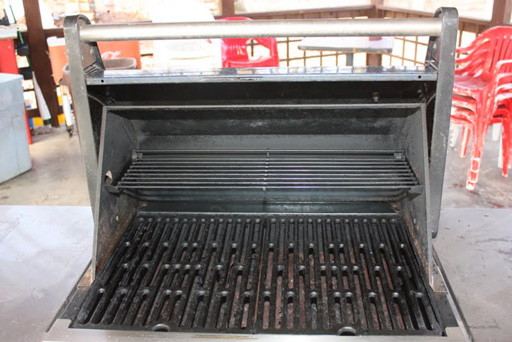
Img 2384 - Here I pulled the warming rack and grids.
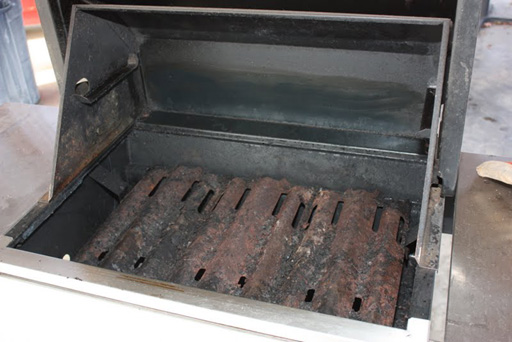
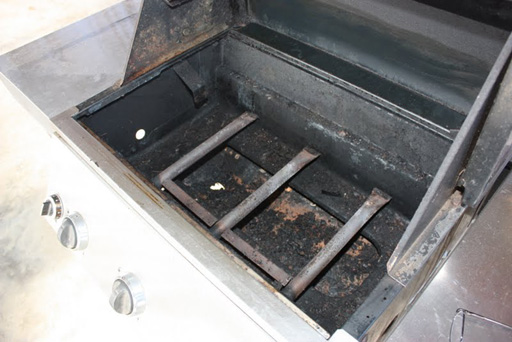
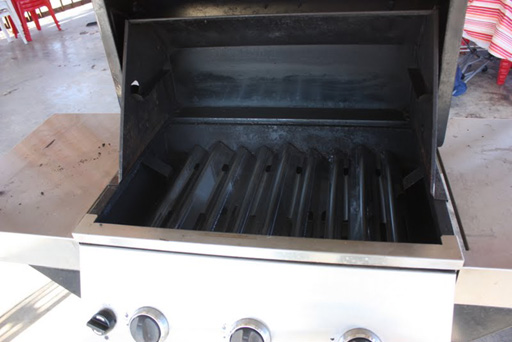
Img 2385 - And, we are down to the burners. The burners are welded to a flange which is bolted to the grill body.
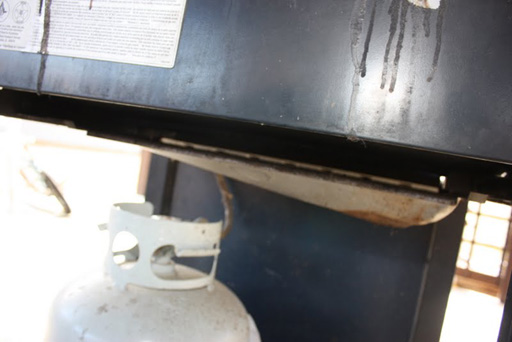
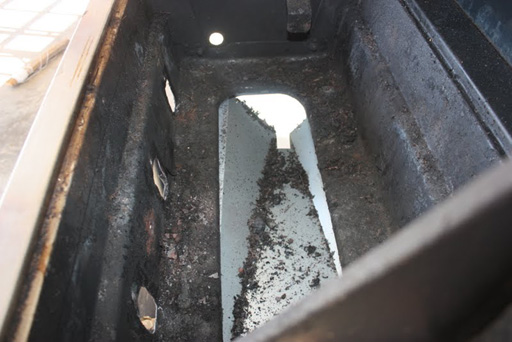
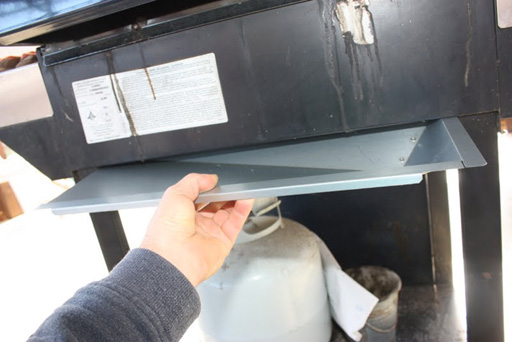
Img 2386 - This is the grease tray lip from the back of the grill. I have to pull it to get to the front of the grill.Img 2387 - It is full of crud. We have a duplicate made locally. All the parts we have for this grill are at this link-
http://www.clagrills.com/allgrillparts/vermont_castings/vermont_castings-model-cf9030lp.htm
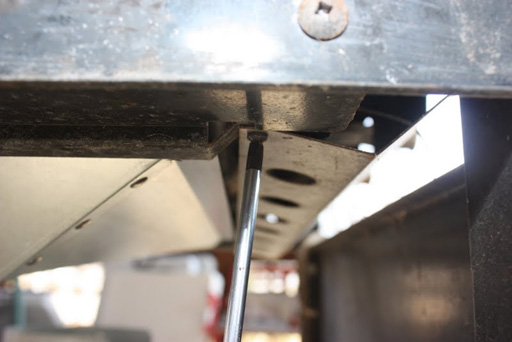
Img 2389 - Here I am trying to loosen the screws holding the burner flange onto the grill wall. Some of my customers with this grill model have trouble understanding how the burner is installed into the grill. It gets harder!
Img 2390 - I've pulled the valve control heat shield to get to the grill wall that the burners are attached to. It’s held by 4 screws, one on each side under the grill and above the burners.
Img 2391 - I pulled a screw on the top of each side of the control panel to reveal the burners and valve after pulling the valve heat shield.
Img 2392 - Here is the heat shield. I had to get the control panel out of the way to get to the top 2 screws.
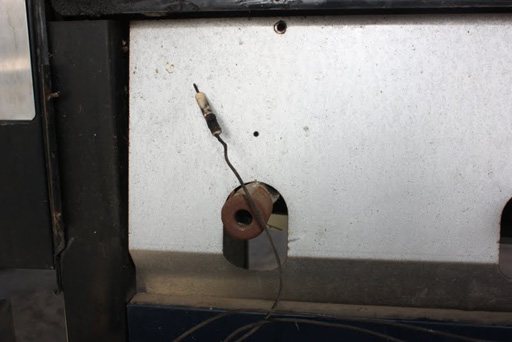
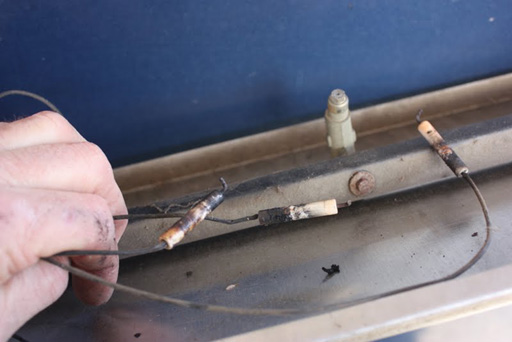
Img 2393 - These electrodes have fallen out but are compressed into a flange that is screwed into the burner flange. Some think the electrodes just sit there. That’s not true.
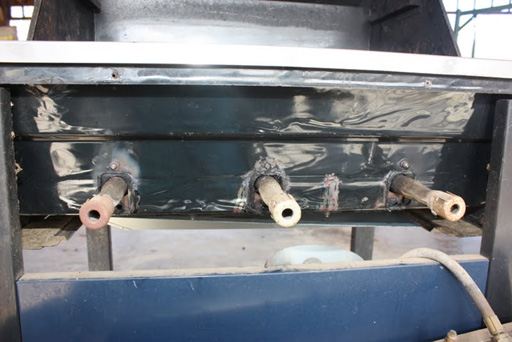
Img 2394 - Here we are with the grill wall exposed showing the small grommets welded to the grill wall that the burner flange screws are now rusted fast into! I recommend a nice, electric hand held grinder to get the grommets and screws out.
Img 2395 - Here I have ground off the screw heads inside the grill. The burners will come out but we still need to get rid of the rusted grommets. Sometimes, but rarely, the screws will just screw out if the grill hasn't been used much.
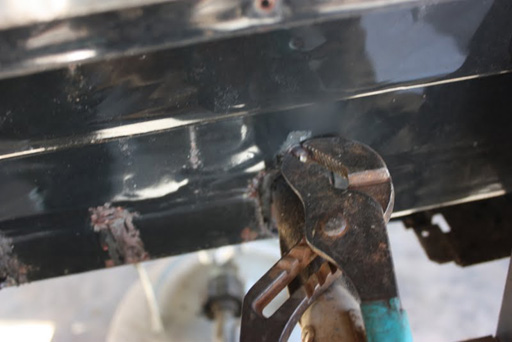
Img 2396 - I was able to use channel locks to twist off the grommets and used some big sheet metal screws to secure the new burners.
Img 2397 - I am ready to install the new burners! I noticed that our burners are longer than the originals and have had customers complain of this. But it does not affect safety if the burners push against the back of the grill. The aftermarket burners are slightly longer but made to replace these. I can't explain why they are different, only that it doesn't affect the performance or safety.

Img 2398 - They go in easy but I don't have the heat shield and valve assembly back in yet.
Img 2400 - I wasn't able to get pictures of putting the valves and control panel backin. But you can check the pictures of the removal above.
This model uses a rotary type igniter which we have an aftermarket replacement, #03230, seen at this link-
http://www.clagrills.com/allgrillparts/vermont_castings/vermont_castings-all-igniters.htm
You'll need the #03400 to connect to the rotary ignitor with our #04010, or if you have a battery igniter you'll probably need the #03500 wire. FYI !!! We don't have a battery igniter for these old VC grills as they needed a 5/8 hole to install in and our smallest igniter needs a 3/4- 7/8 inch hole opening. Glad to take emails on this.
I always light the burners before putting the heat shields and gridsback in. Check your work!!! Be sure to check any gas connections that are remade and test carefully before reusing! This model uses our #80012 LP gas regulator.

