Buy American!
For Specific Grill Repair, Click on Your Model:
Weber Summit Silver Conversion
Making a SLG2006C Burner Bracket
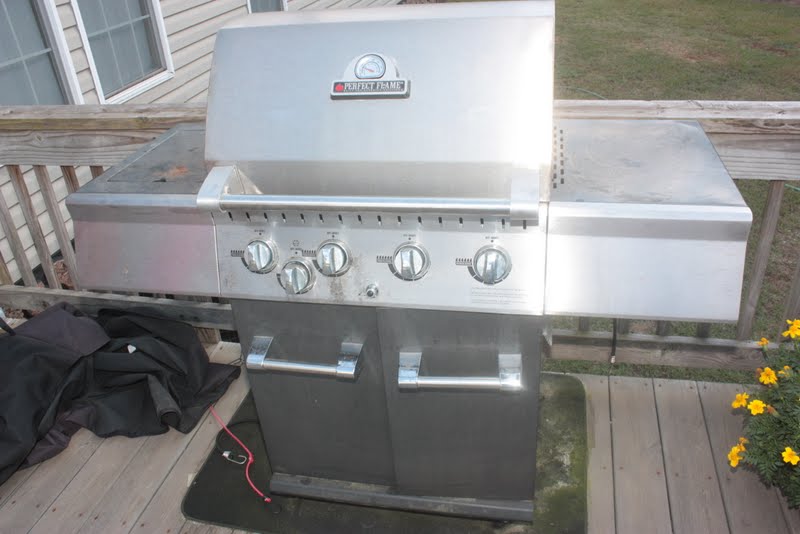
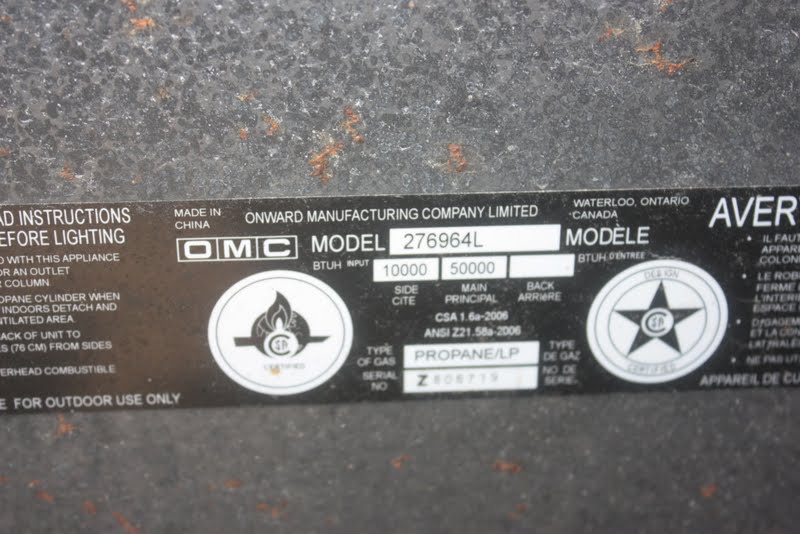
The Perfect Flame 276964L sold by Lowes is made by OMC in Ontario, Canada.
The spec plate can usually be found on the back of OMC grills, but can be found anywhere out of the way on a grill.
Replacement parts can be ordered at this link:
http://www.clagrills.com/allgrillparts/perfectflame/perfectflame-model-276964l.htm
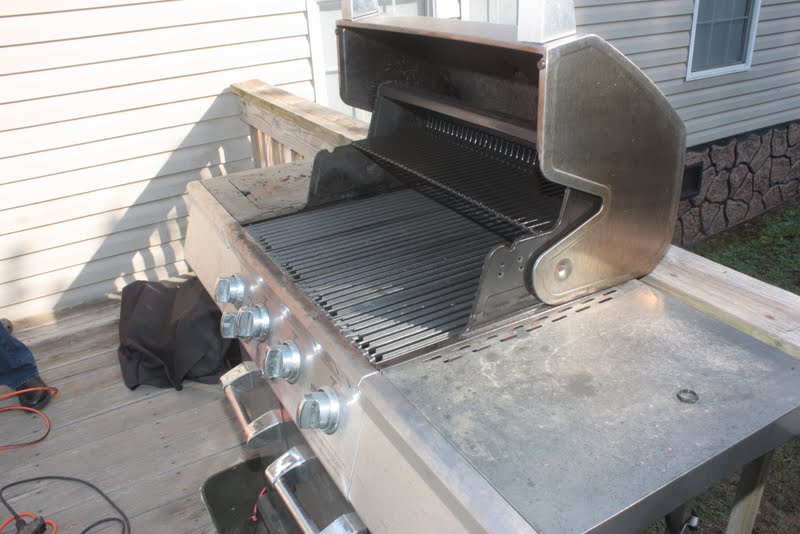
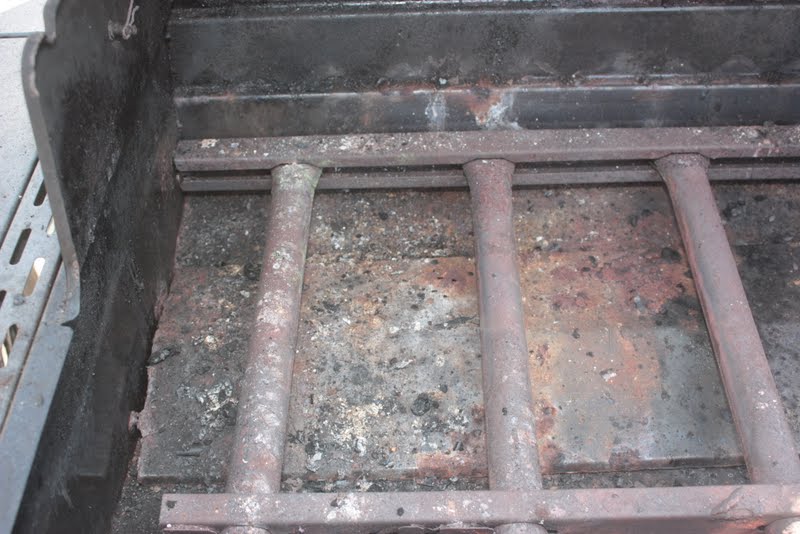
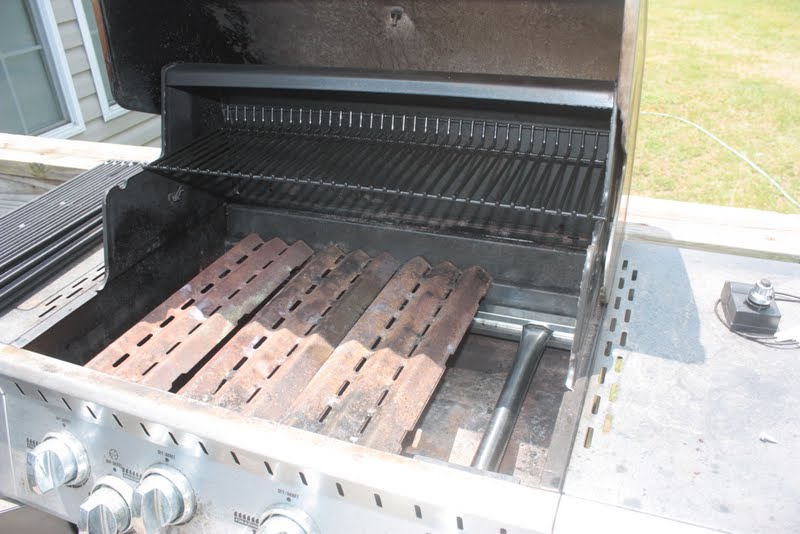
The porcelain coated cast iron has a tendency to chip away.

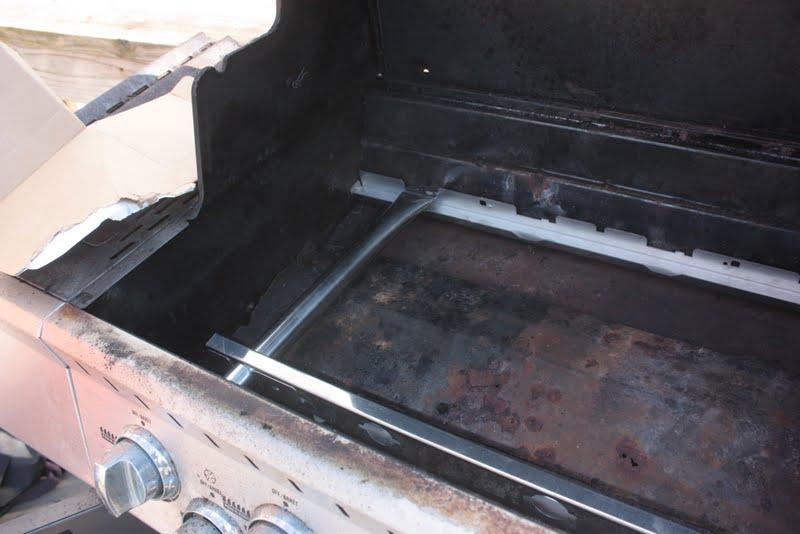
The grids and heat plates come out easily showing the burners. I did make sure the tank was closed/off!
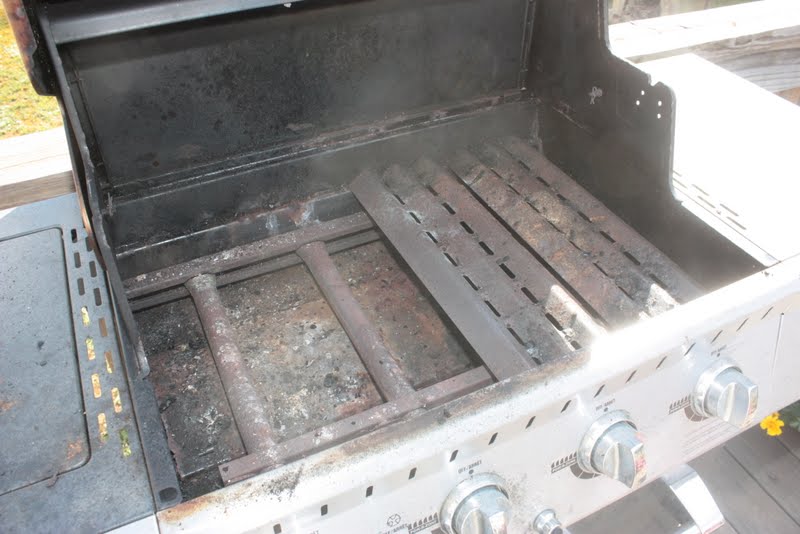
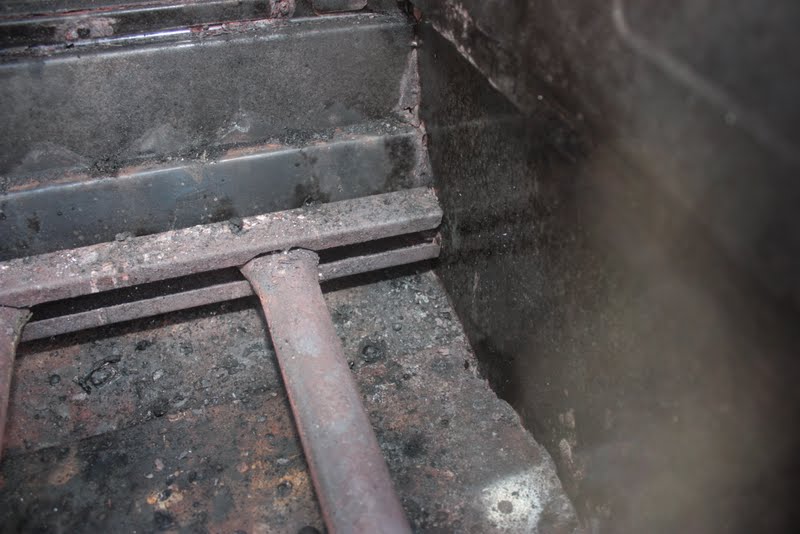
The burners are held in by the crossover channels, which are in the back and secured to the sides of the grill.
The back bracket is held by a nut and bolt in the corner. You may have to twist, grind, or drill the bolts if they will not unscrew.
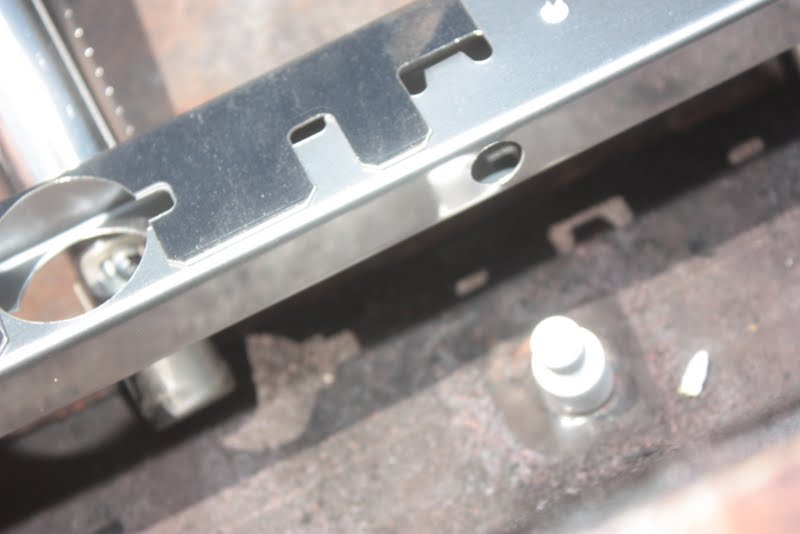
I secured the bottom back bracket first with a bolt on each side. The back of the burners will rest on a small clip you can see in the cutouts of the bracket. I also started the front electrode bracket in two pieces, as well.
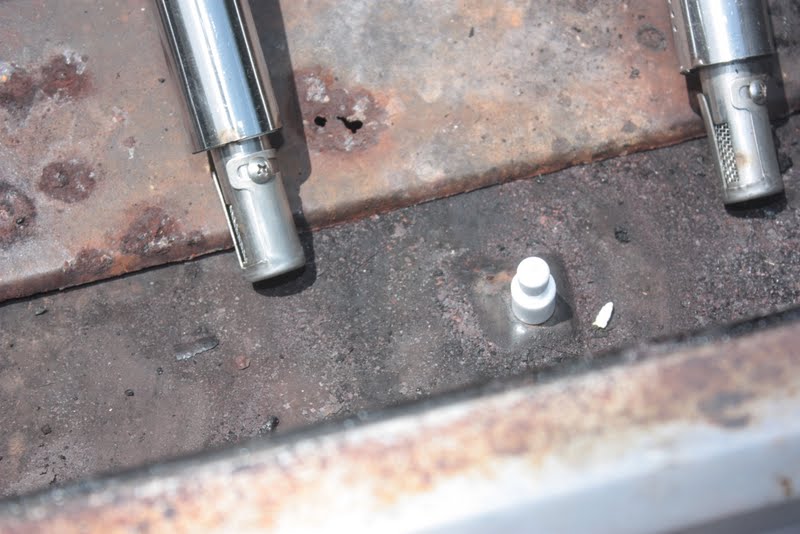
I did put the electrodes in first. Look closely at the old ones. They rest on the floor bottom, not in the electrode bracket. I thread the electrode wire through the hole first from inside the grill. You can take the leads and hook them to the igniter at this point, but I just leave them unconnected for now.
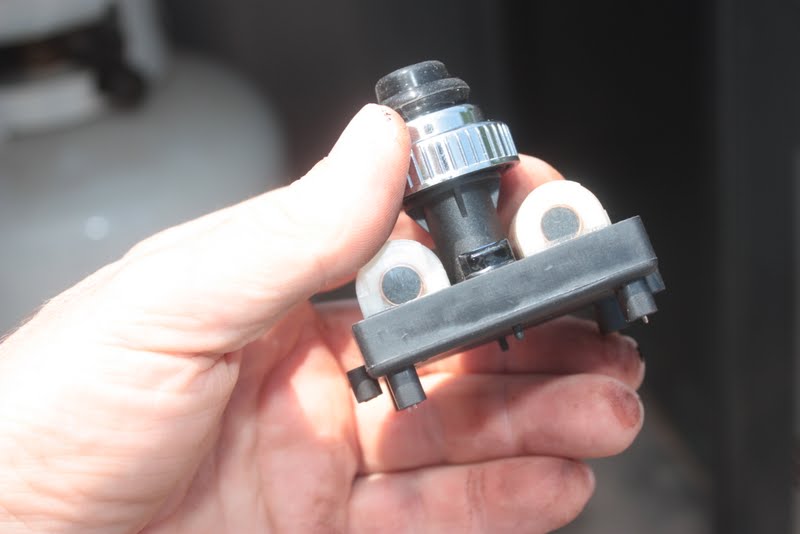
The bottom of the igniter has two outlets for the main burners and one for the side burner. If the old one still "clicks" with a good battery, it is probably still good. Worn electrodes, bare wires, rusted crossovers, and burners all affect the ignition of the burners.
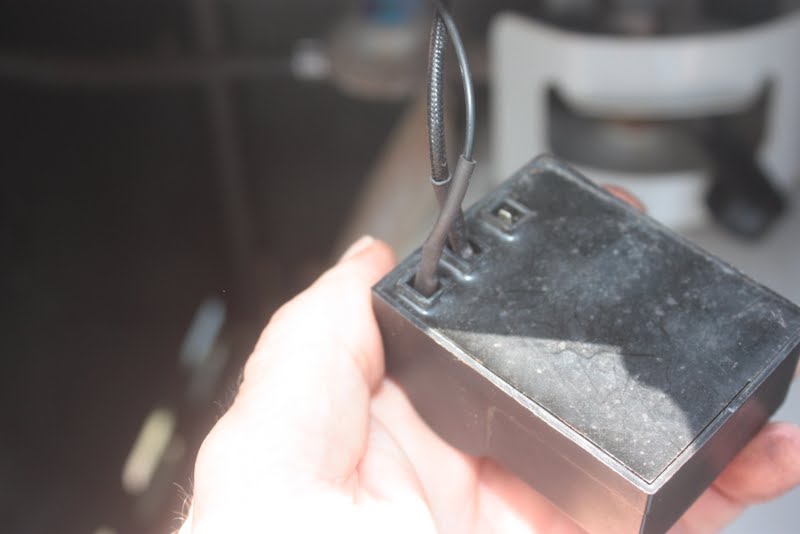
We have a factory replacement part, #286964-201, also, I found that our aftermarket part, #IGEIB3-B fits. We have the OEM on the CLA Grills model page. Check the electrodes to be certain they are in place and properly hooked to the igniter. Check the burner openings to be sure they are over the valve jets. You are now ready to do a test fire!
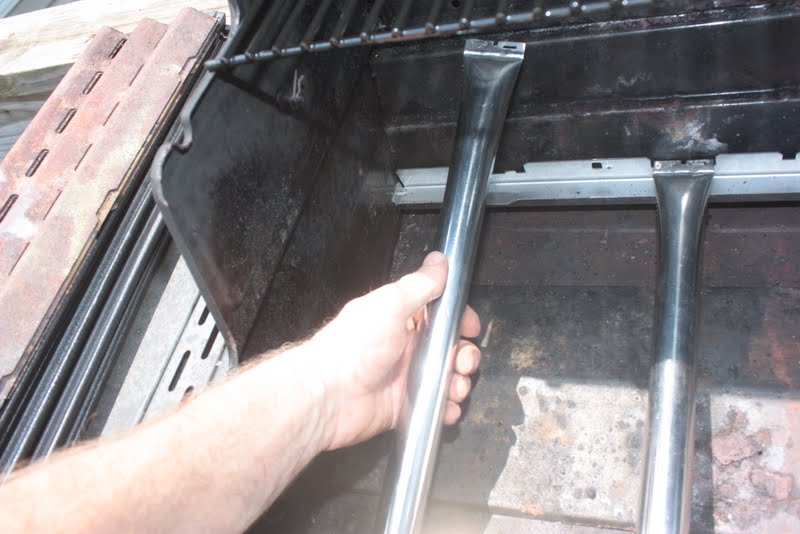
The next 3 photos show the electrode, the electrode installed, and the bracket that holds the electrode in place.
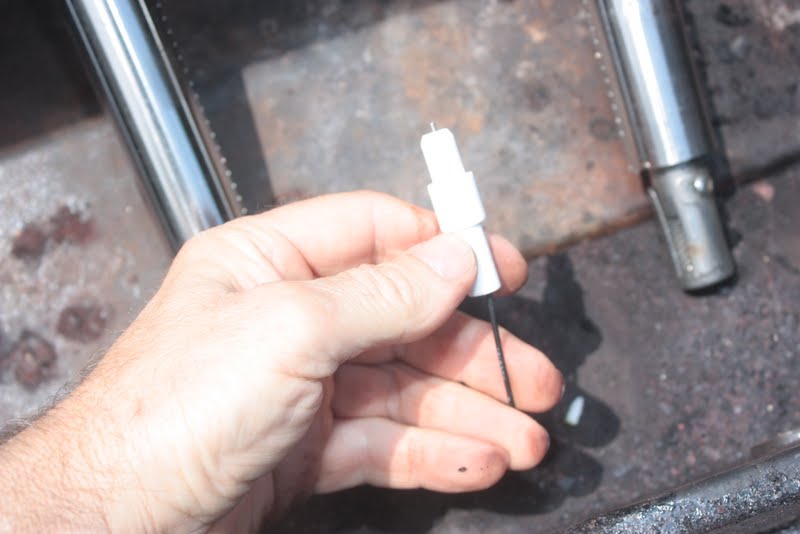
The electrode simply sits in place.
The front electrode bracket is also a cross over igniter so the grill has a much better chance of lighting with the two crossovers, front and back. There is a bottom bracket that has the holes for the two electrodes and a top bracket.
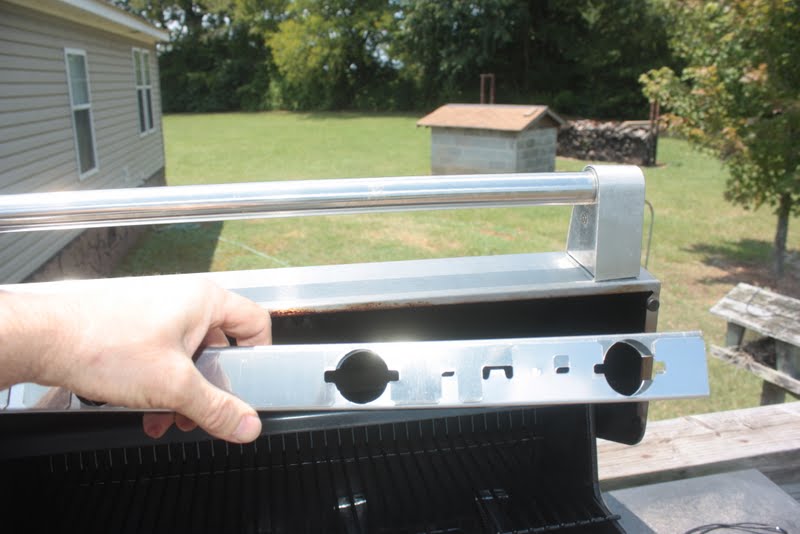
The electrode bracket is compressed together when installed at the factory by sliding the little tongues inside each other. The back one is held to the grill sides by bolts. The front one has to be "swedged" together in order to stay installed, so you may have to practice a bit on that.
This step is a bit of a trick. You need the bottom back bracket installed first. Slide each burner through the front electrode bracket, which you have put together with the hole side for the electrode down! As you install the burners, the bracket needs to sit with the bottom holes going over the installed electrodes sitting on the grill bottom.
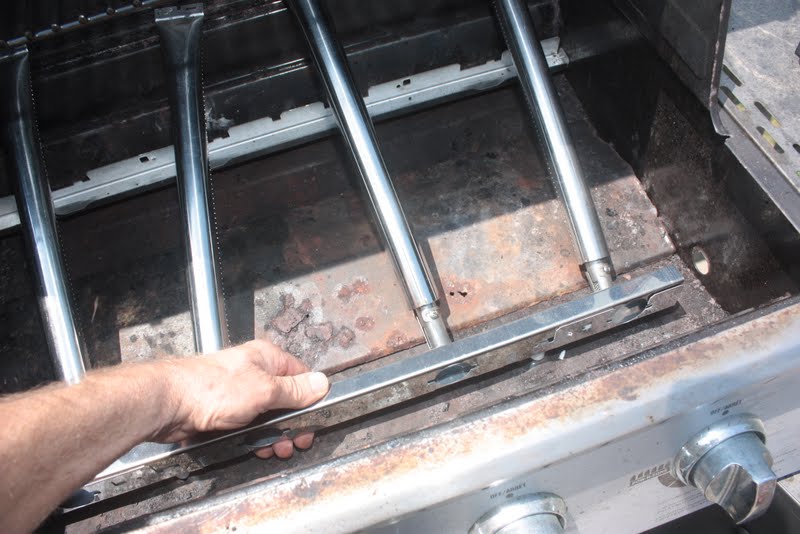
The burners will sit between the front electrodes and rest on the clips on the back bracket. Now is a good time to be sure the opening of the burner is installed over the valve orifices/jets. You will have to look under the front of the grill to see that. I'm sorry, but I do not have a picture for under the grill.
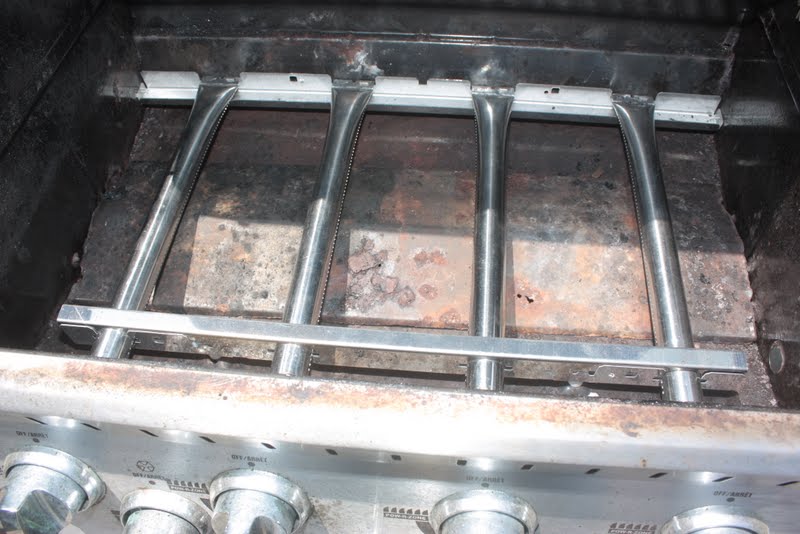
This photo shows all but the back bracket top installed. The top only goes over the back bracket one way and is hard to clip or compress the little clips together, but the ends need to be secured with a screw or bolt. It is also a good time to get the electrodes hooked up to a new igniter or to the old igniter, provided it still works. You can test it with the heat plates and grids still out of the grill.
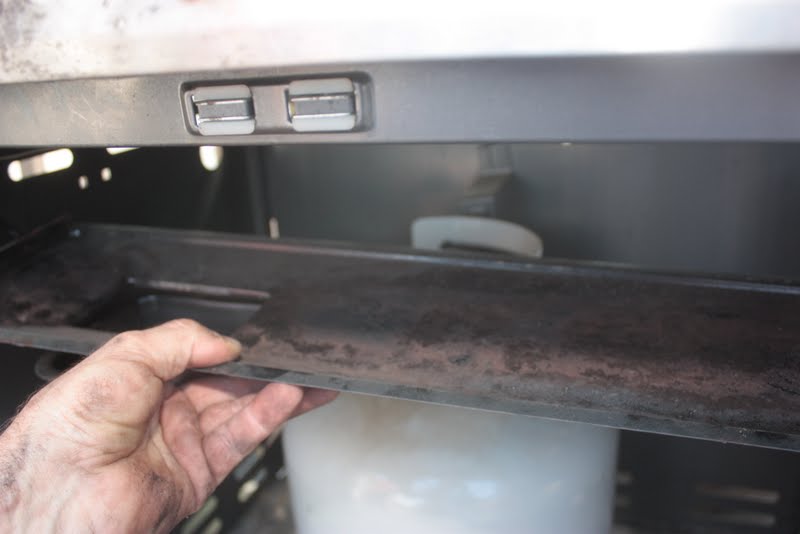
You can check the grease tray under the grill behind the doors. I think it's bolted, but this one is OK.
The heat plates sit over the burners.
It's ready to test fire and cook. Please make sure the tank is secured.