
Buy American!
For Specific Grill Repair, Click on Your Model:
Weber Summit Silver Conversion
Making a SLG2006C Burner Bracket
Members Mark 720-0582 made by Nexgrill
www.clagrills.com/allgrillparts/members_mark/members_mark-model-720-0582.htm
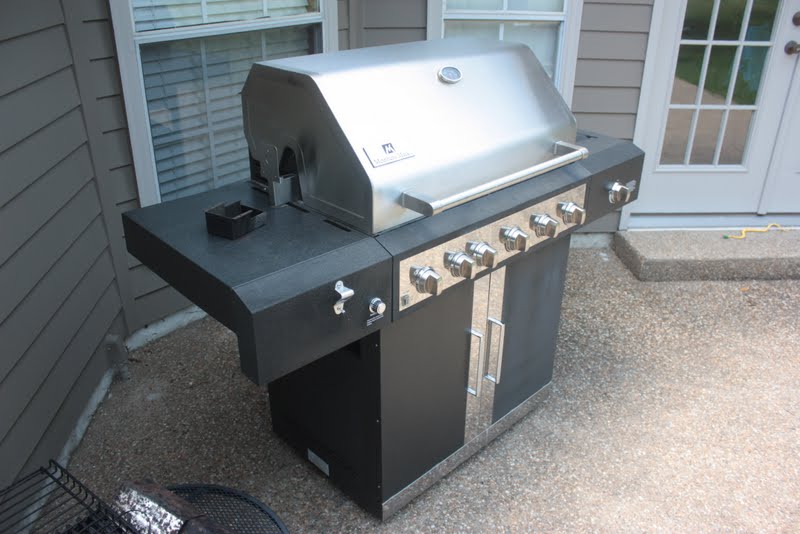
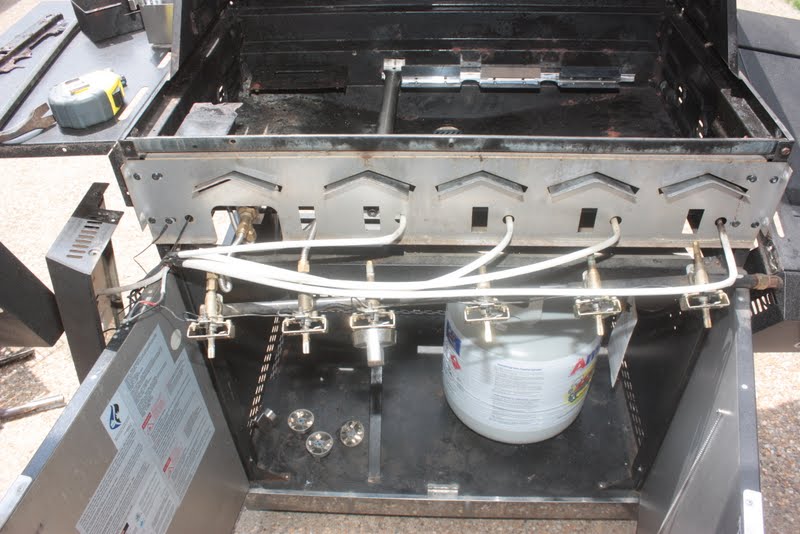
A local customer asked me to convert from Natural Gas to LP.
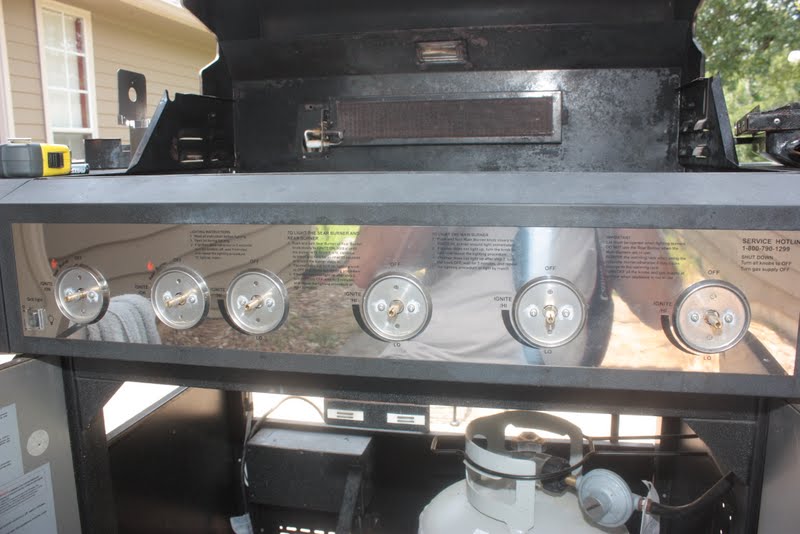
Spec plate showing basic grill information. It's just on the left inside door.

Turn off gas before making any repairs!
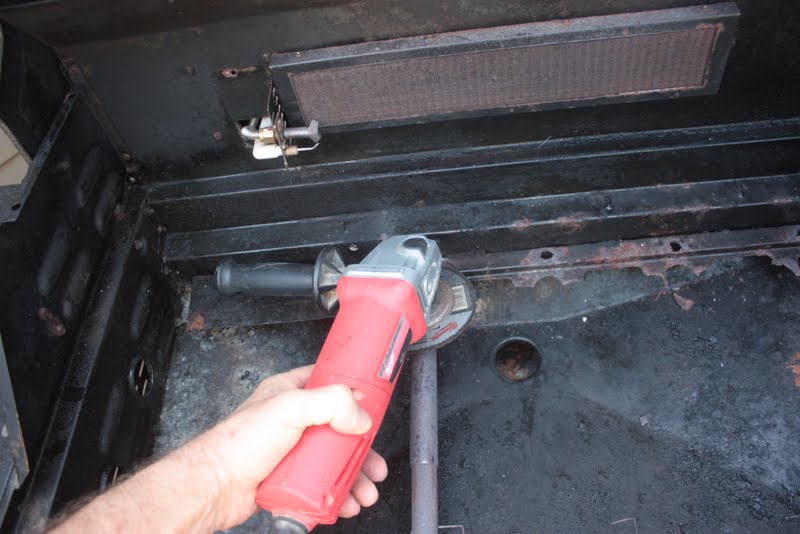
I stripped out the grids and heat plates to get to the burners and burner bracket.

I had to grind off the bolt holding the burner to the bracket. If it's rusted you can
also try to drill the head off with a drill.
I was able to pull the bracket off with a small pry bar.
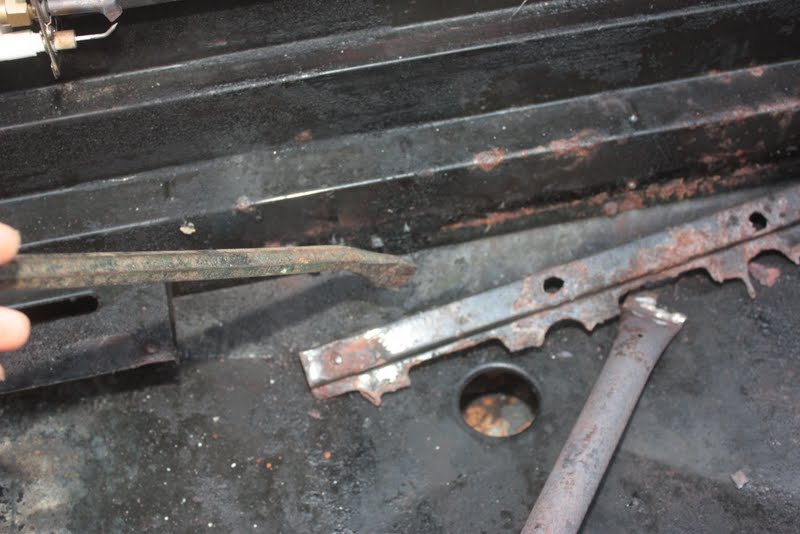
I was able to install the new bracket, CLA-MS0054, with slightly larger sheet metal screws.
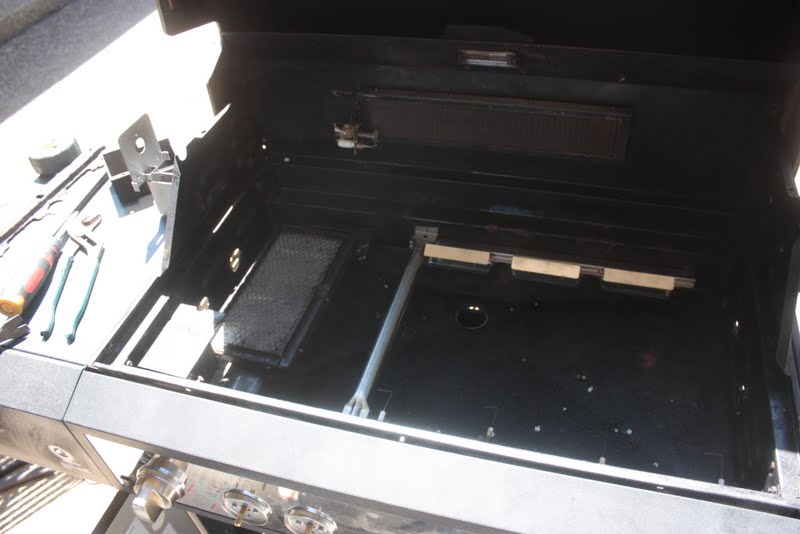
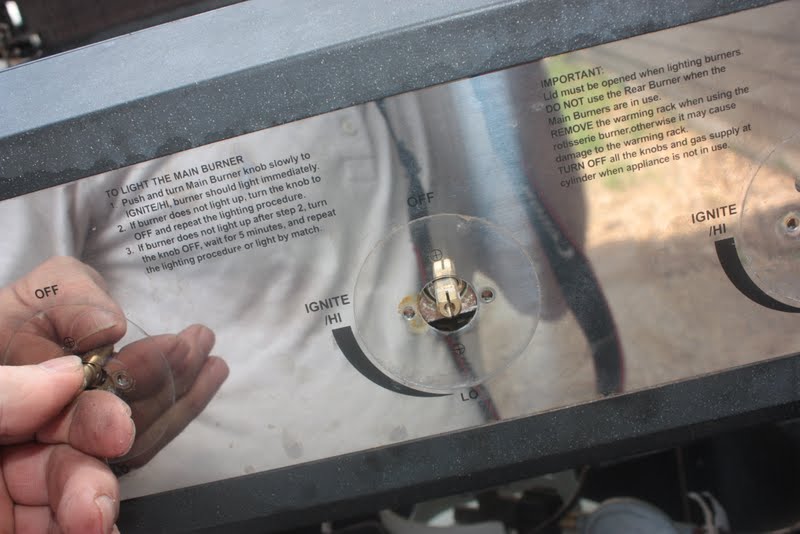
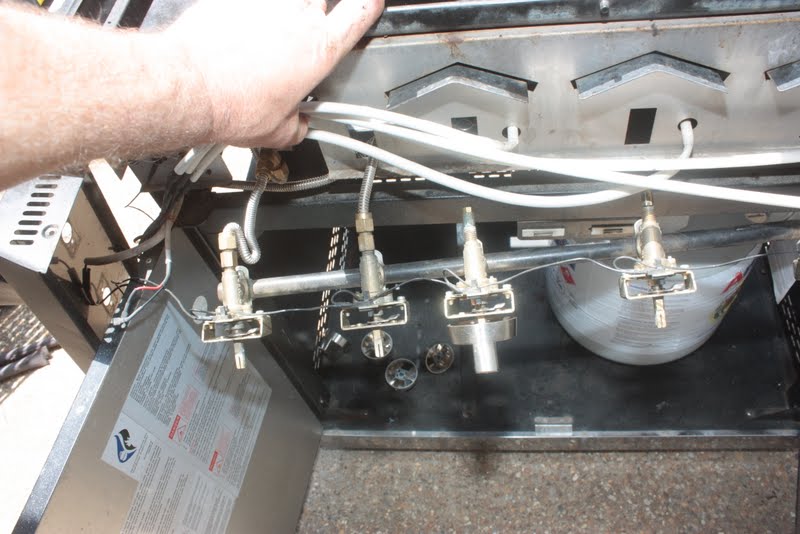
I'm choosing to take the control panel off to get to the orifices, but I could get to them
through the burner holes. The control knobs are held on by a small set screw through
the bottom of the knob. I broke the first knob by pulling the knob from the bracket it
was attached to, so then I had to replace it.
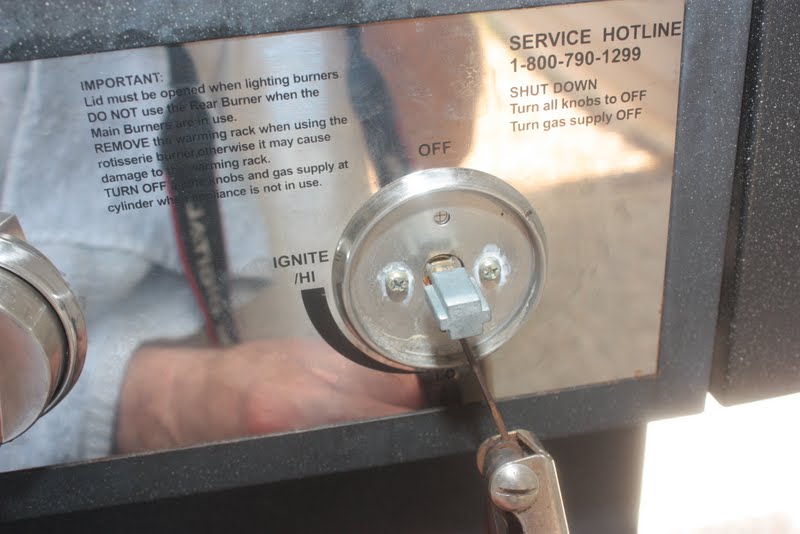
The next knob came off easier by looseing the set screw with a small hex wrench.
You can see the inner bracket of the knob with the set screw in the bottom.

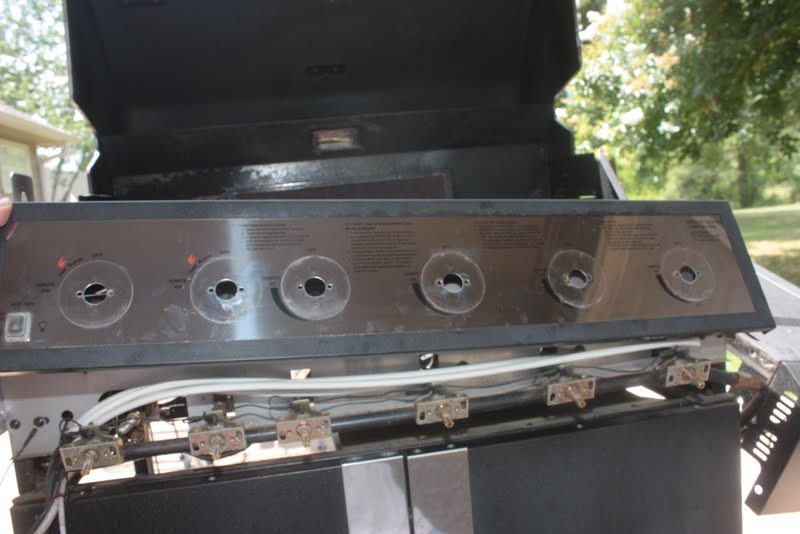
The control panel with the knobs removed.
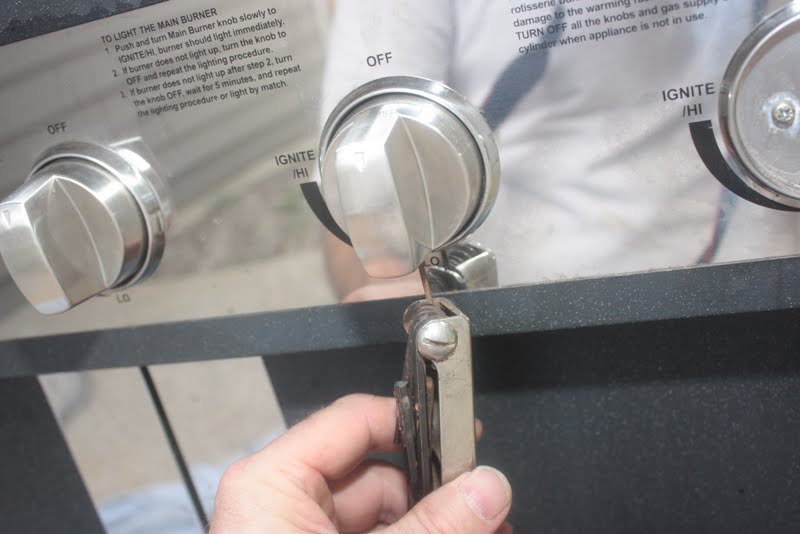
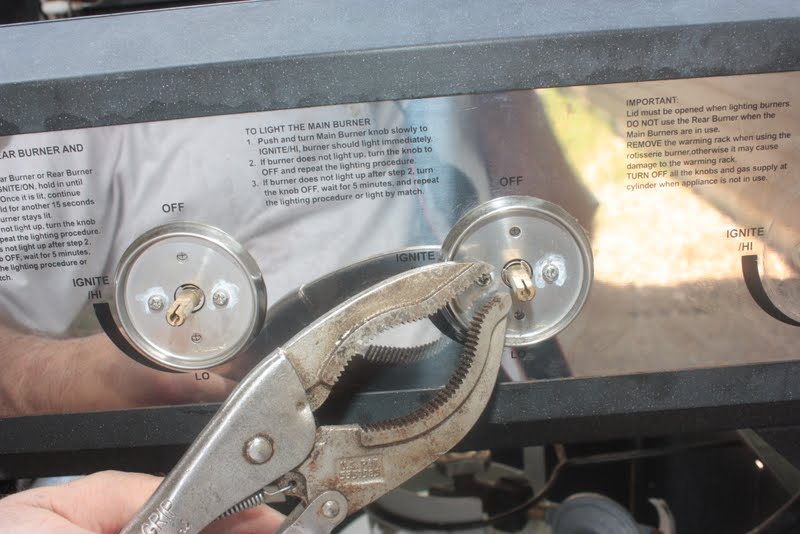
I took the bezels off of the control panel because they held the screws. A few
wouldn't budge without a little help from a pair of vise grips to loosen. Then a
small phillips head screw driver got it out.
The panel without the bezels.
Unfortunately, the control panel wouldn't come off without getting the sides off
or away from the panel and shelf. I was able to get the screws, nuts, and bolts
out just covering the side burner shelf so that it lowered without removing it.
Finally, I removed the control panel. It seemed to be the only way to the orifices.
This picture shows our closest match for the main valves, #3855C, seen on the
CLA main valve page.

Using our orifice, #31500, I begin changing the orifices and drilling them. The
main burners use 10,000 BTU/hr, so I drilled the orifice out with a #62 drill bit.
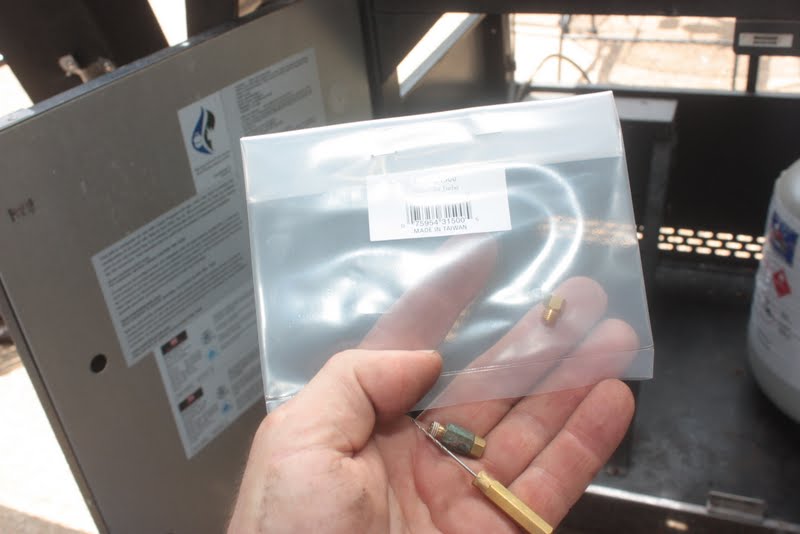
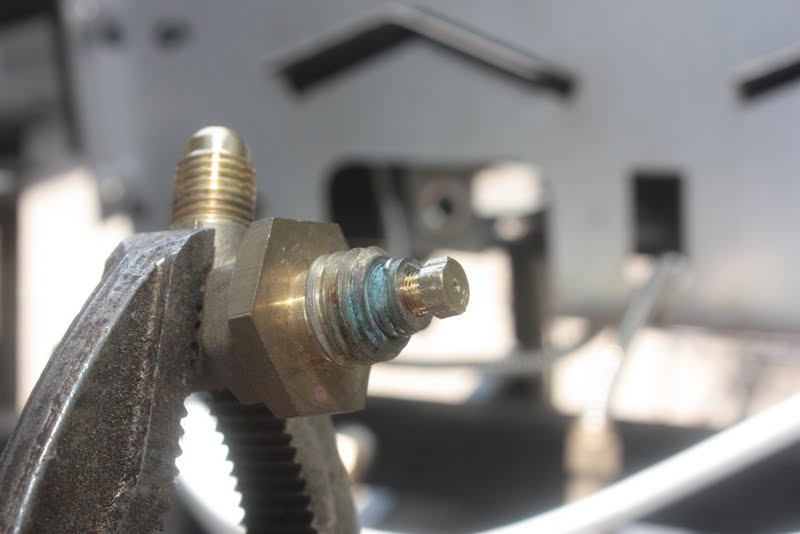
The orifice screws into a small extension that screw into the valve.
A better picture showing the extension.
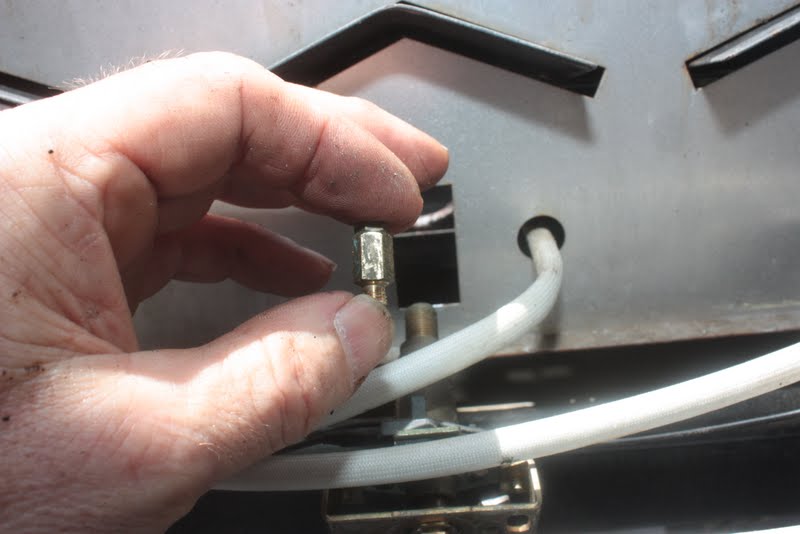
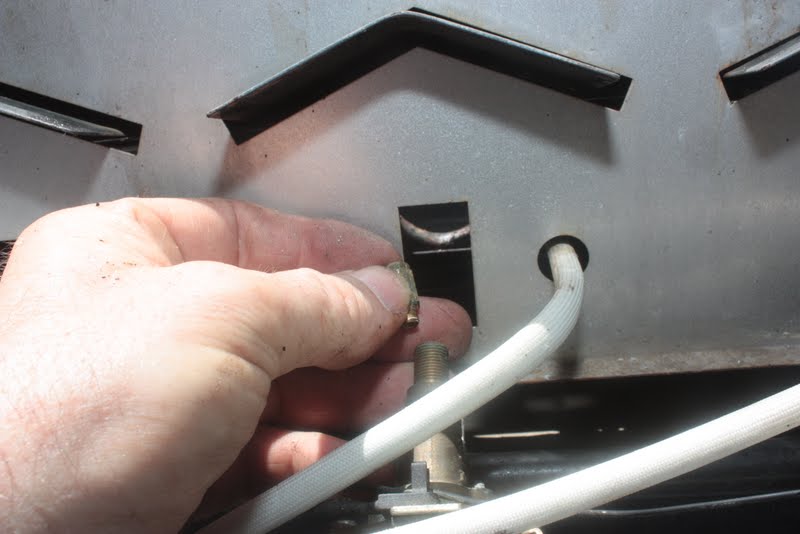
To change the sear burner orifice, which is on the left side of the grill, you will
have to disconnect the gas at the 2 connections.
I had to back the fitting up with a pair of vise grips.
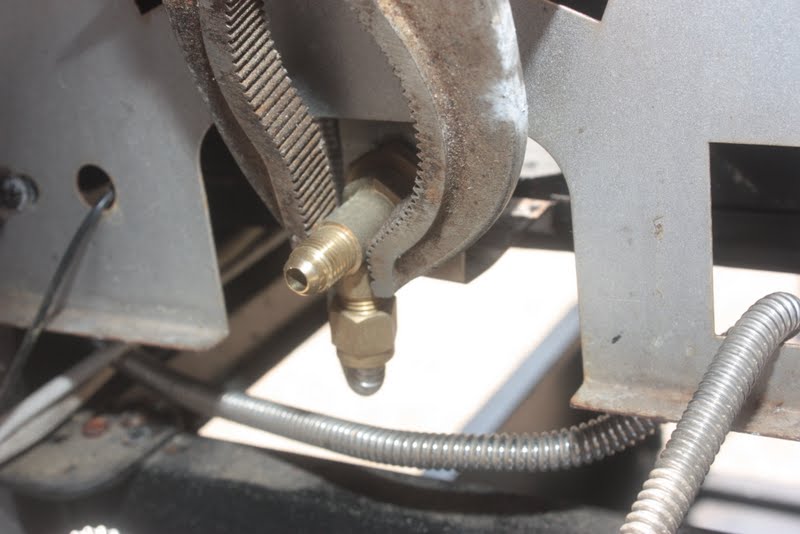
To get the fitting out of the bracket you will have to remove the nut holding it.

Replace the orifice with our orifice and drill it with a #53 drill bit.
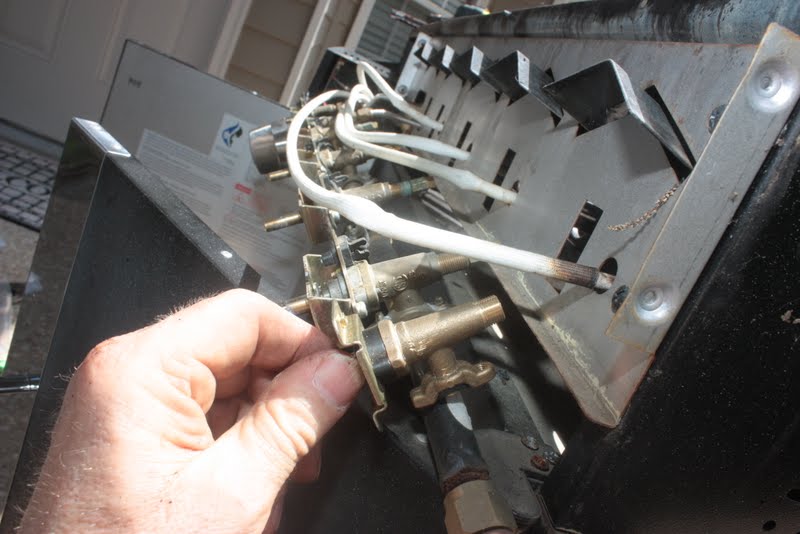
The front valve manifold is ready to be reinstalled. You have to steady it as you
reinstall the control panel. It is held in by the screws in the front.
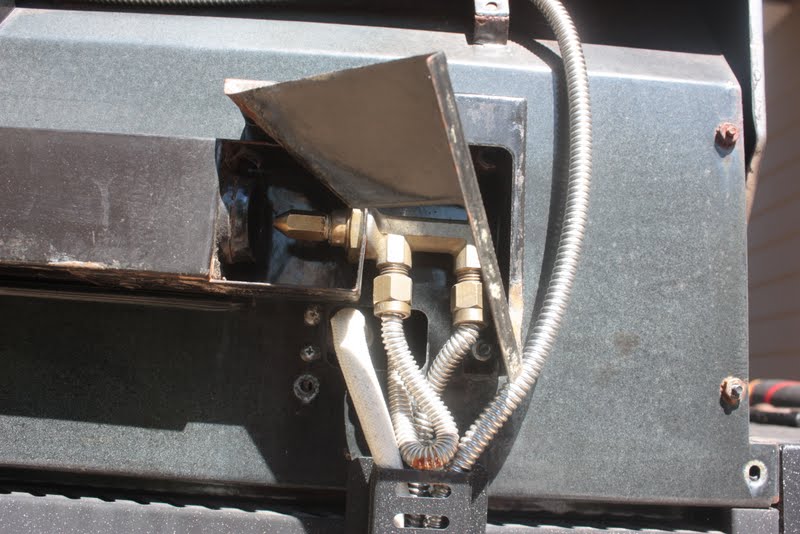
The left side of the valve assembly ready to be installed.
The right side of the valve assembly ready to be installed.
When attaching the control panel, pay careful attention that the valve orifices
slip through the holes. You will have to reinstall the burners as well.
Re-attach the side shelf and then the right side burner. You will also need to change
the orifice on that valve as well. Unfortunately, I failed to get those pictures.
In the back of the grill is the orifice for the rotisserie burner. I couldn't get the cover
off so I had to bend it back to expose it. I don't have this orifice so I had to fill the
existing one with high heat epoxy or JB Weld putty and then re-drill it with a #62 drill bit.
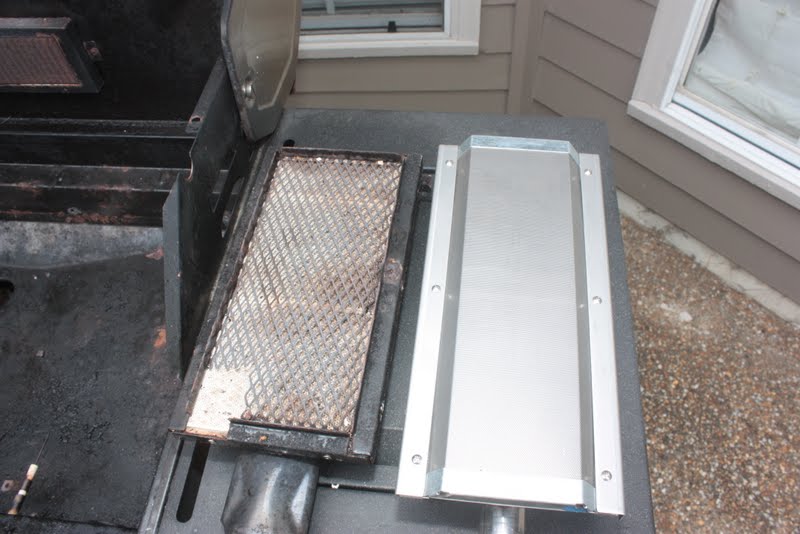
The sear burner was OK but I wanted to compare it to on I will soon have in stock.
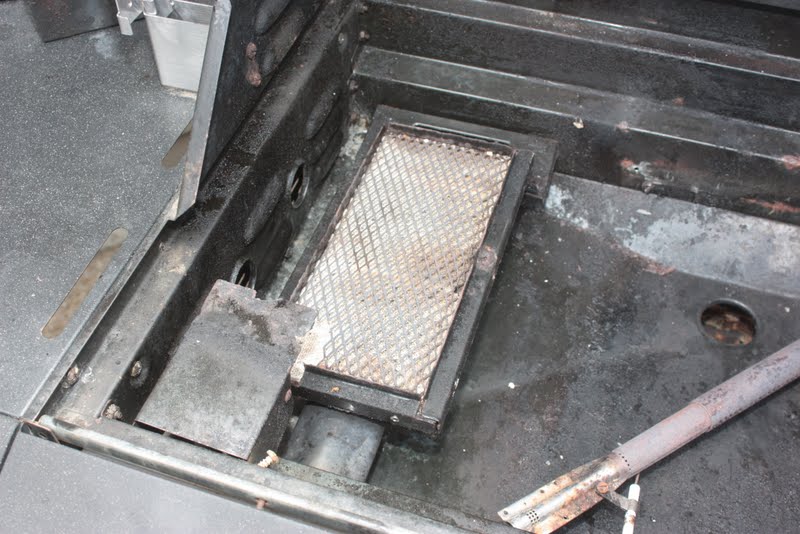
This is the one I tried. You might still get the replacement from Nexgrill.

The OEM part next to the CLA burner.
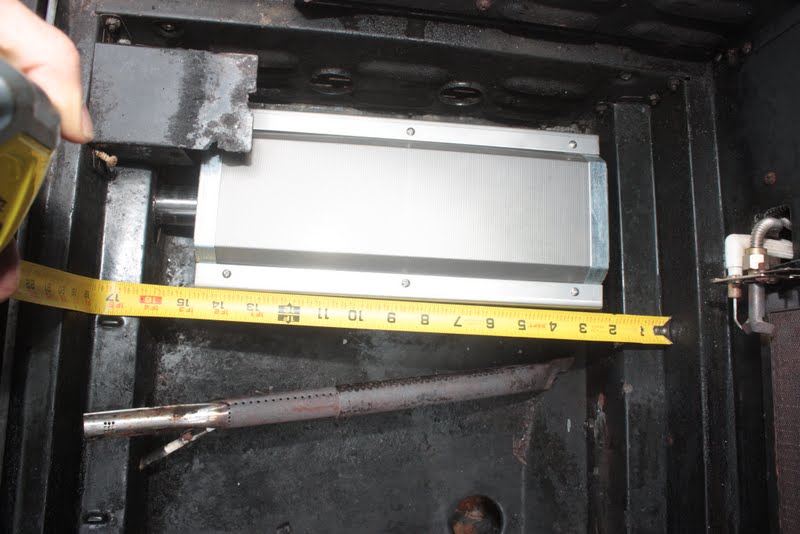
Installed showing the measurements.
Ready to test and grill!
