
Buy American!
For Specific Grill Repair, Click on Your Model:
Weber Summit Silver Conversion
Making a SLG2006C Burner Bracket
Modern Homer Products GJK
This is the heavy MHP stainless steel model GJK grill, most of it made in the USA. The people who own this grill had it hooked up to their gas line. They decided to move the grill to replace the deck and in the process broke the gas line. They took some of the gas fittings apart and couldn't put it back together with the new quickconnect line they bought from the factory, MHP. After talking with the factory a few times, and a few trips to the hardware store, they still couldn't reconnect it. When they threatened to take it out to the street as trash, I agreed to come by and reconnect it. We offer many OEM parts for this model and are a factory dealer. See this link-
http://www.mhp-gasgrillparts.com/grill-parts/grill-model-GJK.htm

Img 2663 - This is a big stainless MHP GJK heavy grill. No side burners and no rotisserie burner.
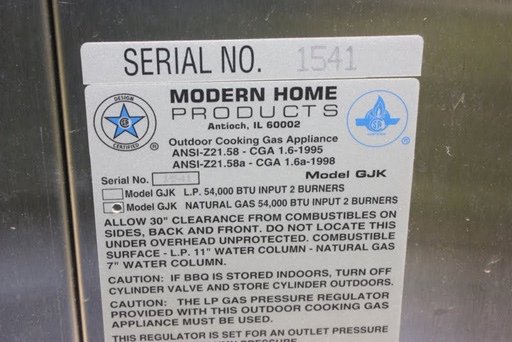
Img 2664 - The grill spec plate is located on the back panel.Img 2665 - This image shows how I looked under the control panel trying to find out where the gas goes. You can see a small hole on the right side coming off the manifold.
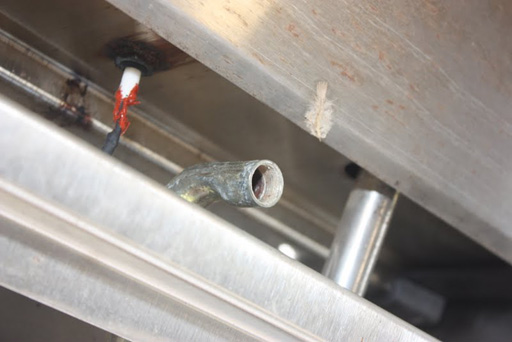
Img 2666 - Here is a better look at the gas connection.

Img 2667 - The grill owner managed to disconnect one of the gas fittings to the valve manifold. But it’s better to just disconnect the gas connector from the gas fitting. In this case they couldn't get the flare nut off the gas fitting.
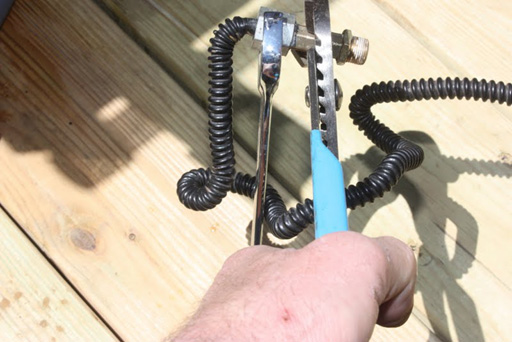
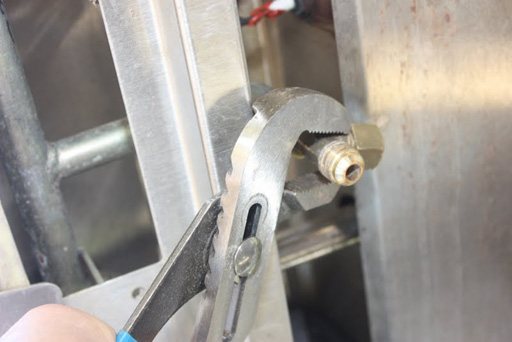
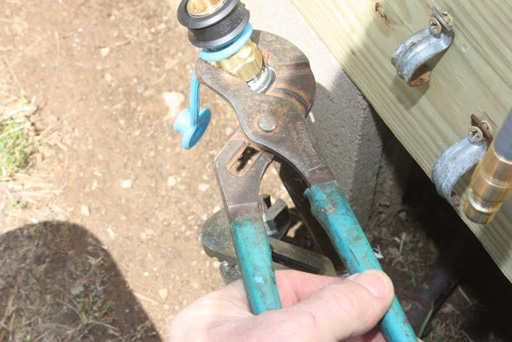
Img 2668 - I used a big open end wrench with a big pair of channel locks and, while using the deck to push down with my weight, was able to break the nut loose.
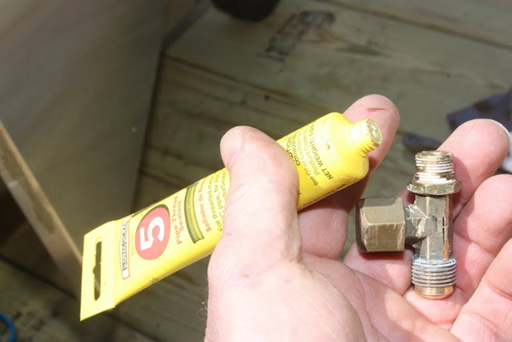
Img 2669 - Using some tube pipe dope on the threads to remake to connect to the manifold.
Img 2670 - I had to disconnect the manifold from the grill to get this thing on.

Img 2671 - There it is reconnected. Don't know what the "T" is for.
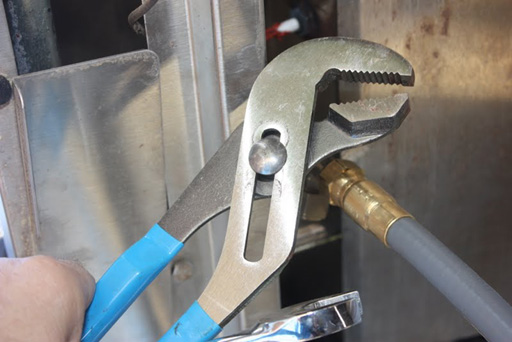
Img 2673 - Used the channel locks and open end wrench to connect the quickconnect to the grill’s gas connection. You can use any 3/8 ID quickconnect type hose kit though most are made by Sturgis. Our 80144 seen at this link will work-
http://www.clagrills.com/allgrillparts/all-hoses-regulators.htm
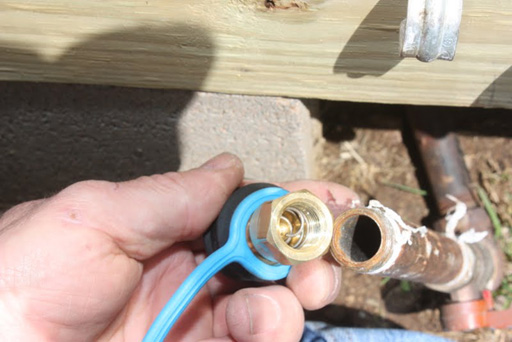
Img 2674 - Their gas supply from the house is a standard 1/2NPT male thread but the quickconnect is a 3/8NPT. So I had to run to Kraftco Hardware in Little Rock for a bell reducer. That 1/2NPT thread is actually about 7/8 inch diameter. Know thy nomenclature and don't forget the pipe dope or Teflon tape!
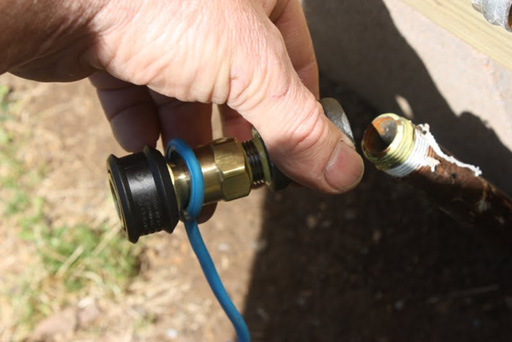
Img 2675 - OK… making the quick connect plug to the gas supply. That is a 1/2 X3/8 bell reducer with a 3/8 NPT "close nipple".
Img 2676 - Here I use a pair of channel locks, my main "go to tool", to make the connection. After that I used soapy water to check all the connections I made for leaks.
Img 2677 - I have the gas connected but need to check the guts to see if we get a good safe flame.

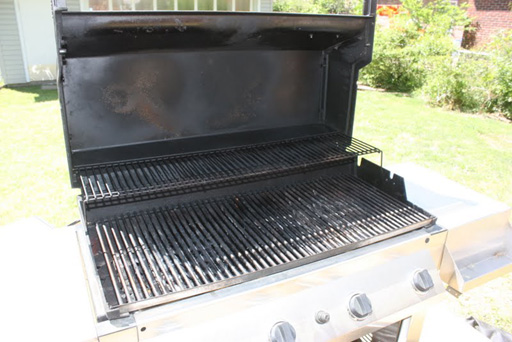
Img 2678 - Here I pulled the cooking grids. They lifted out. Gloves aren't a bad idea.
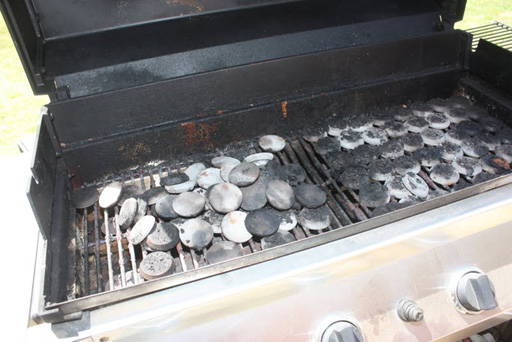
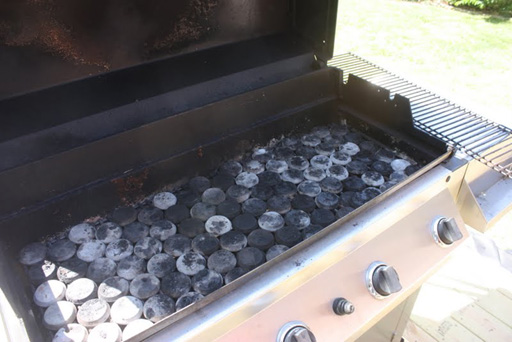
Img 2679 - I like to turn the ceramics to get the loose burnt stuff to the grill bottom. Then I clean that after getting the grates and burners out. I lift the grates with the ceramics out. It is easier than removing them separately.
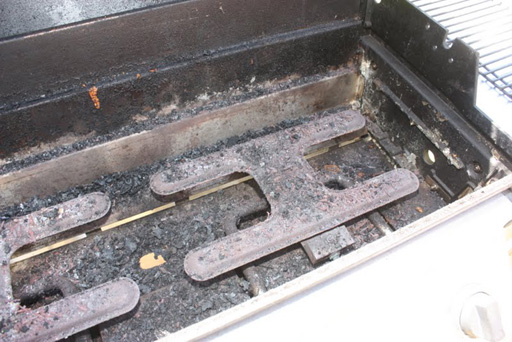
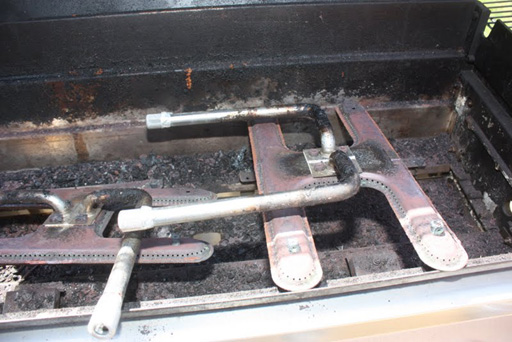
Img 2680 - I am down to the burners. The burners are held down by 2 cotter pins under the bottom of the rear ends of the burners.
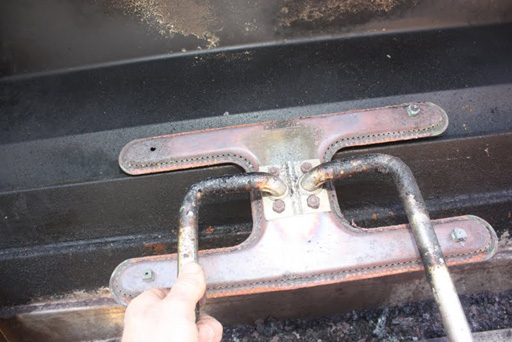
Img 2681 - The burners are rusting out and might have a long warranty on them. So check your manual.
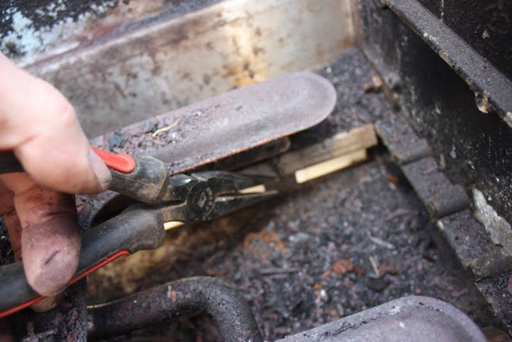
Img 2682 - Had to use needle nose to get the cotter pins out. They are under both rear ends of each burner.
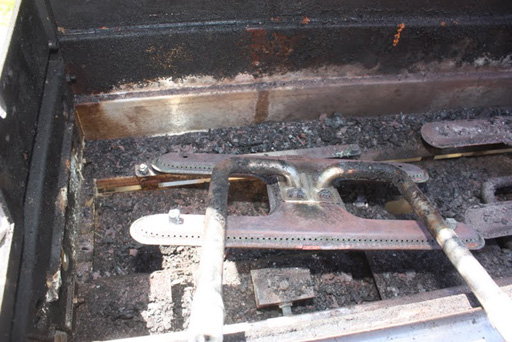
Img 2683 - Here you can see the burners with their weird venturi. The venturi are in great shape and can be reused if the burners are rusted through.
Img 2684 - You can see that the clips that hold the burner down are rusted off. But the burners will still work. I swabbed out the venturi with a green shrub branch and brushed off the gas ports with a wire brush. You might need to blow out with compressed air.

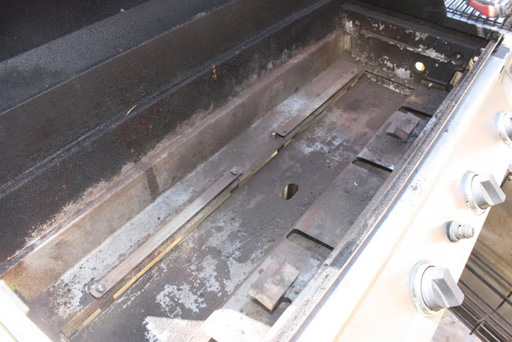
Img 2686 - From the back of the grill you can see the grease tray and a smaller drawer that comes out. The grease tray is bolted in.
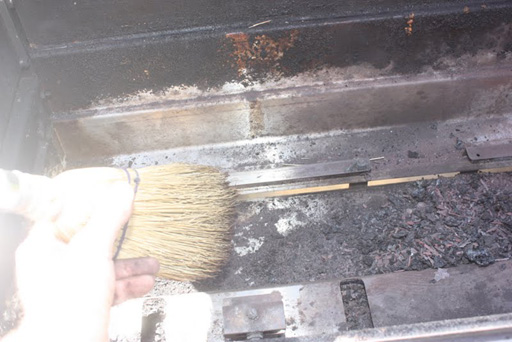
Img 2688 - I'm trying to get all the crud and rust out by sweeping toward the bottom. I pulled the little grease drawer out and then put an old shirt under the grill in the cabinet. I sweep all the trash into the center grease drain hole and can then pull the old shirt out with the crud and throw away.
Img 2689 - I’m ready to get the burners back in. The electrode/collector boxes are still good but I had to replace the old igniter.
Img 2694 - Here I reinstall the burners, grates and cooking grids. I did test the burners before putting the grates and grids back in.
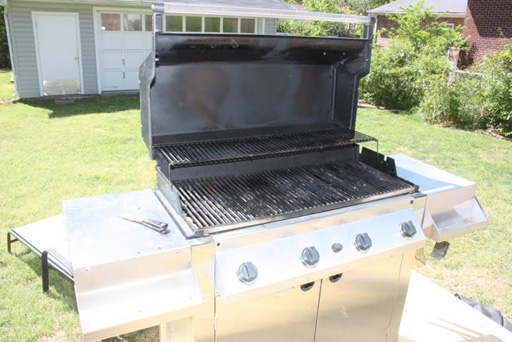
Img 2695 - Ready to go. This is a heavy, expensive, American made grill which can last a lifetime. Modern Home Products, the factory, will likely still be there in 50 years. If you have one of these, keep it. If you see one on the side of the road, take it home!