Buy American!
For Specific Grill Repair, Click on Your Model:
Weber Summit Silver Conversion
Making a SLG2006C Burner Bracket
Coleman Grills
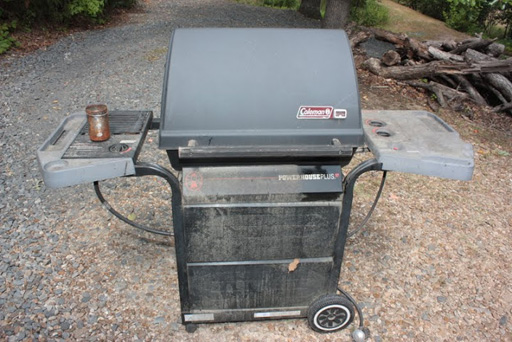
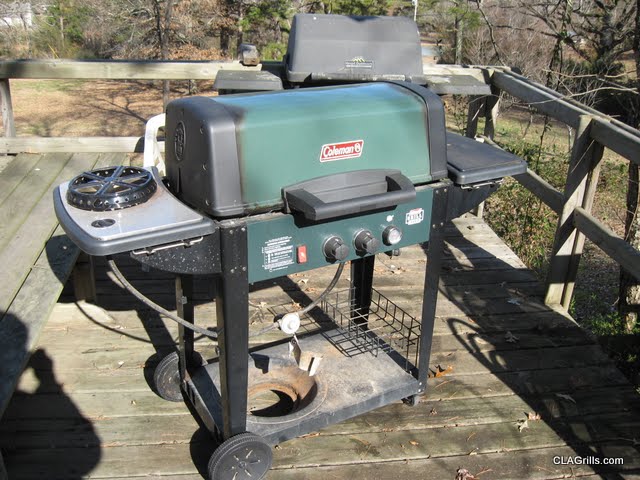
Img 2252- This is a Coleman Powerhouse 45, model number-4858761, which belongs to a friend of mine who lives locally. The burners are rusted out and one of the valves is frozen.

Img 2253- The CSA-spec plate is found on the front lower support showing the model number, serial number and total BTU's. The spec plate also includes the side burner and probably the manufacture date, 1993. I'm not certain of that, but it’s possible.

Img 2267 - Shows the grill top up with the grid, rock grate and old burner inside. The grids and rock grate both lift out. I always try to lift the rock grate out with the rocks on it rather than getting the rocks out first by hand. I usually put them on old rags to separate the reusable rocks from the crud.
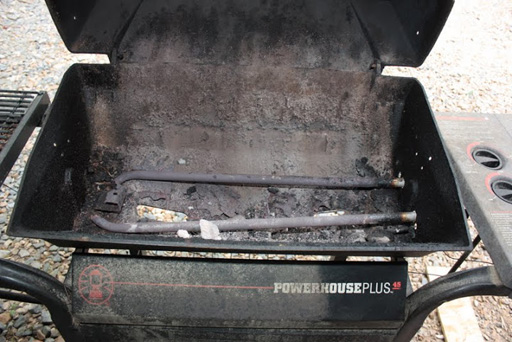
Img 2268- Grids and grate removed showing the old burner and crud. The remaining burner assembly came out easily except for the burner bracket.
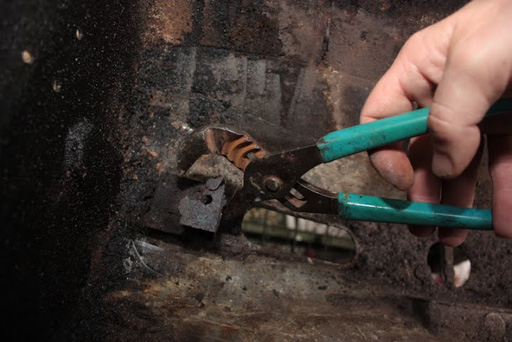
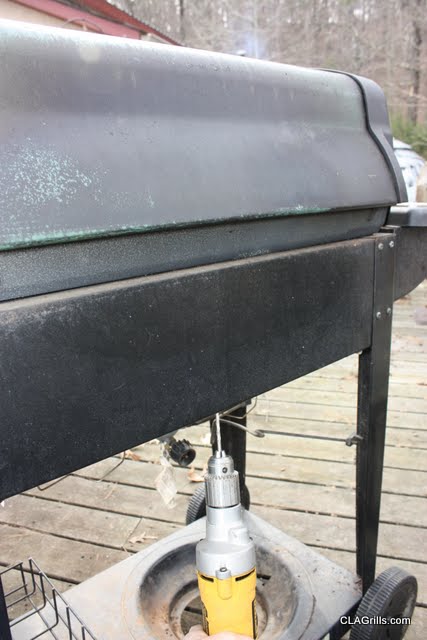
Img 2270 - I used Channel Locks to remove the rusted part of the burner bracket attached to the grill bottom. You might have to grind off or drill out the bolt holding the old bracket down.
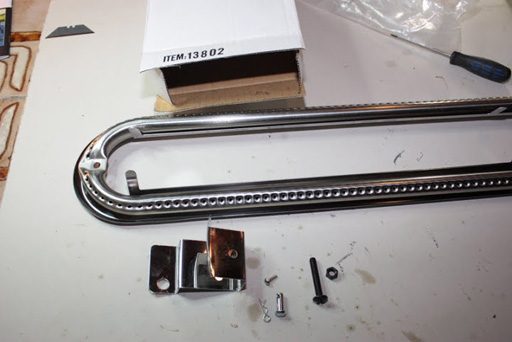
Img 2272 - An aftermarket 13802 burner kit which might not match the old one perfectly, but it is made to replace the factory OEM part.
Img 2277 - The electrode/box , Music City #04410, which mounts to the front part of the burner with a sheet metal screw into one of the burner gas posts. See better pictures at this link: http://www.clagrills.com/partsphotopages/04410.htm
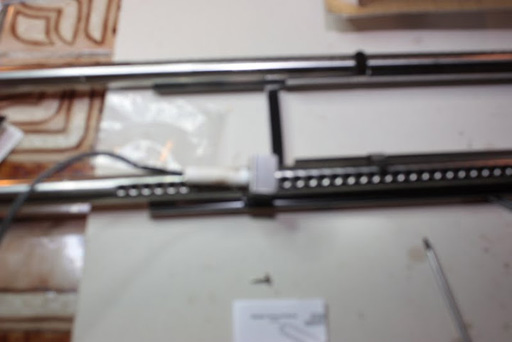
Img 2278 - The 13802 burner with the 04410 electrode installed and mounted in the grill.
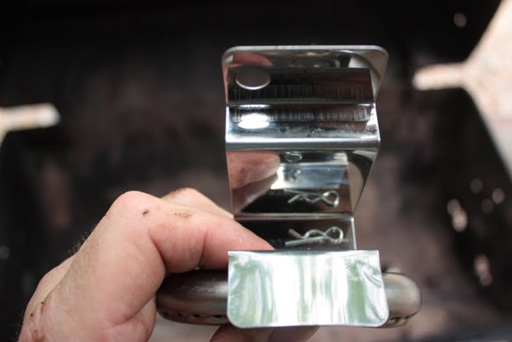
Img 2281 - The burner bracket, which holds the left U end of the burner to the grill bottom, attaches to the burner with a small bolt and cotter pin. It’s easier to attach it before bolting the bracket down to the grill bottom.
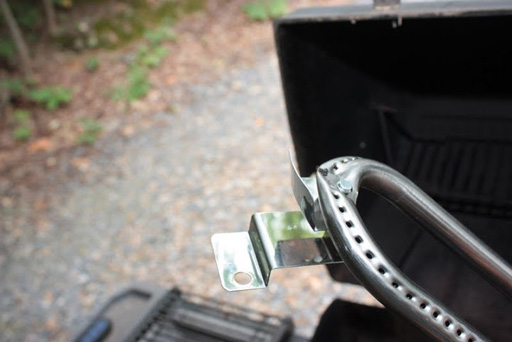
Img 2282 - The burner, with the bracket attached, as I begin to install it on to the grill bottom.
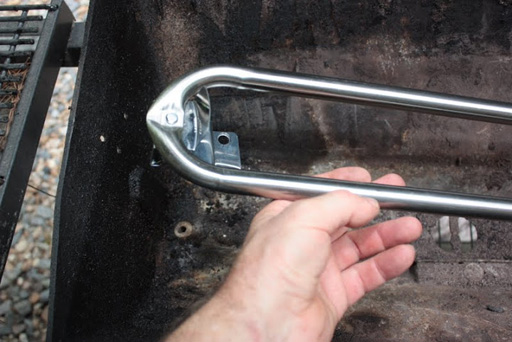
Img 2283 – Here is the burner going into the grill with the bracket down. It attaches with a nut and bolt to the hole in the left grill bottom.
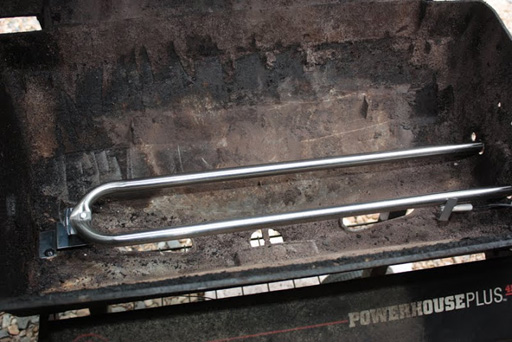
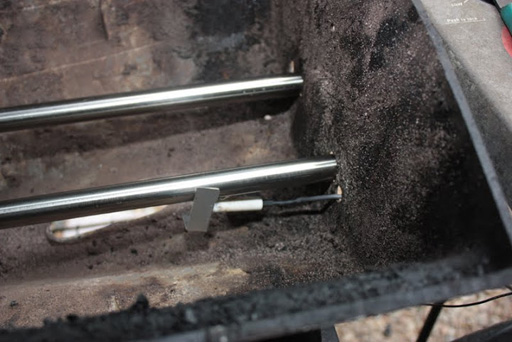
Img 2285 - The burner attached to the grill bottom.
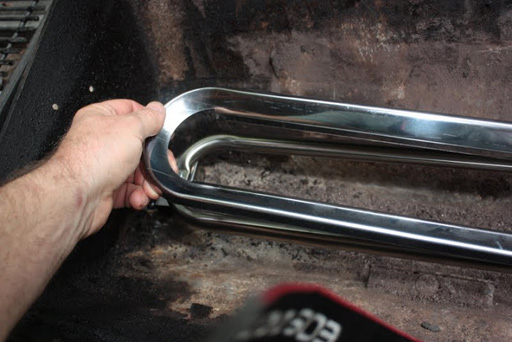
Img 2286 - The burner heat shield attaches to the burner and is held down by some clips on both sides.
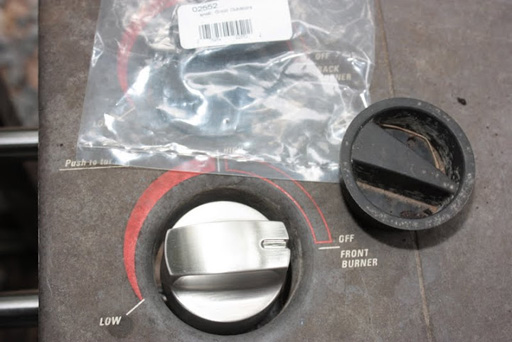
IMG 2288 - Our 02252 knob replaces the OEM one.
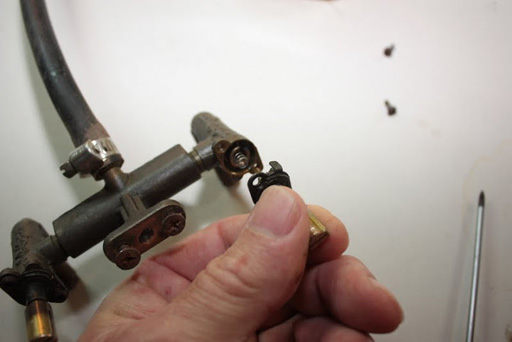
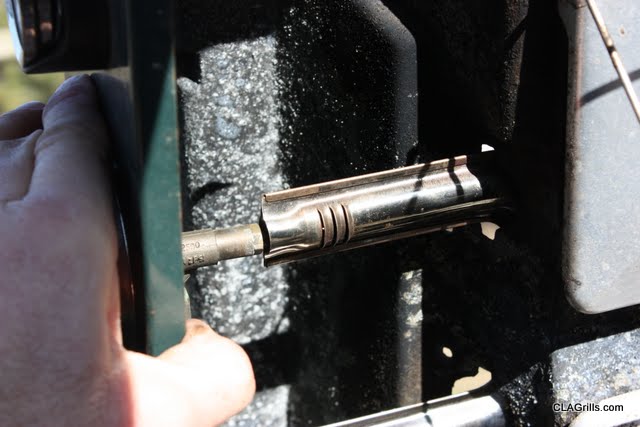
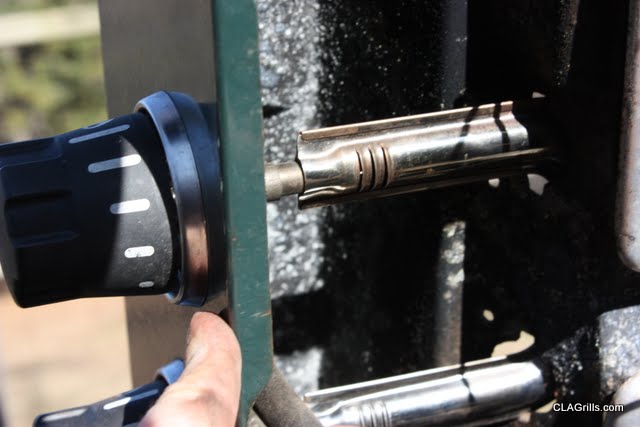
Img 2260 - One of the valves was frozen. I was able to remove the frozen stem and connected flange. I used some liquid wrench with vise grips and channel locks to gently loosen the stem rusted into the flange. It’s not an easy fix but it’s not really worth replacing the valve. I greased the inside cone down with Johnson Controls Valve grease as well as the outside of the valve to protect the exterior against future corrosion.
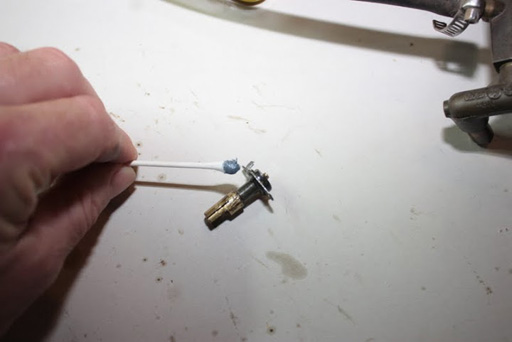
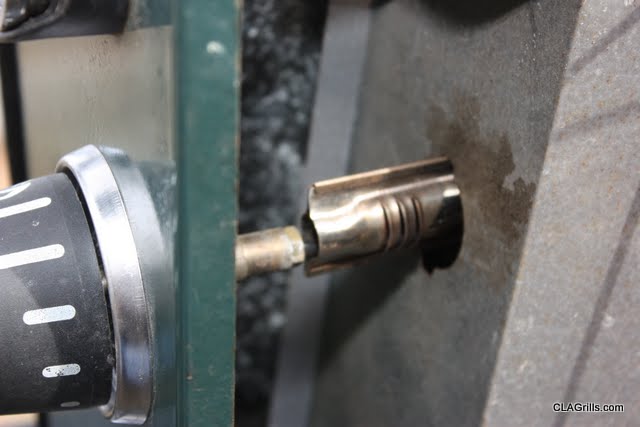
Img 2262 - The valve stem was coming off the valve. Be careful putting it back together as it is easy to go in wrong and easy to score the inside of the valve!!
If you look around on the internet you might get some savings on the burner parts!!!

CARL'S GRILL HELP - COLEMAN
I borrowed this Coleman 3000 from a local customer. It uses our 15902/SBT21 burner which is a copy of of the factory burner. Some of our customers have had a problem getting our burner to fit properly, often failing to connect the venturi openings to the orifices. They have claimed the venturi are as much as 1/2 inch short of connecting. I have worked on a few of these grills (some Sunbeams as well) that use the 15902/SBT21 burners (OEM part number 10030-5611-Coleman).
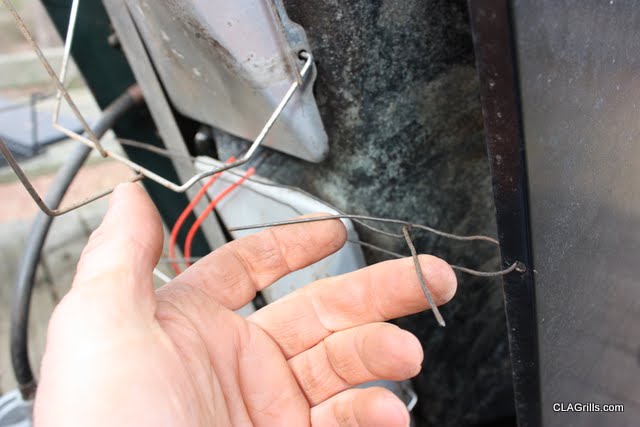
The warming rack, cooking grids and top heat diffuser, come right out. I needed a Hexhead wrench to remove the screws holding the ends of the heat tent. This one had stainless steel screws and came right out. The burner is right below that and requires the cotter pins on the side to be removed as well as the two wires outlets connecting to the electrods underneath the grill. With that, I had to pull the burner up slightly from inside the grill so that the electrods clear the grill bottom and then pull the burner out. This grill has a flame shield that slides over the venturi between the valve and the venturi under the grill casting, behind the control panel. I had to get on one knee with one hand under the control panel and the other pulling the burner out.
Before I pulled the burner out I looked at the venturi orifice connection. I found that they were barely connected. The orifice was just inside the venturi opening by less than 1/16 inch. Since our burner is a duplicate of the original I knew that the factory intended for more of the venturi to be over the orifice. I did notice that the control panel was bowed out slightly. I could easily push it in from the edge under the knobs to make up the difference, almost 3/4 inch. I had to push the edge in to straighten it or even bow the control panel edge into the grill slightly to overcome the difference. You could drill a hole in the control panel under the valve at the edge and on the back bracket and use a length of wire to pull the edges together, reducing the bow in the control panel. This would allow the burner venturi to be closer to the 1/2 inch it should have over the orifice end.
I am certain the factory did not intend to have this problem but the control panel edge is not strong enough to keep from bowing and it will probably bow out which causes the valve assembly to pull away from the burner venturi end. The burner can only be installed in one place and cannot be pulled forward to accomodate the difference. You may have to push the lower control panel edge forward to make up the difference and restore the valve-burner venturi postion to its original place.
Our burner assemblies,15902 and SBT21 are copies of the factory burner. The only difference is that ours is 100% stainless steel and the factory burner has a stainless burner with alumized venturi.