
Buy American!
For Specific Grill Repair, Click on Your Model:
Weber Summit Silver Conversion
Making a SLG2006C Burner Bracket
Broilmaster P3XN-1 
Img 2339 - I assembled this Broilmaster for a local customer who has bought many grills from us over the years. It is a well made heavy grill made in the USA. It will take about 2 hours to assemble. 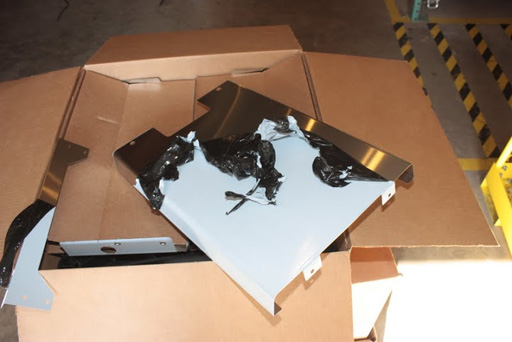
Img 2341 - I always start by pulling the plastic wrap from the stainless steel pieces. It comes off easier if it’s warm. I'll often take it inside the house to warm up or use a hairdryer to get it to peel off. 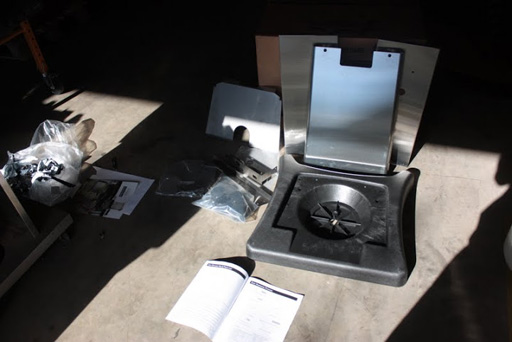
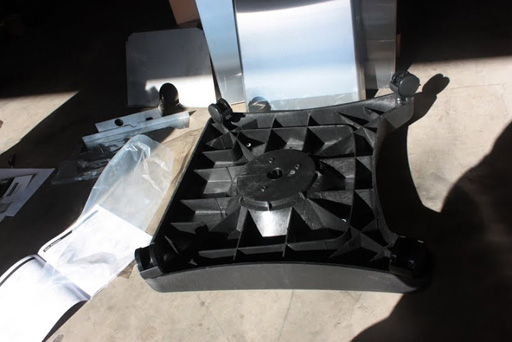
Img 2342 - I try to follow the assembly instructions as the factory always knows more than most of us. I noticed that Broilmaster has gone to a cast plastic base, which isn't nearly as heavy as the old stainless steel base they used for years. If you have the old stainless cart you can keep that and just replace the head. You'll save money too!
Img 2343 - Got the castors installed-just push them in.
Img 2344 - The side panels bolt to the base.
Img 2345 - Some stabilizers need to be added to the cart. Use the parts as instructed.
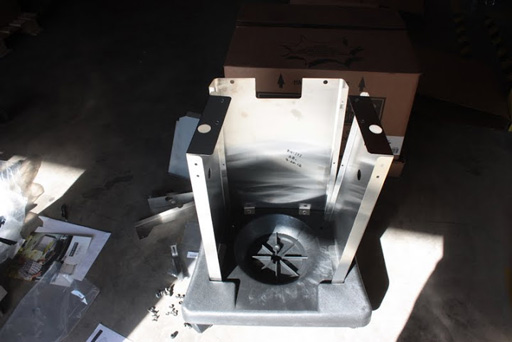
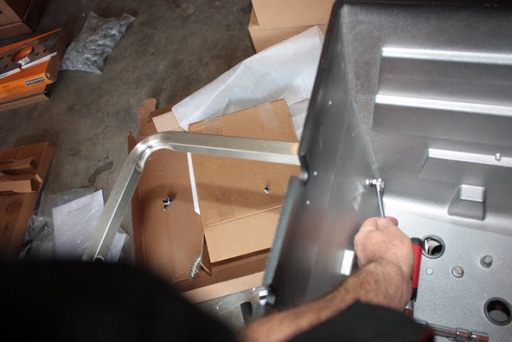
Img 2346 - In this photo I am attaching the bottom to the cart base.
 Img 2347 - I start the bolts first. They provide stainless bolts and you need to use them. They last longer.
Img 2348 - The bottom bolted onto the cart.
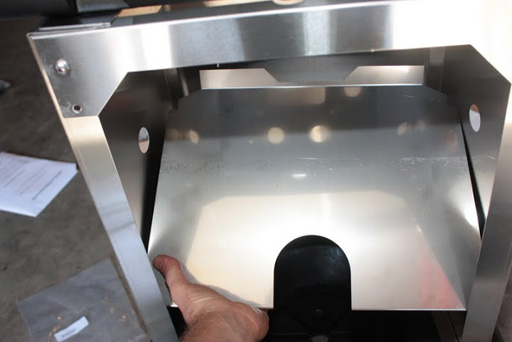
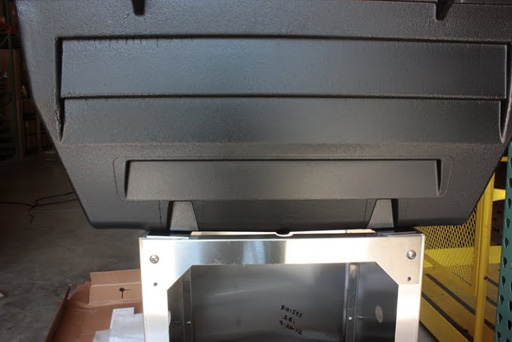
Img 2349 - This is a heat shield that clips into the front and bolts onto the back. It holds the grease pan and acts as an extra heat for safety.
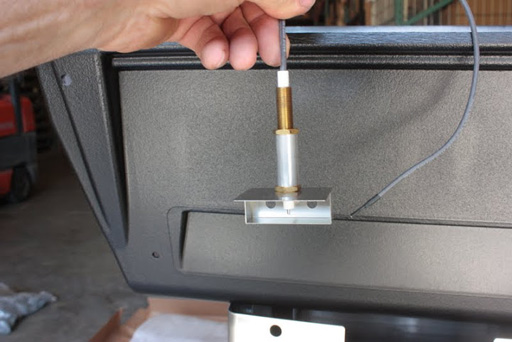
Img 2350 - I wish I had installed the electrode before attaching the bottom but I did follow the instructions! It’s preset for the height and only needs to be snug ion the grill bottom.
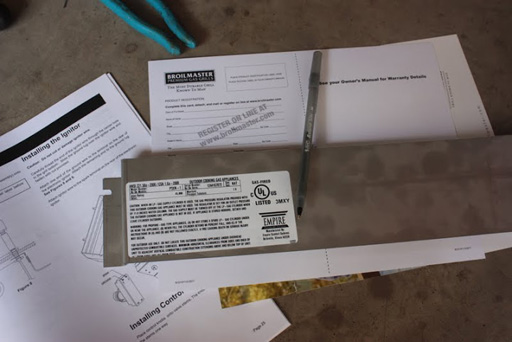
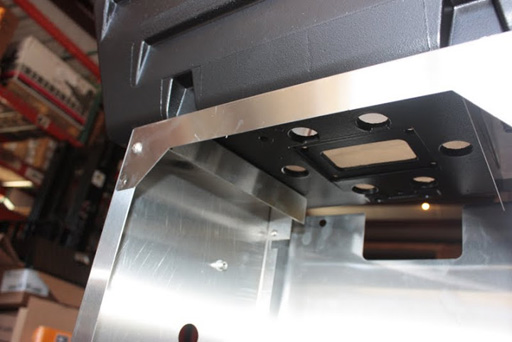
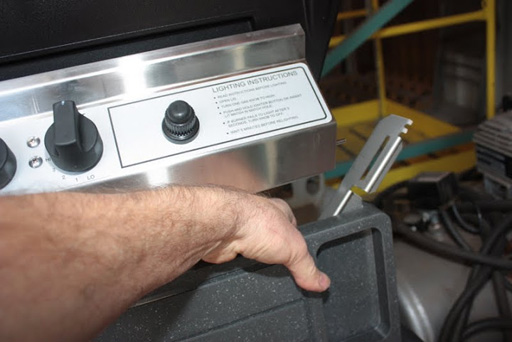
Img 2351 - This is the control panel shield that goes behind the control panel. It’s there for safety and has the specs on it, model and serial number.
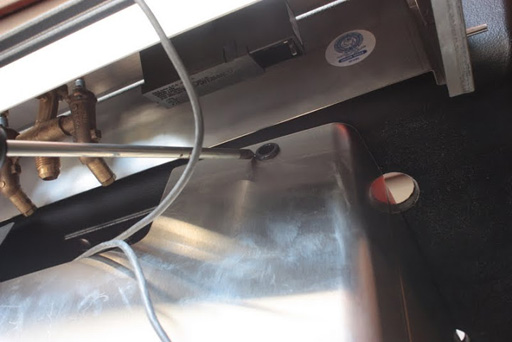
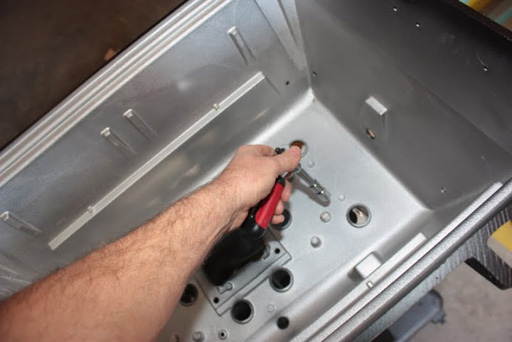
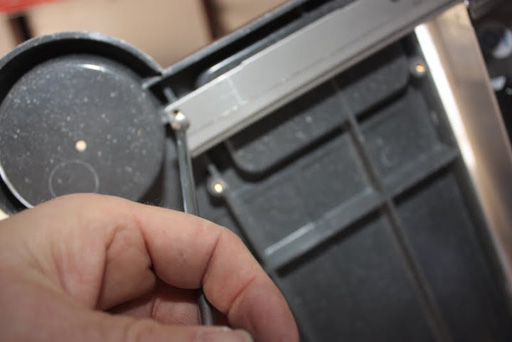
Img 2353 - This is the eyelet hole for the igniter wires to go through to connect to the electrode.
Img 2354 - Looks like the battery goes positive side down.
Img 2355 - Here I am getting to the shelves. 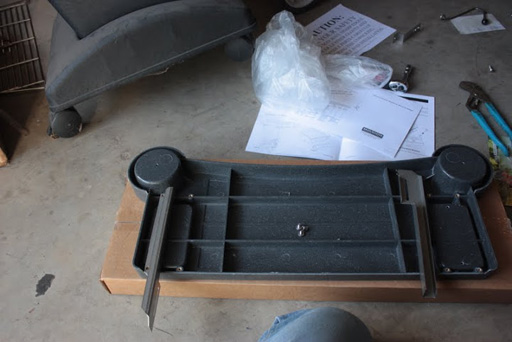
Img 2356 - The brackets go on first but leave one screw out on the inside to install it.
Img 2357 - Here you can see the bracket right before installing.
IMG 2360 - I slide one end with the slot over the outside pin (on the control panel). And on the other side I can now move the other bracket so the slot goes over the front pin on the control panel.
Img 2361 - Then I screw in the last attaching screw.
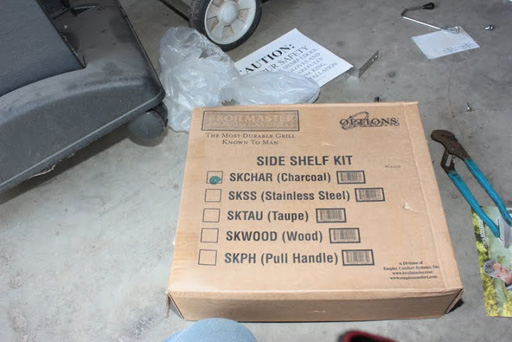
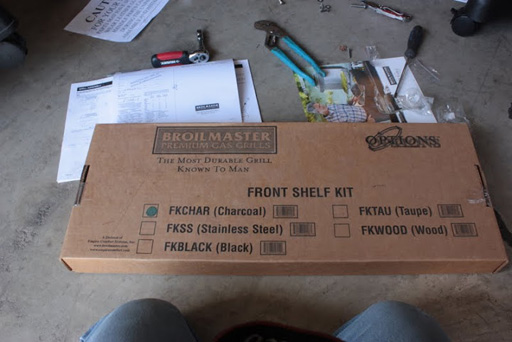
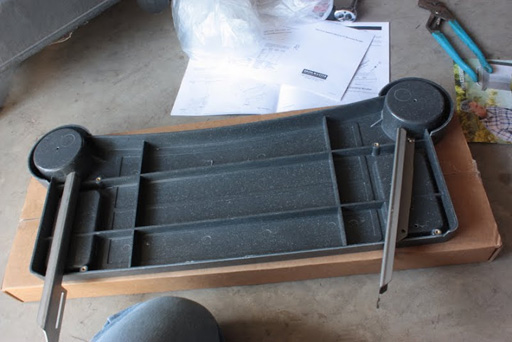
Img 2362 - This photo shows the side shelf kit. I'm not sure they still offer them like this. I found these in our inventory, but they had been there for years.
Img 2363 - I attach the side self bracket. It has 4 bolts on each side.
Img 2364 - Make sure you use the stainless steel bolts provided.
Img 2365 - You'll need this bracket to hold the shelf to the bracket. It secures through the bracket holes to the shelves.

Img 2367 - This is a lid holder called a Lid Stop Kit. I never knew that until now! You use it to keep the lid slightly open while cooking. Once, many of the early grills had this feature. 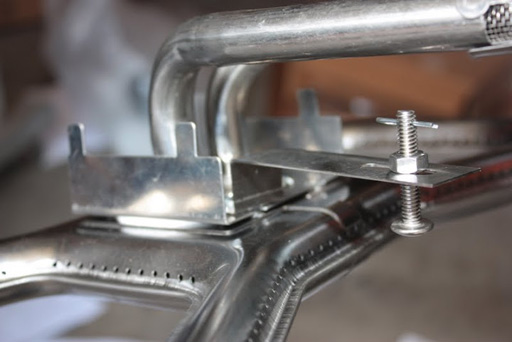
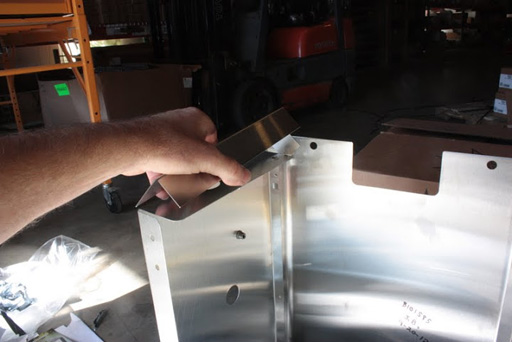
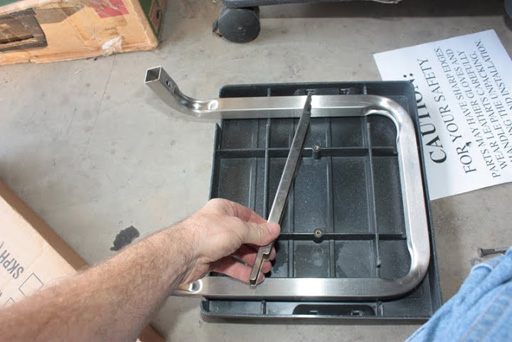
Img 2368 - This is a bracket to secure the burner to the grill body. I don't like them but is required as a safety device. Don't tighten it. 
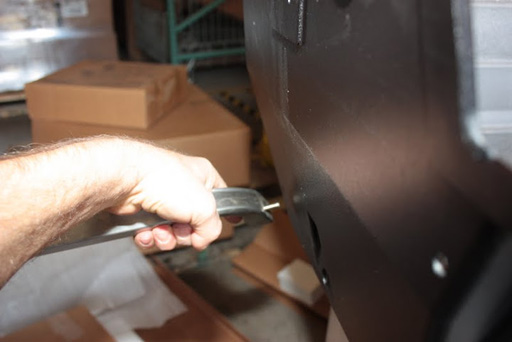
Img 2369 - Getting this rubber grip on the handle requires some liquid soap on the handle first! 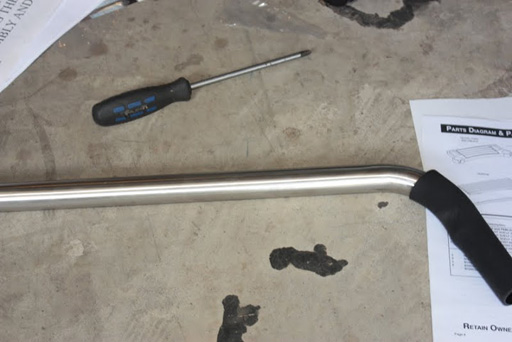
Img 2370 - I am still trying to get the rubber grip on. 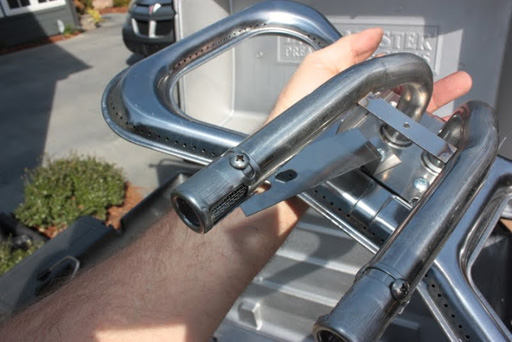
Img 2372 - Here I am at their house hooking the grill up to the gas line. To move the grill there in the truck, I took the guts out and removed the lid which is held on by hinge pins.
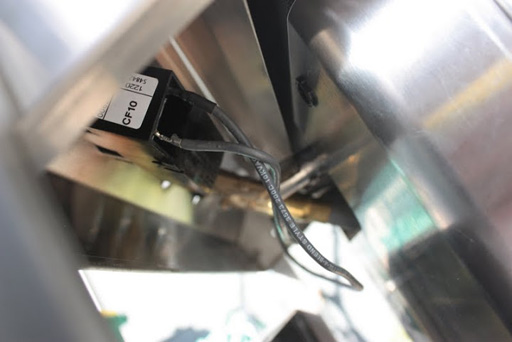
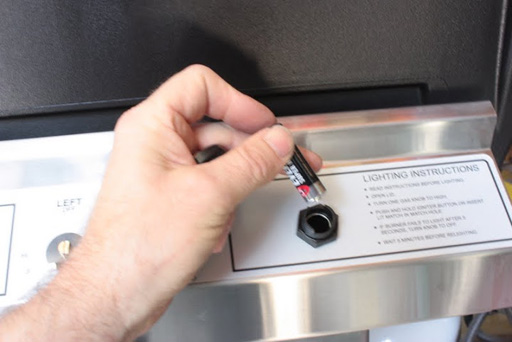
Img 2373 - I am hooking up the electrode. The igniter has a positive outlet and a negative one so if you don't get a good light off it try reversing the wires on the igniter.
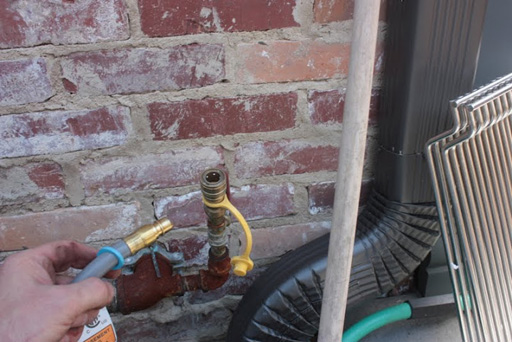
Img 2375 - Hooking up the quick connect gas line.
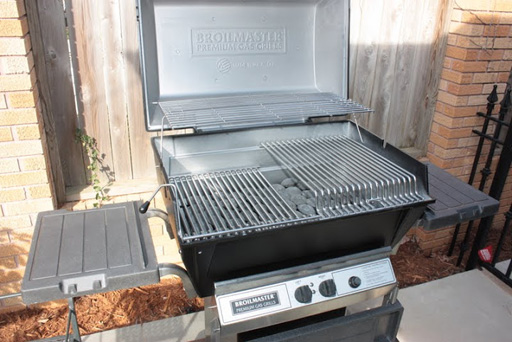
Img 2376 - The grill is ready to cook.
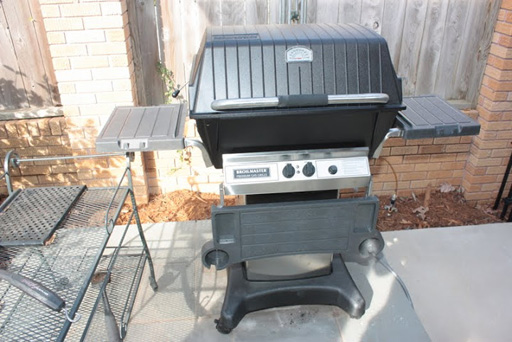
Img 2377 - Broilmaster P3XN-1 natural gas grill installed.