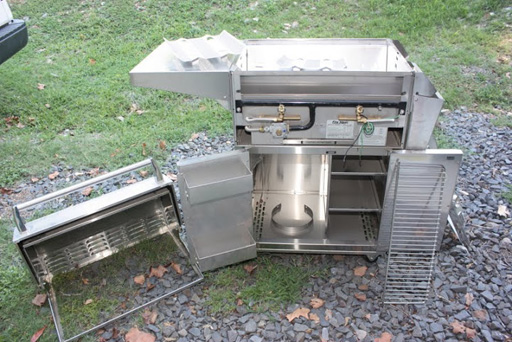
This is a Fire Magic grill that we have had in stock for the last 10 years. It is a USA made grill by http://www.rhpeterson.com . I couldn't find this grill for sale now. It is very heavy and mostly made in the US. This model has cast stainless burners. The rest is also stainless and will last a lifetime. Similar Fire Magic grills, online, are offered for $900 plus shipping.
I had to get it out of the second floor of the warehouse by breaking it down. The top just sits in place on the grill surface.
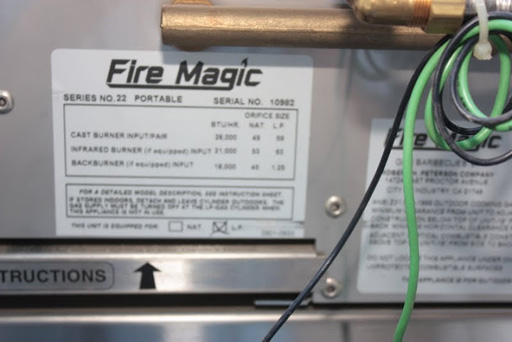
Img 2322 - The grill spec plate/CSA tag is located behind the cabinet door.
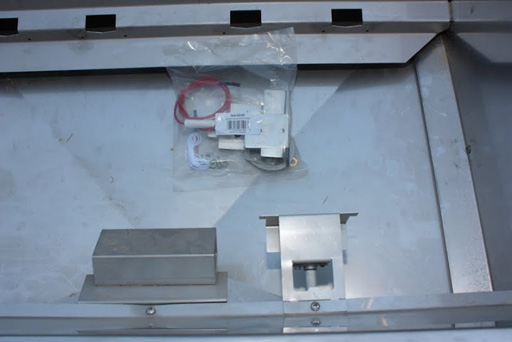
Img 2323 - Inside the grill, I had removed the electrode a few years back to check our aftermarket electrode #03199, seen at this link: http://www.grill-parts.com/allgrillparts/igniters.htm
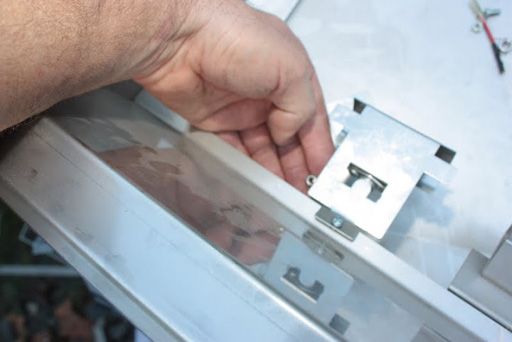
Img 2324 - The grill top attaches to the front lip of the grill under the cooking grid. The tip on the side will need to rest on top of the burner.
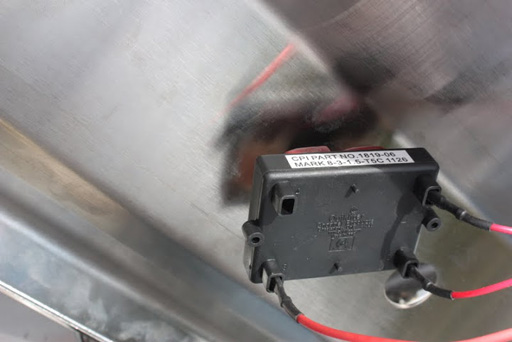
Img 2326 - The igniter installed under the control panel.
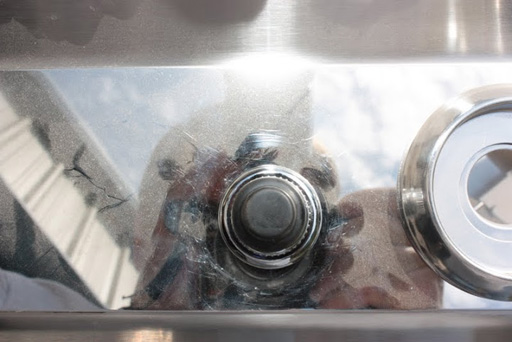
Img 2327 - The igniter installs in the control cover. You unscrew the button and the then the nut under it to remove the igniter from under the control panel. Here is our link to igniters: http://www.grill-parts.com/allgrillparts/igniters.htm .
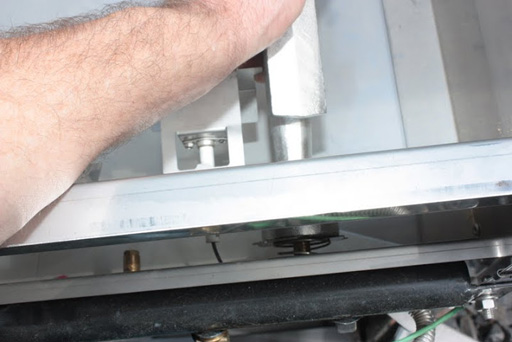
Img 2328 - I pulled the cover off to be sure of installing the burners. These burners have a flat air shutter adjuster that sits freely between the burner and a spring that holds it flush to the burner venture opening. Installing it with the control panel on is a trick!
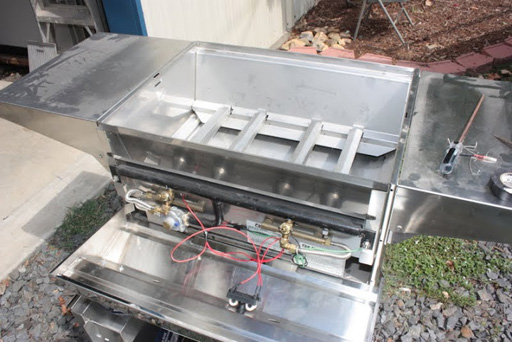
Img 2329 - This photo shows the burners installed and the wires hooked up.
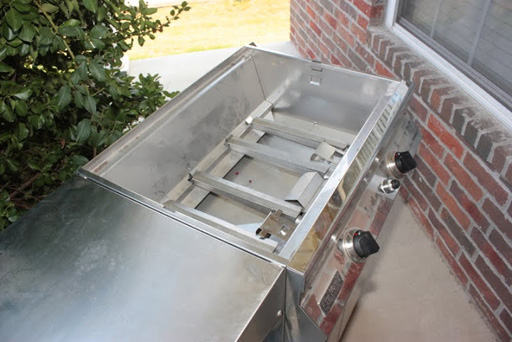
Img 2330 - Here is the grill at a friend’s house with the burners installed. Everything thing else just sits in the grill!
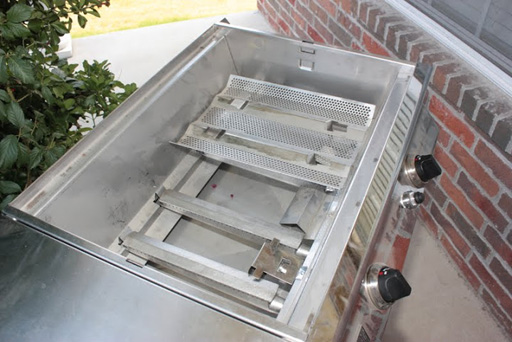
Img 2331 - The flame tamer sits on the burners. You can see a V shape on the brackets under the flame tamer that sits on the burner crest. You can add some ceramic or lava rock to the top of the flame tamer if you want.
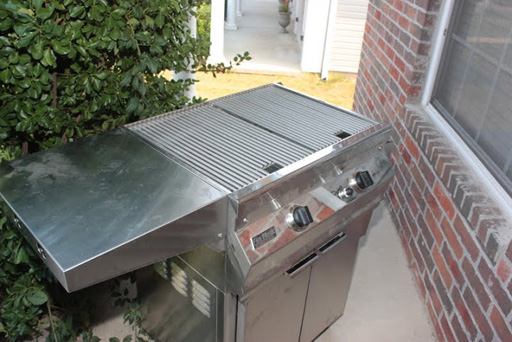
Img 2332 - Everything but the top and the warming rack is in the grill. Both side shelves drop down. The grill is getting heavy at this point.
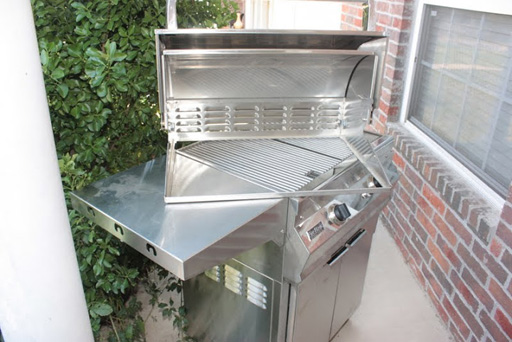
Img 2333 - The grill top just sits but will rest inside the top grill frame.
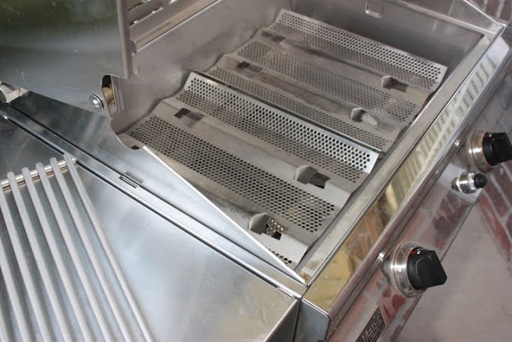
Img 2334 - The grids have to be out to drop the grill top in.
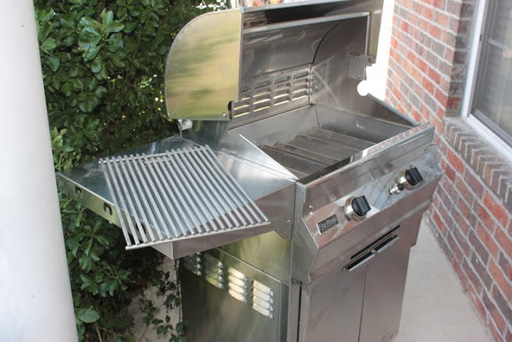
Img 2335 - Here it is ready for the grids and the warming rack (which sits inside the top).
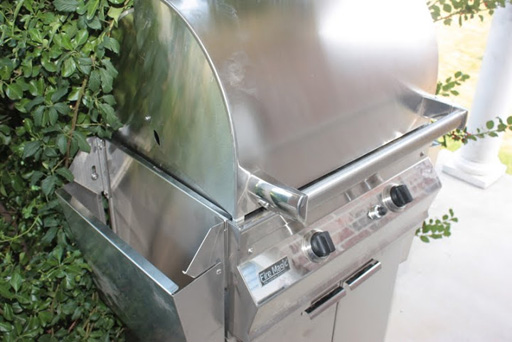
Img 2336 - Now the grill is ready to be moved through the house. I did test it at the warehouse before loading it and checked it again before leaving it.
