
Buy American!
For Specific Grill Repair, Click on Your Model:
Weber Summit Silver Conversion
Making a SLG2006C Burner Bracket
Broilmaster P4
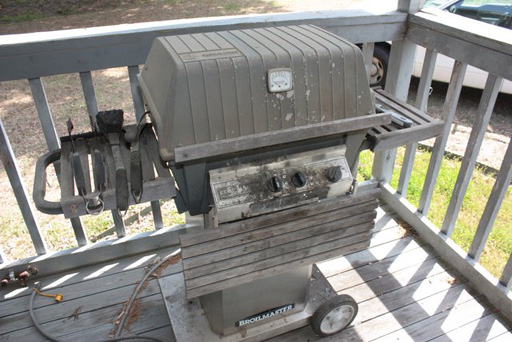
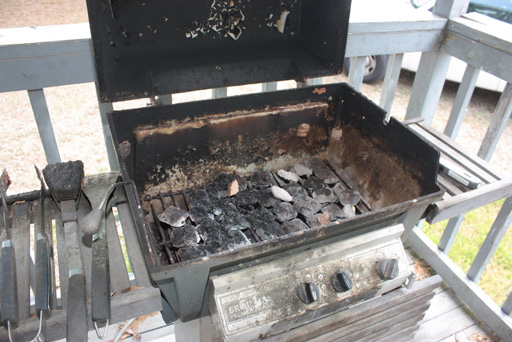
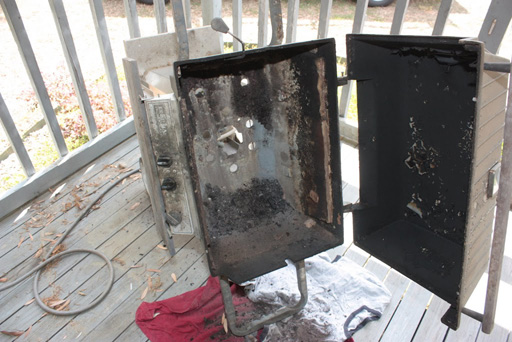
#1 - This is a Broilmaster P4 at my cousin Red’s house. He’s had it for 8 years or so. It’s an old fashion grill made in the USA and still has a few years left.
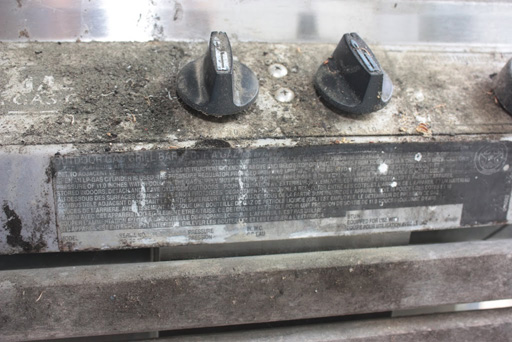
#2 - There's a spec plate under the control panel but you can't make anything out.
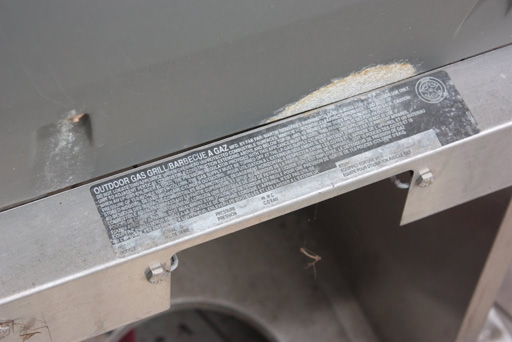
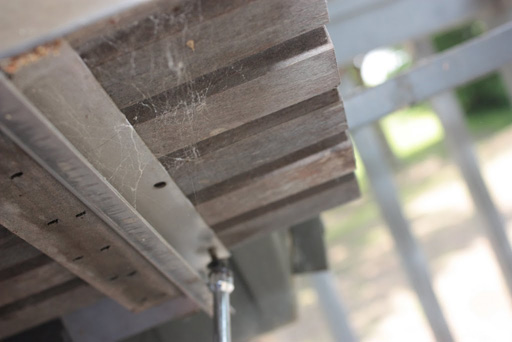
#3 - There is another spec plate on the cart behind the grill showing the cart model number but the info is rubbed out.
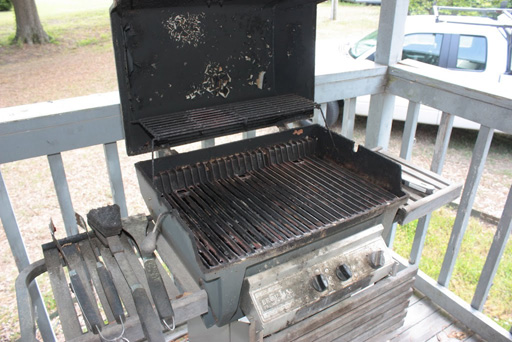
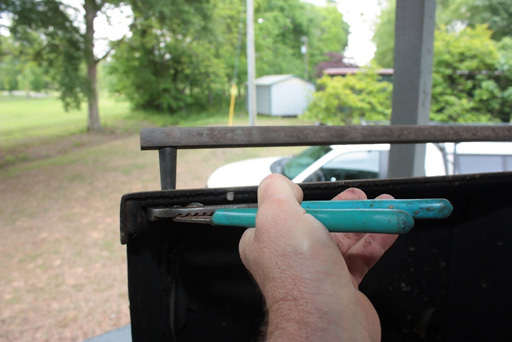
#4 - You should be able to make out a number 4 on the inside of the lid showing that it’s a 4 series Broilmaster. There is a 3 series that is bigger and a 5 series that is smaller (which is not made any more).
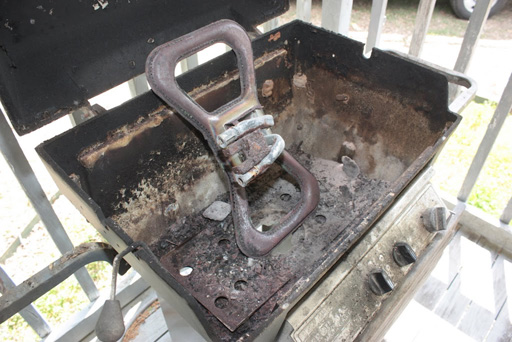
#5 - The warming rack will come out after squeezing the two rods holding it into the grill bottom. The cooking grids lift out.
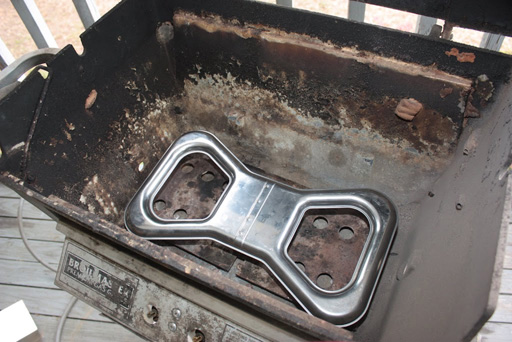
#6 - The rock grate lifts out. I try to leave the ceramic rocks on the grate as I lift it out to save a little time.
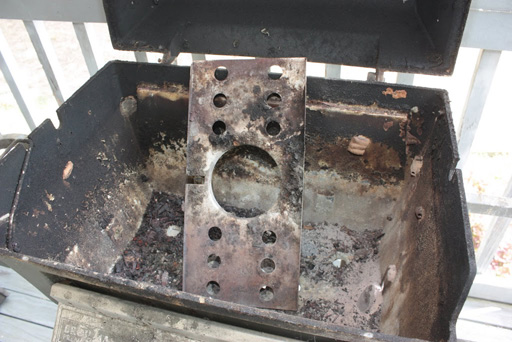
#7 - The burner will come out by lifting out and pulling it back. The newer models have two screws holding the venture to the lower part of the of the valve assembly. You will have to remove a small sheet metal box from under the control panel held in by 2 screws.
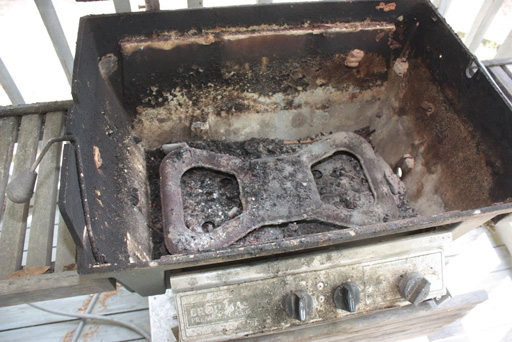
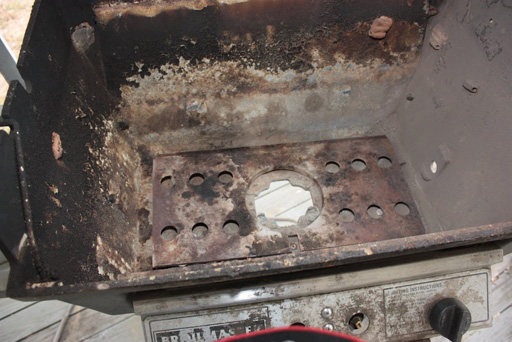
#8 - There is a piece of sheet metal called a heat shield under the burner. It lifts out. The grill will work without it, but it protects the grill bottom from heat oxidation. If the old one is rusted away it's a good idea to replace it.
#9 - I pulled the grill over to get the crud out of the bottom. If you wanted to replace the electrode this would be the time to get the old one out. It’s a small piece sticking up from the grill bottom that sits in front of the burner. I use a whisk broom to sweep out the crud, and a pair of channel locks to break off the old electrode and remove. I didn't change the old one here since my cousin never used the ignitor system anyway.
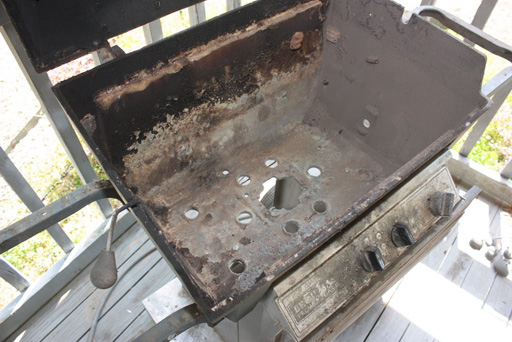
#10 - The cleaned out grill ready for new parts.
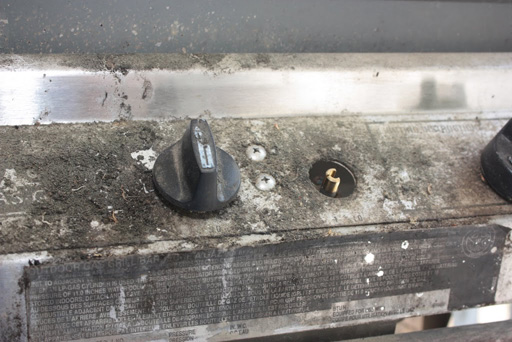
#11 - The knobs pull off. I use two hands and try to pry it off with my fingers. If you use pliers or screw driver you might break the knob or even the valve stem off.

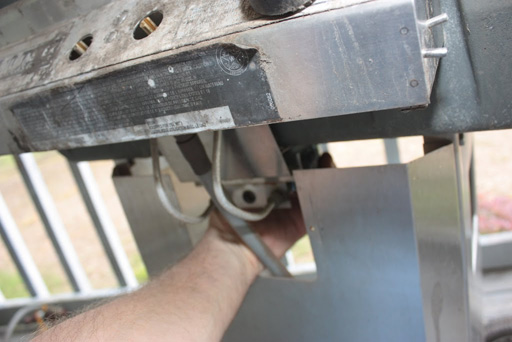
#12 - The box under the control panel is held by a sheet metal screw on either side.
#13 - I had to remove one screw from under the front shelf to pull the bracket away and get the shelf off the control panel.

#14 - Rotate the bracket with one screw out and the shelf will come right off.
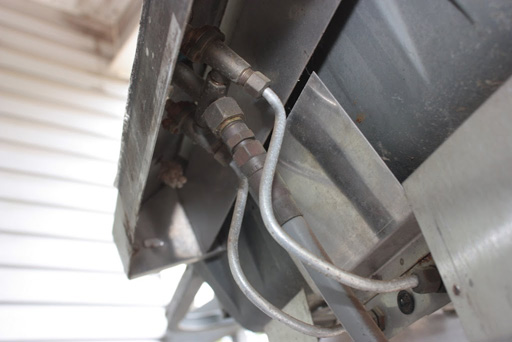
#15 – This picture shows the box removed which reveals the valve assembly. I just wanted to check the connecting gas tubes for rusting and leaks. I like to spray the stems flanges and the gas tube connections with soapy water to check for leaks. This valve assembly is still tight. You can see where the gas connector hooks up to the valve assembly.
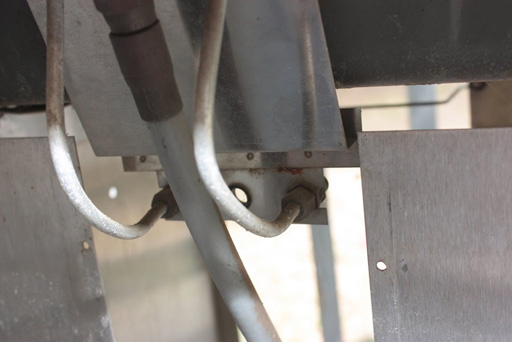
#16 - Shows the gas tubes that go into the burner venture. The gas orifices are at the end under the grill.
#17 - Put the heat shield back in the grill.
#18 - You'll need to guide the burner venture onto the gas orifices (jets)with your left hand while you guide the burner into place with the right hand. You could switch if you're a left hander.
#19 - The new burner installed.
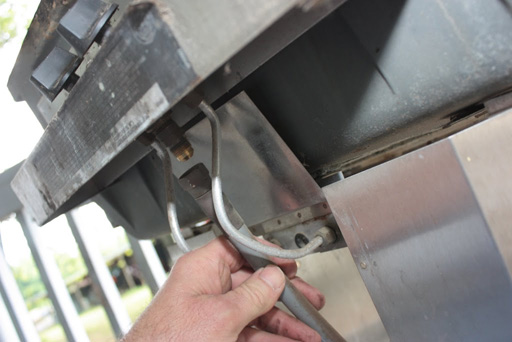
#20 - I decided to check the gas connecting hose to be sure it wasn't clogged. I unplugged it from the quick connect and blew through it. It was clear. I reconnected and checked the hose connections with soapy water under pressure.
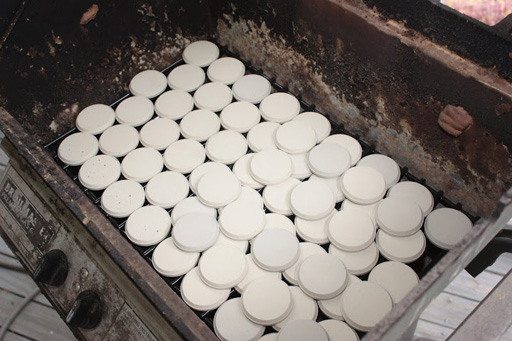
#21 - I installed the new grate with the new ceramic rocks.
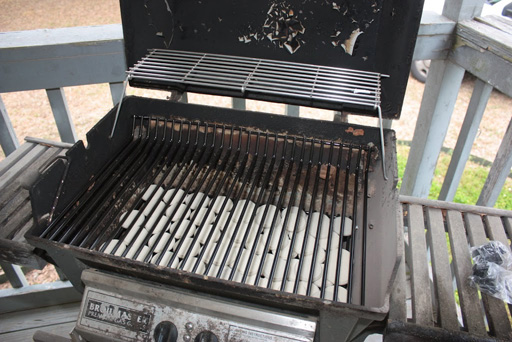
#22 – Here is the grill with the grids and warming rack installed. It’s ready to cook.
#23 - I was able to tighten the lid handle with a pair of channel locks.
There are 12 or so different P series models. Our best selection can be seen at this link. But check the home page for your exact model, as the company has changed owners several times.
http://www.broilmaster-gasgrillparts.com/grill-parts/grill-model-P4BL-(2002).htm