
Buy American!
For Specific Grill Repair, Click on Your Model:
Weber Summit Silver Conversion
Making a SLG2006C Burner Bracket
Wood Fired Pizza!!!
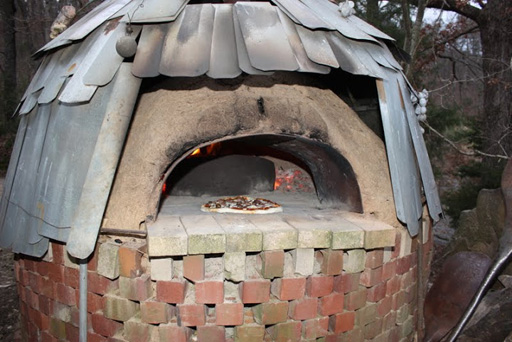
This is an old fashion wood fired oven I built years back when I had more time and little money. It takes most of the day to fire it hot enough to cook in, so I only get it out once a year or so. I saw an ad for a "Build it yourself wood oven" in one of the earth magazines. You can see more info on it at this link: http://www.handprintpress.com/bookstore/build-your-own-earth-oven/ .
I used materials scavenged from my home and shop except I had to buy the firebricks locally. Check out the link and book if you’re interested.
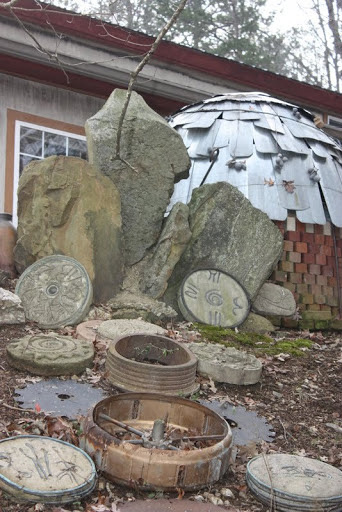
Img 2450 - The oven is under the sheet metal dome, which I put over it to protect form the rain. The rain will wash away the mud over time.
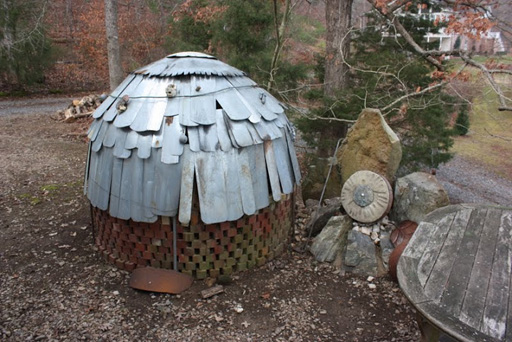
Img 2449 - The oven still covered next to some rocks I managed to stick into the ground.
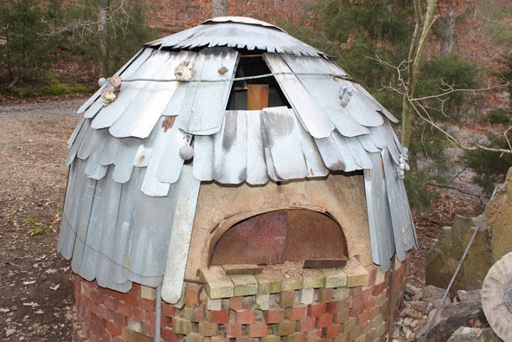
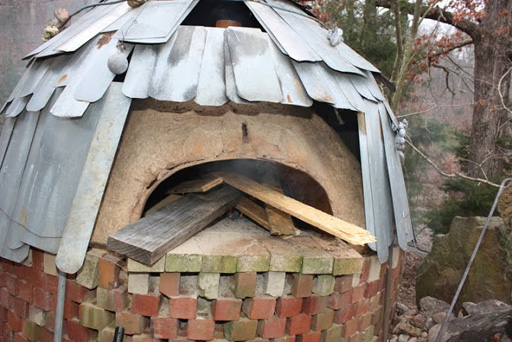
Img 2451 - This shows the front of the oven exposed. I made the sheet metal shingles with some sheet metal equipment I have in the warehouse.Img 2452 - With the doors out a local chipmunk family has been able to bunk there for awhile. You can see their trash which I cleaned out and restocked the next day.
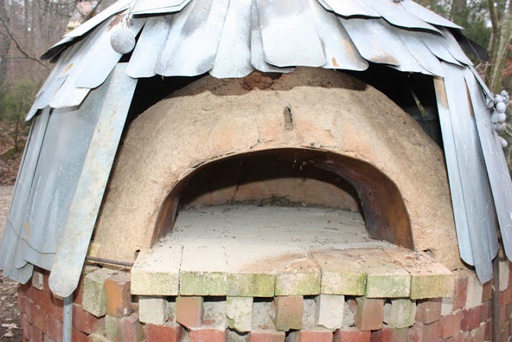
Img 2453 - Here is the oven all cleaned out and ready to fire.
Img 2454 - I used scrap lumber to get it hot. Don't use treated lumber.
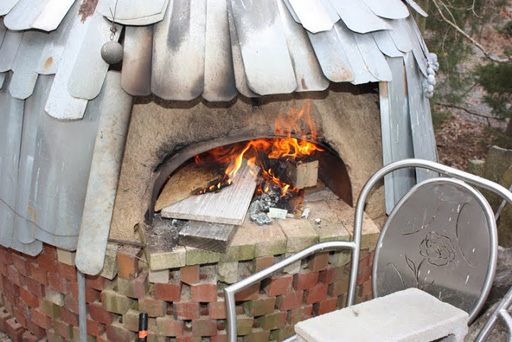
Img 2455 - Here is the oven being fired. I used a small electric house fan to get it going faster.
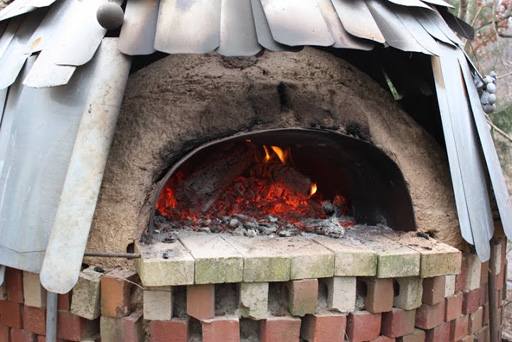
Img 2457 - The oven, after a few hours.
Now we start cooking!
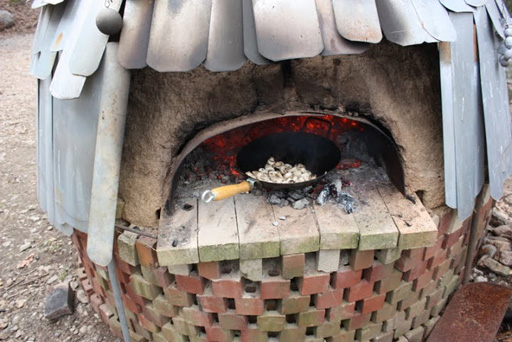
Img 2458 - Getting some mushrooms sautéed for the pizza.
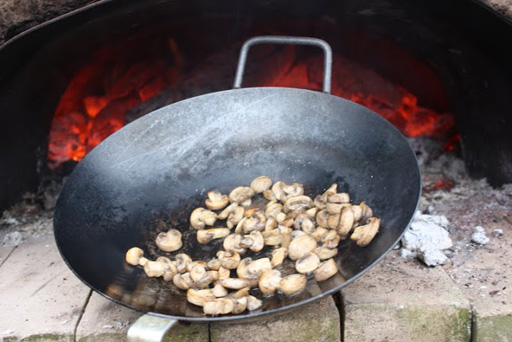
Img 2461 - Mushrooms finished.
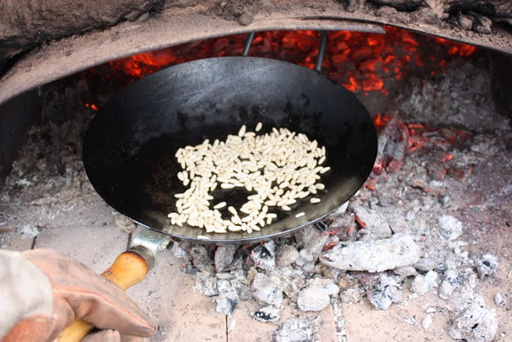
Img 2462 - Did some pine nuts too.

Img 2463 - You only want the pine nuts just a little brown. Be careful. The heat is intense and takes just a few minutes. I use some heavy leather gloves for protection.
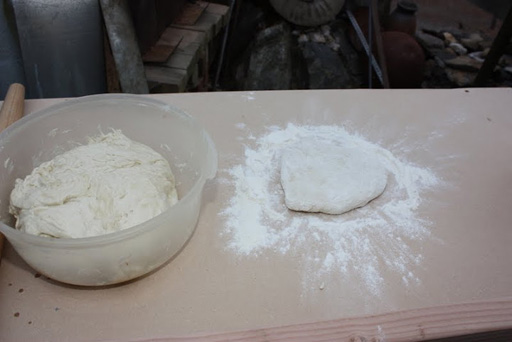
Img 2465 - Now we are ready to get a pizza going. You can use any dough recipe. But when getting it ready, I sprinkle some corn meal under the dough. This helps it to roll as I scoop the peel/pizza shovel under it.
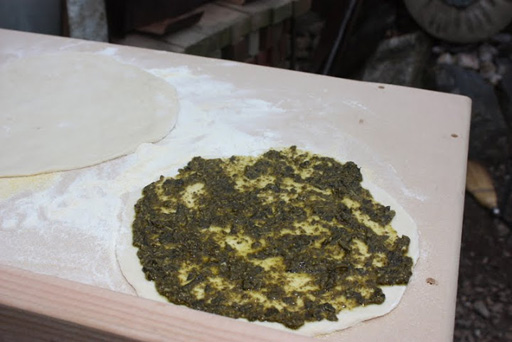
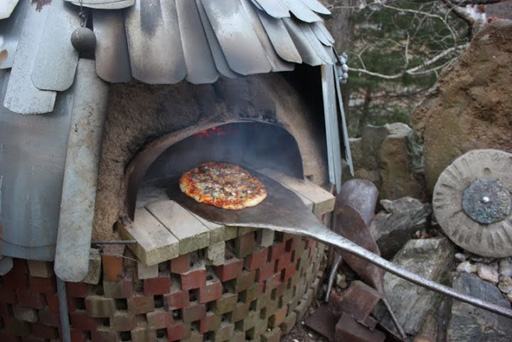
Img2467 - I used some pesto on the first one. A favorite pizza of mine is made with pesto, blue cheese, anchovies, onions, mushrooms and pine nuts. Some red wine goes great. Here is a photo of the first pizza in the oven. The oven is so hot, as you get close to the fire, you must constantly rotate the pizza to keep it from burning.
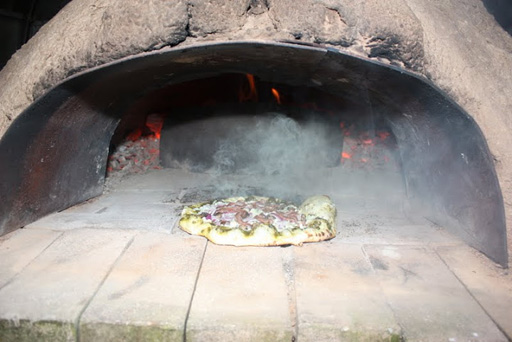
Img 2468 - Once the pizza is in the oven it will cook fast. It’s around 700 degrees in there. Pizza is always cooked fast.

Img 2469 - It is almost ready.
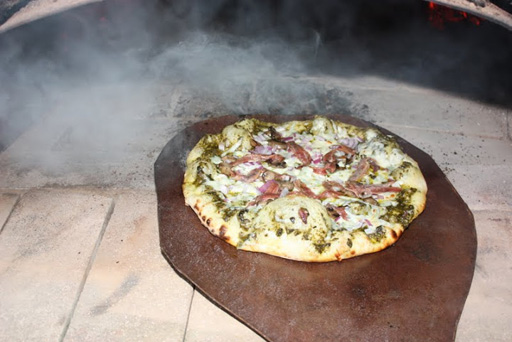
Img 2470 - I had to raise it in the oven to get the top browned.
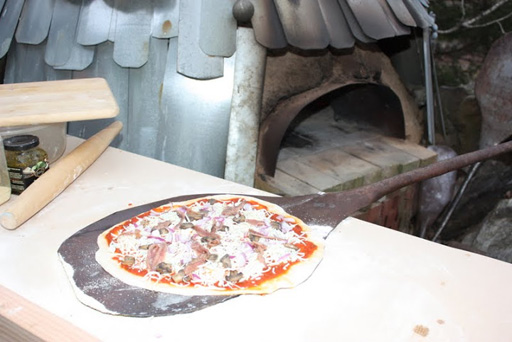
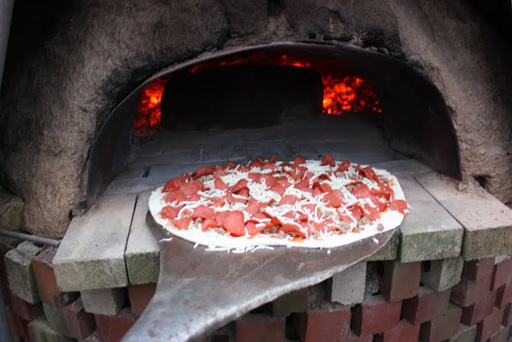
Img 2471 - The second pizza is going in, but I used a red tomato sauce with the rest of the first pizza's stuff.
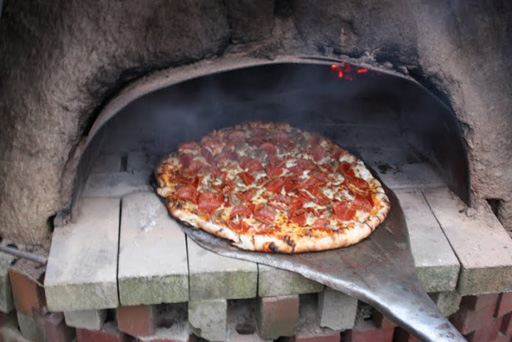
Img 2472 - I bring it out to the edge of the oven to cook without worrying about burning it.
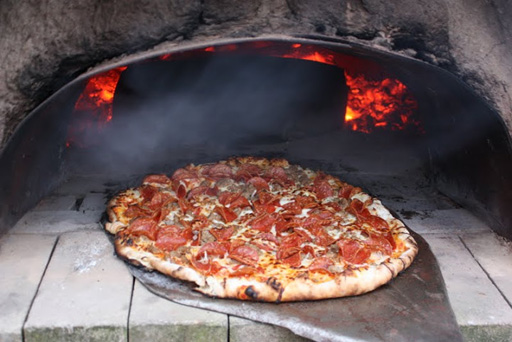
Img 2474 - Time to bring the second out.Img 2475 - I made a big sausage and pepperoni. This was for my son and a few friends.
Img 2476 - The pizza is about 16 inches and hard to maneuver without bunching up. It is very important to keep a layer of cornmeal under the dough which helps the pizza slide.
Img 2477 - I did manage to rotate it and get it out in one piece!
Img 2478 - This is what I worked for all day!
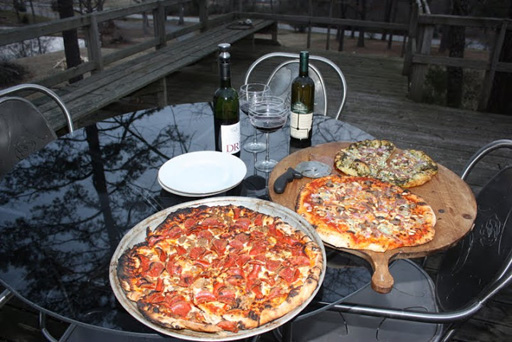
Img 2480 - The fun begins!!! I like a serious red wine with a lot of taste. That's an Italian Friuli Dri Roso and another Italian Friuli Pino Grigio from Callutta's vineyard which is located in my momma's Hometown, Manzano, near Udine.
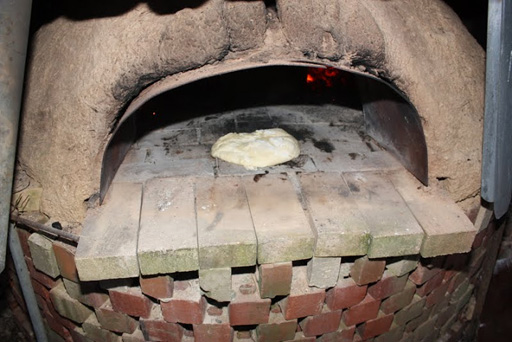
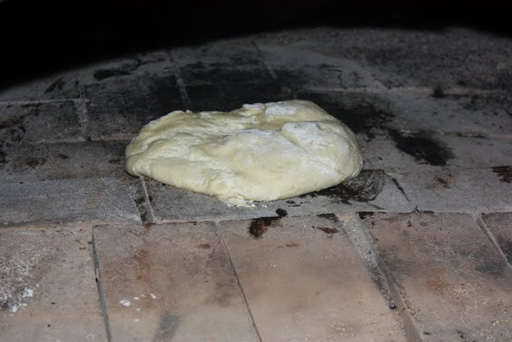
Img 2482 - I also prepared a loaf and had it raising in the kitchen oven but failed to get it transferred without falling. It was still worth eating though.
Img 2483 - Ready to eat!
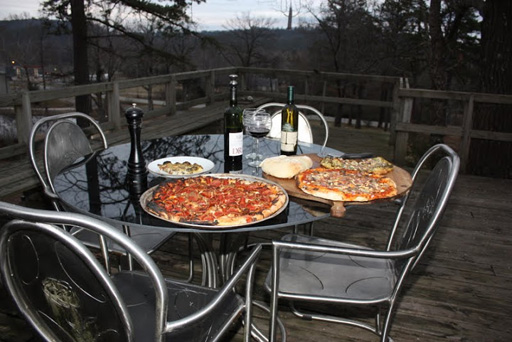
Img 2484 - Its nice to sit around the oven while you eat. I also roasted some veggies and flat bread later.