
Buy American!
For Specific Grill Repair, Click on Your Model:
Weber Summit Silver Conversion
Making a SLG2006C Burner Bracket
Brinkmann Grills
Brinkmann 810-7440-S
This is a Brinkmann 810-7440-S grill. A friend received this grill in “used” condition and asked me to help! I changed the burners and flame tamers as well as converted the grill to Natural gas from LP. It’s not a bad grill. It has lots of metal. But the factory made the top and side shelves from stainless and used carbon steel on the lower half of the grill. It is a shame because if they had used stainless in the bottom with the burners, the grill would last longer. You might see the rust holes in areas of the pictures. But this grill still has several years of life left, with a rebuild. The CLA page link showing our parts is:
http://www.clagrills.com/allgrillparts/brinkmann/brinkmann-model-810-7440-s.htm
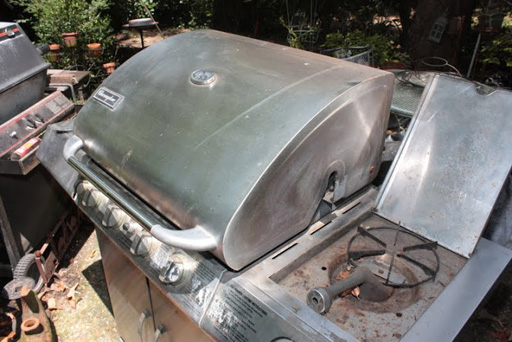
Img 2289 - Here is the grill as I found it in my friends back yard, here in Little Rock.

Img 2290 - This is the CSA-spec plate showing the model number, serial number, and basic BTU information under the control panel.
Img 2291 - This photo shows the lid top open with the warming rack out.
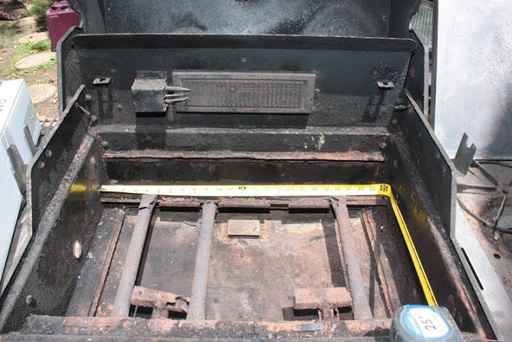
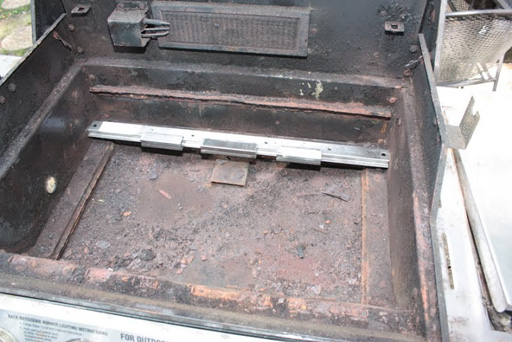
Img 2292 - The length of the burner bracket is 24 5/16 inches which is part number CLA-MX0046 and shown on this page:
http://www.clagrills.com/allgrillparts/brinkmann/brinkmann-all-repair-parts.htm
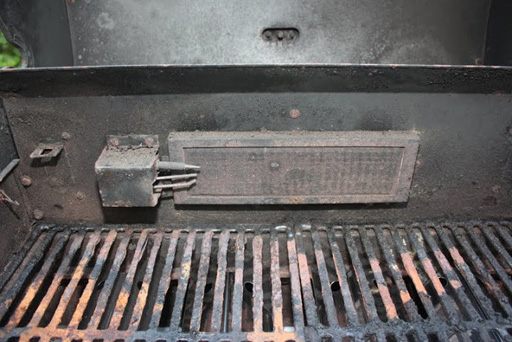
Img 2293 - This is the bottom of grill showing old burners, brackets and the old electrode/collector box which CLA doesn't have. The factory does offer a universal replacement. Unfortunately, I've had customers say those don't work well.
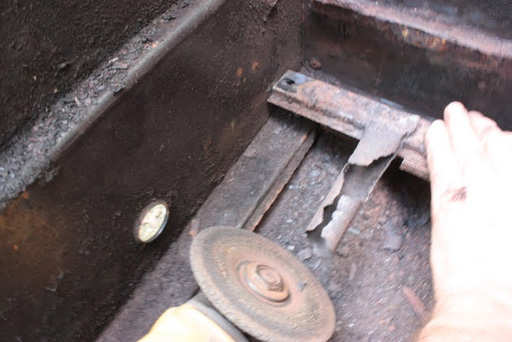
Img 2296 - I had to grind off the screws holding the bracket down with a serious grinder.
Img 2297 - This photo is showing the burner bracket loose and showing the rusted hardware that holds it.
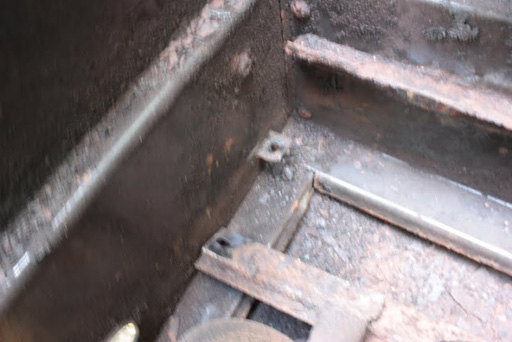
Img 2298 - Here is CLA part CLA-MX0046 installed in the grill bottom.

Img 2299 - Here is the front of the grill bottom with the electrode brackets removed.
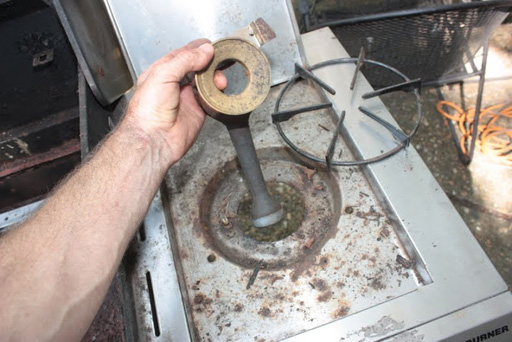
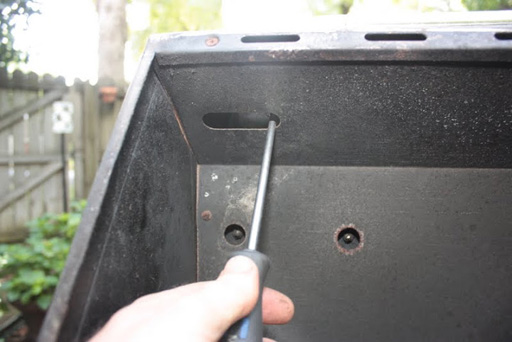
Img 2301 - I had to go under the control panel to drill out the main valve orifices to Natural Gas. I used a #53 drill bit to convert .
Img 2302 - I pulled the side burner out to get to the valve orifice so I could drill it out. I used the #52 drill bit for that. I didn't get a picture but the valve orifice is just under the side burner shelf.
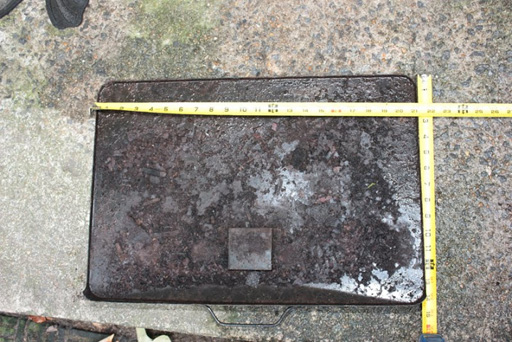
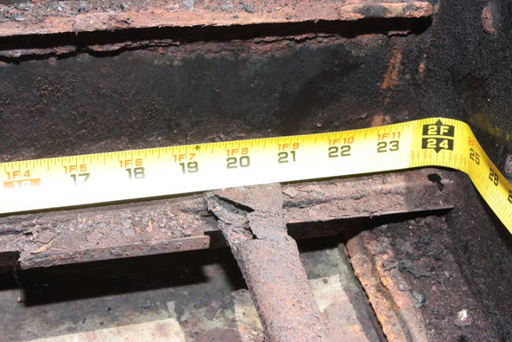
Img 2304 - This photo shows the grease tray pulled out with tape measures showing the length and width. It looks like 21 X 14 1/2 inches. We (CLA) doesn't have this part, so you will have to try Brinkmann.

Img 2306 – Here are the main burners, mounted correctly, over the main valve orifices. It is always good to check and be sure before testing. Always look!
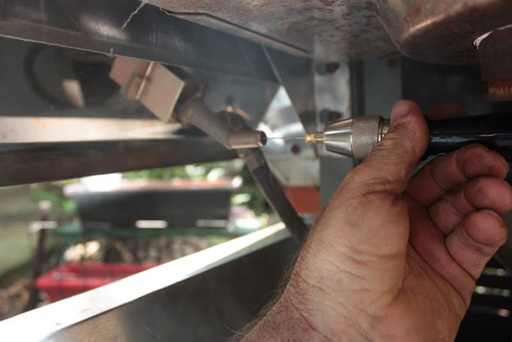
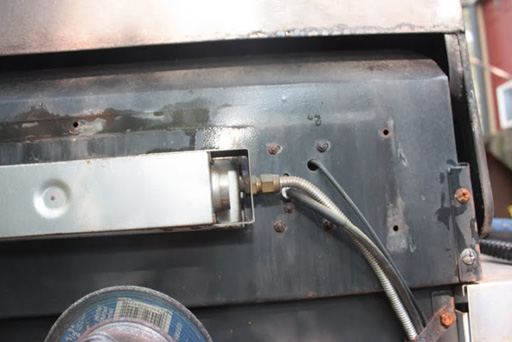
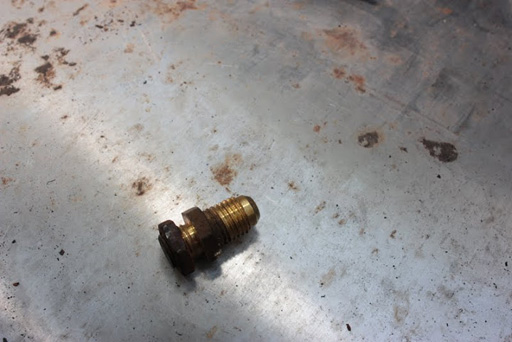
Img 2307 - The old hose hook ups are common 3/8 flared fittings. I use 2 short connectors and a T to hook up a common 12 quick connect that was on the old grill.
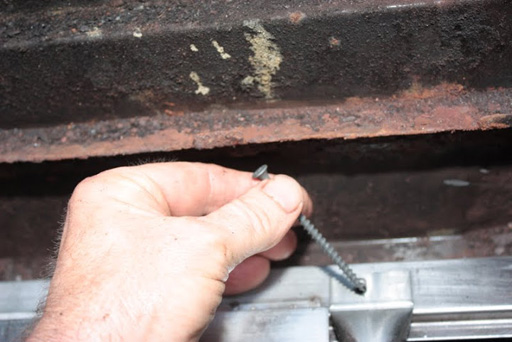
Img 2308 - I only had some drywall screws to put the burners down in the grill. They don't need to be screwed or bolted down unless you move the grill around.

Img 2309 - Here the burners are installed with one heat tent installed. It’s good to test the burners with everything off to check the flames.
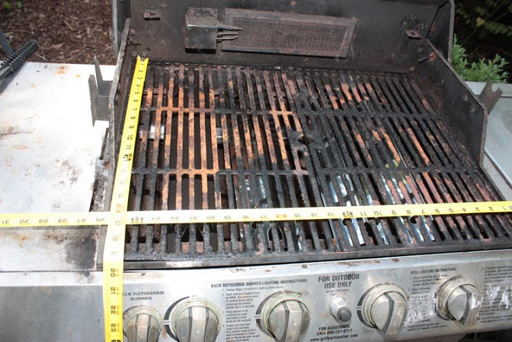
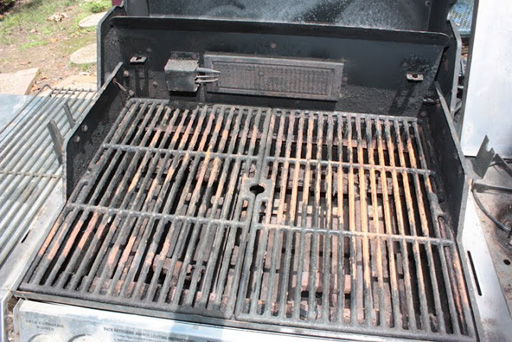
Img 2310 - Here is a tape measure on the grids showing the measurements.
Img 2312 - I tightened the lid handle inside the lid with a Phillips head screw driver.
Img 2315 - I still had to drill out the rotisserie burner orifice which is behind the grill.
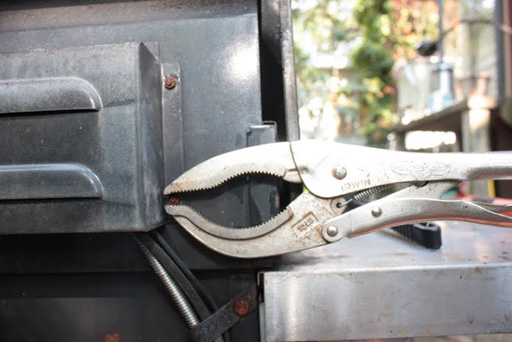
Img 2316 - I loosened the nuts with vise grips.
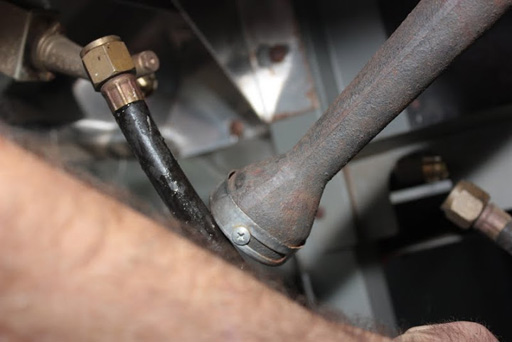
Img 2317 - When the cover is off it exposes the orifice going into the burner. I used a pair of open end wrenches to get it loose after taking off the gas connection.
Img 2318 - This is the orifice removed which I drilled out with a #53 drill bit. Then reinstalled and tested.
Brinkmann Model Pro Series 810-4345-0
I purchased this Brinkman from an individual for $200 in 2006. Although it had only been used a few times one of the casters was broken, one valve would not shut off, and the regulator would not allow gas through to the burners.

1) First, I unhooked the tank from the regulator and removed the warming rack, cooking grids, flame tamers, burners, and grease tray. The burners are held in place by a cotter pin, which you cannot see under the burner bracket on the back of the grill.


2) With the burners and other parts out the grill is lighter and I was able to turn the grill on its side with the wheels so I could easily get to the broken castor. The castor was screwed into a bent flange, which was spot welded into the square side post.


3) I could then place the grill back on its wheels and castors, clean & reinstall the burners, hook up the tank and then see how the grill lights up. Before doing so, it is important to make sure the burners are reinstalled correctly.
Danger! Any time you remove and reconnect gas fittings you must check for leaks. It is important to keep any flame away from the area while you do this.
If you are still uncertain, please call a technician!
The Brinkmann has a side burner and requires a double hose, which can also be found on www.clagrills.com/allgrillparts/all-repairparts.htm, part # 80034- regulator with two hoses.
After removing the old hose connections I installed the new hose (CLA part #80034) and checked for leaks with the tank valve on and the grill valves off using soapy water.
DANGER! Be certain to check for leaks! At this point I was ready to light the grill without the flame tamers and grids in so I can see the falme and check the flame relative to the grill valve positions.
This would indicate that my knob wasn't mounted correctly on the valve stem or the valve was faulty. That could happen at the factory but would be rare.
If someone else had tried to correct a problem they thought was occuring in the valve, they might have taken the valve apart and incorrectly put it back together. To correct this I had to remove the valve cover with the manifold from the grill and the manifold with the valves from the valve cover.


There are two screws holding each valve to the valve cover and two nuts with bolts on each side of the valve cover holding it to the grill. I was able to take the valve apart and put it back together correctly. I can't easily show this process with pictures and don't recommend trying it as the valve can go back together in several ways only one of which will work properly.


4) Conversion of this grill to natural gas would require replacing the orifices or drilling them out. The main burner valves are located in the assembly under the front panel. Part 3) of this section and the LP-Natural Gas conversion section of this site contains instructions on how to access these valves.
The main valves for this grill require a #51 drill bit which can be found sometimes in local hardware stores and on-line by searching for "numbered drill bits". The orifice opening must be enlarged to this size(#51)


Accessing the side burner valve will require removing the burner and drilling the orifice in that valve out to a #53 drill bit. These are not standard or metric drill bits but the type used by machinist and are not usually found in most hardware stores.
REMEMBER! Failure to check ALL connections for leaks after reconnecting will result in fire and possible injury. (


Drilling out the orifices is most easily done with a hand held drill bit holder shown in img0070. Using an electric drill could break the small drill bit. The orifices are brass and soft to drill. Be sure to remove the old LP-hose-regulator and use a locally approved gas connector. CLA part# 80144 found at www.clagrills.com/allgrillparts/all-repairparts.htm. Local hardware stores may also have them.Be certain to check your burners for a nice blue flame. The burners on the 4345 I have has small air shutter openings and might have to be enlarged slightly to give a nice blue flame for natural gas. These burners are not adjustable but would have to be enlarged with a file or electric drill.I checked the burners with the flame tamers and grids off to insure that the flame is blue. A yellow flame won't heat as well and could soot your food.